
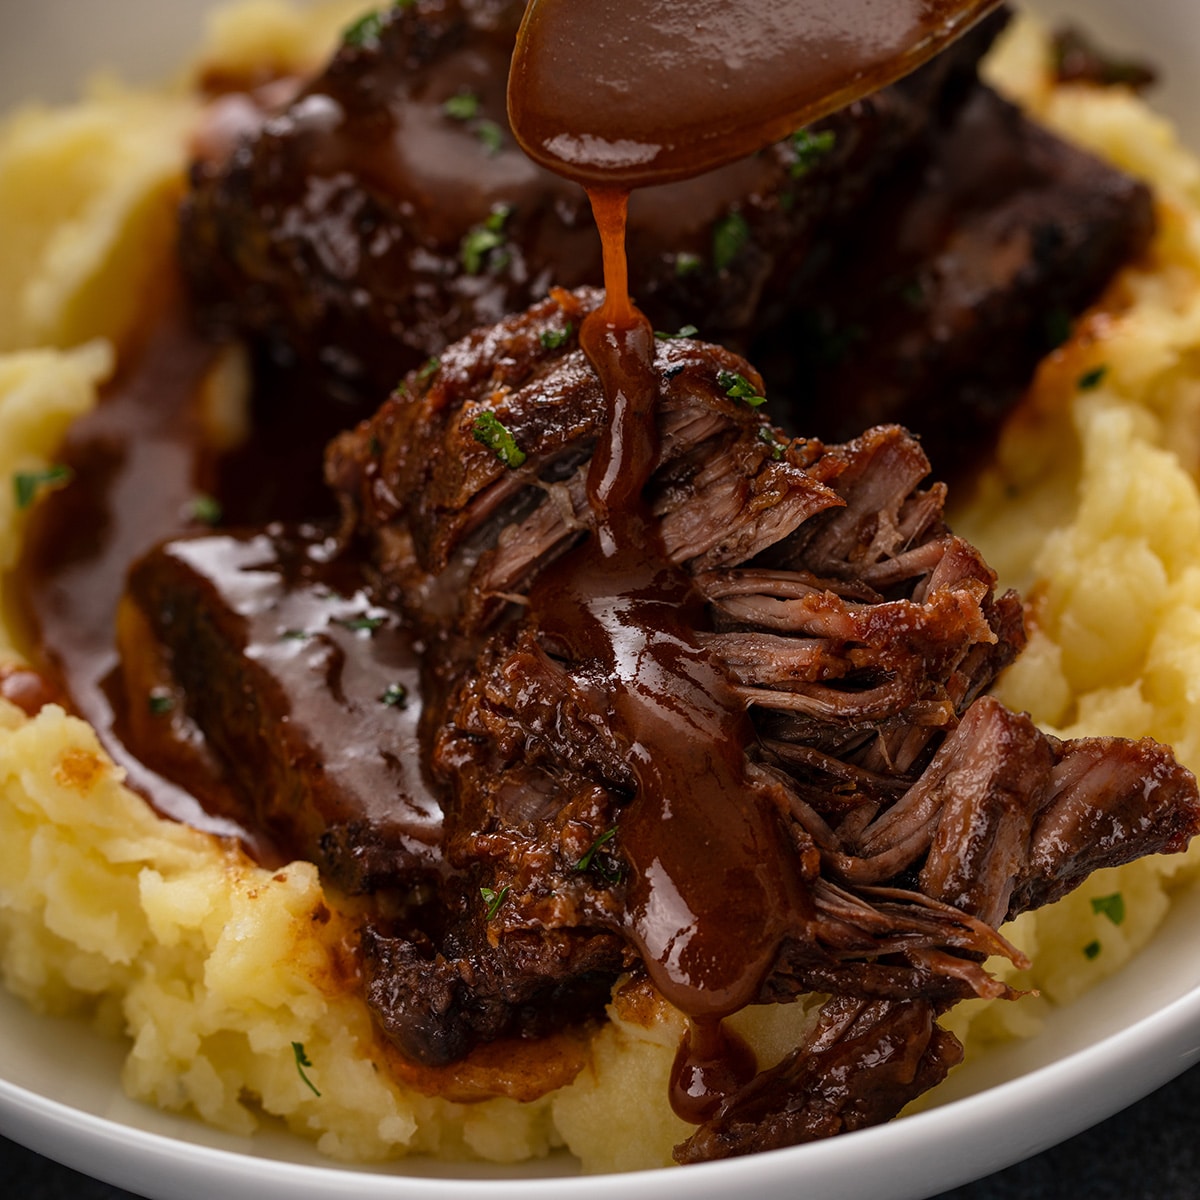

The best part? Most of the cooking happens in the oven. After browning the beef and building the braising liquid, all you need is a little patience. Better yet, these short ribs are even more delicious made a day ahead, making them perfect for holidays, dinner parties, or a cozy Sunday dinner.
As a chef, I’ve learned that the difference between a good braise and a great one often comes down to a few small techniques. A light flour coating, properly browned beef, and just two cups of red wine reduced before adding the stock create incredible depth of flavor. Finish with a carefully reduced sauce, and you have a truly memorable meal. And you don’t even need to sacrifice the entire bottle of wine!
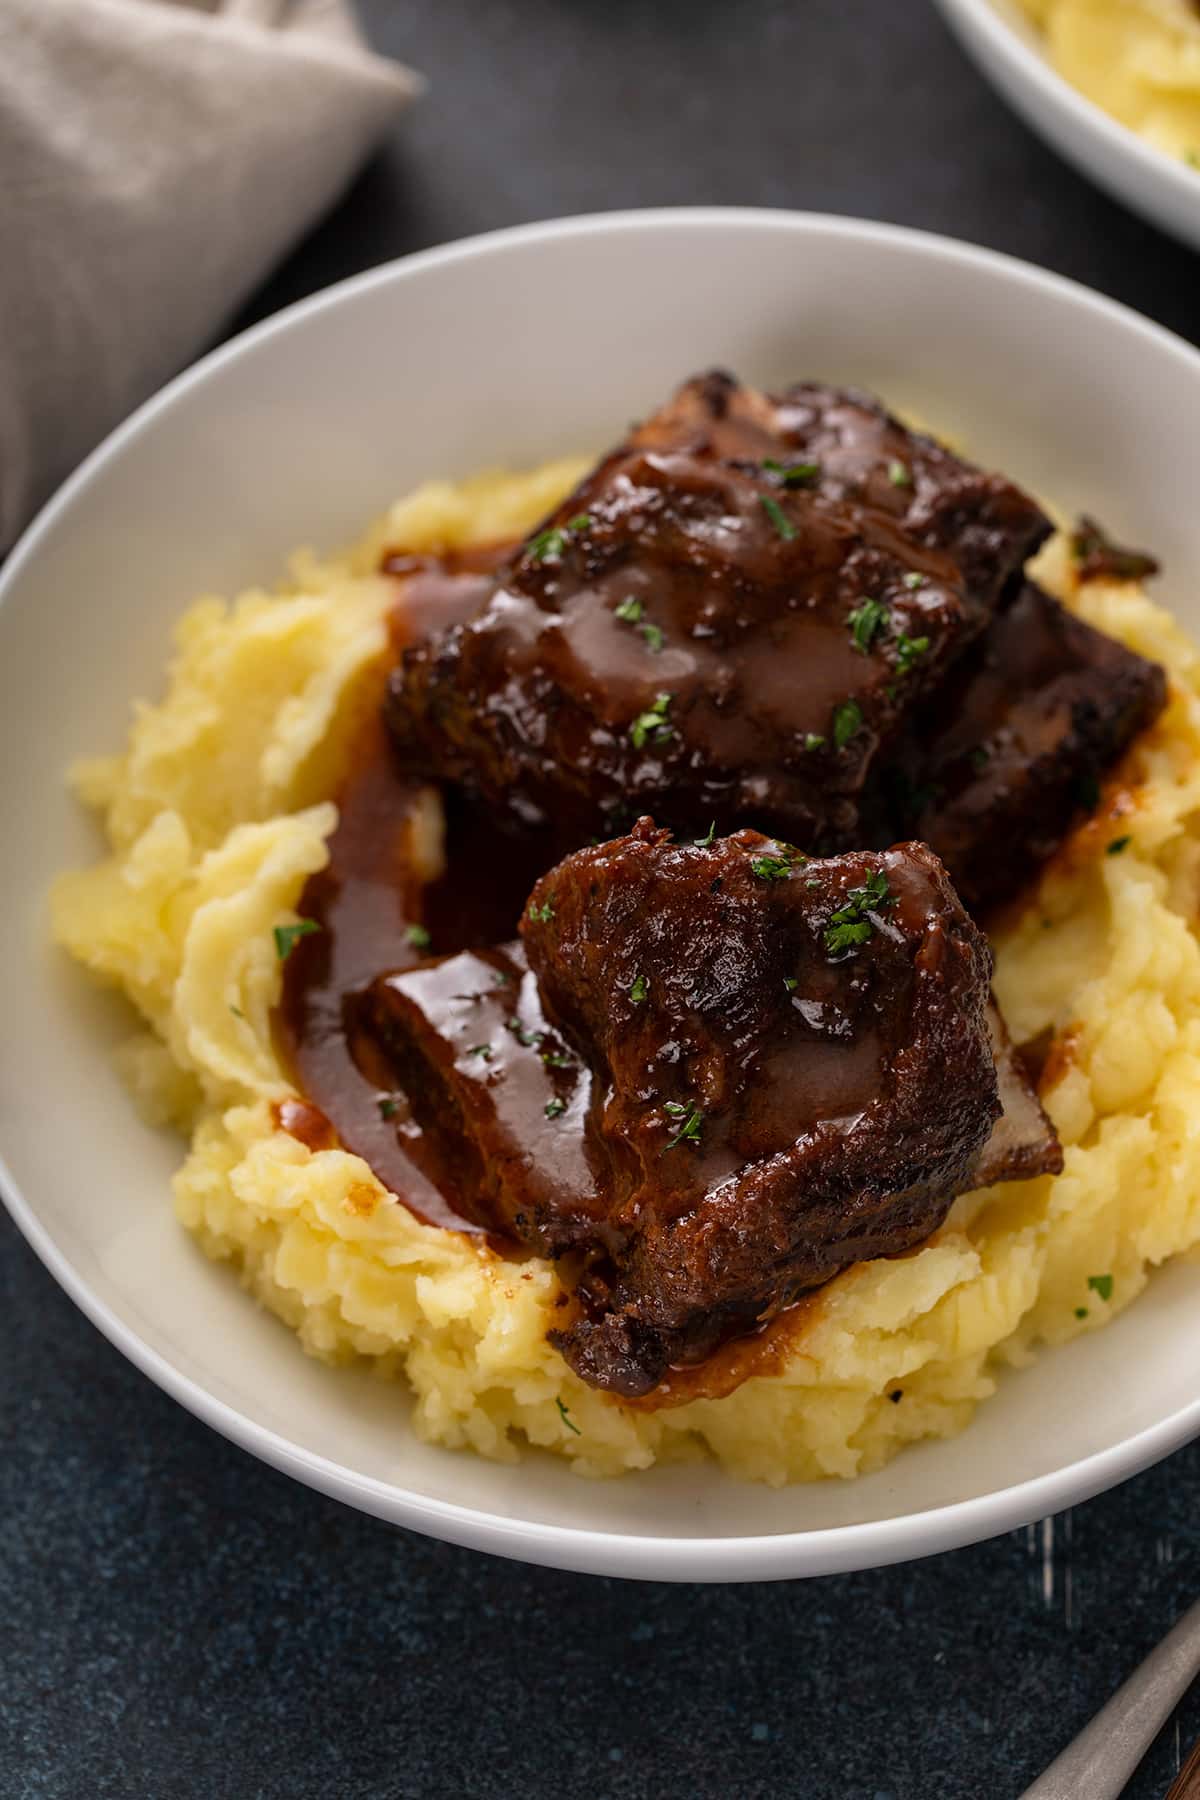
⭐️ Red Wine Braised Short Ribs: Recipe Highlights
- Flavor: Deeply savory and beefy, with rich red wine, aromatic vegetables, garlic, and fresh herbs.
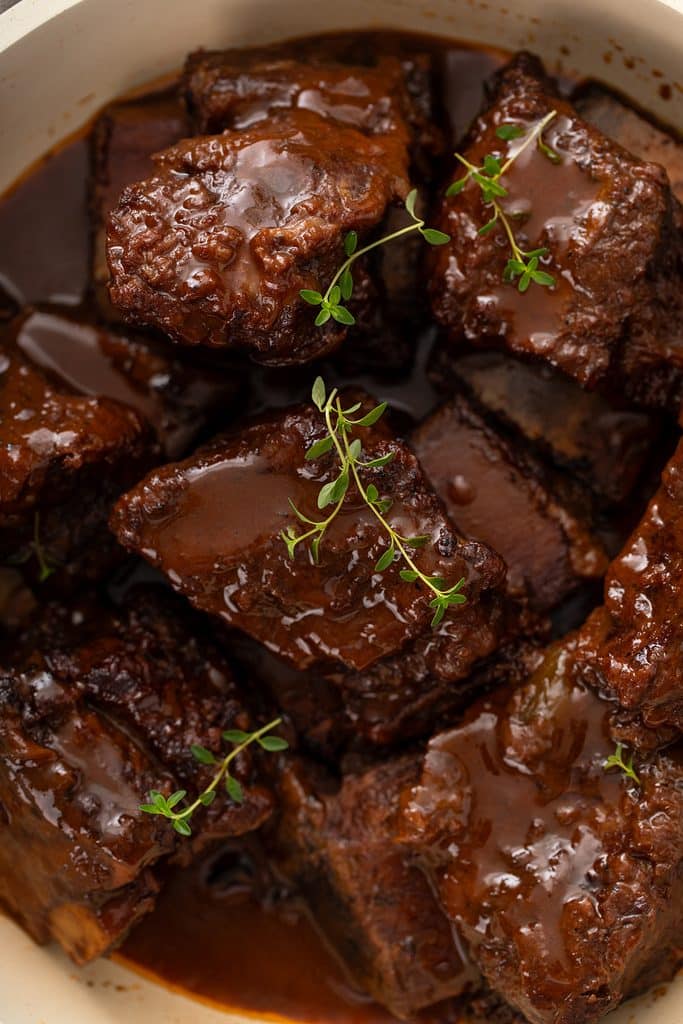
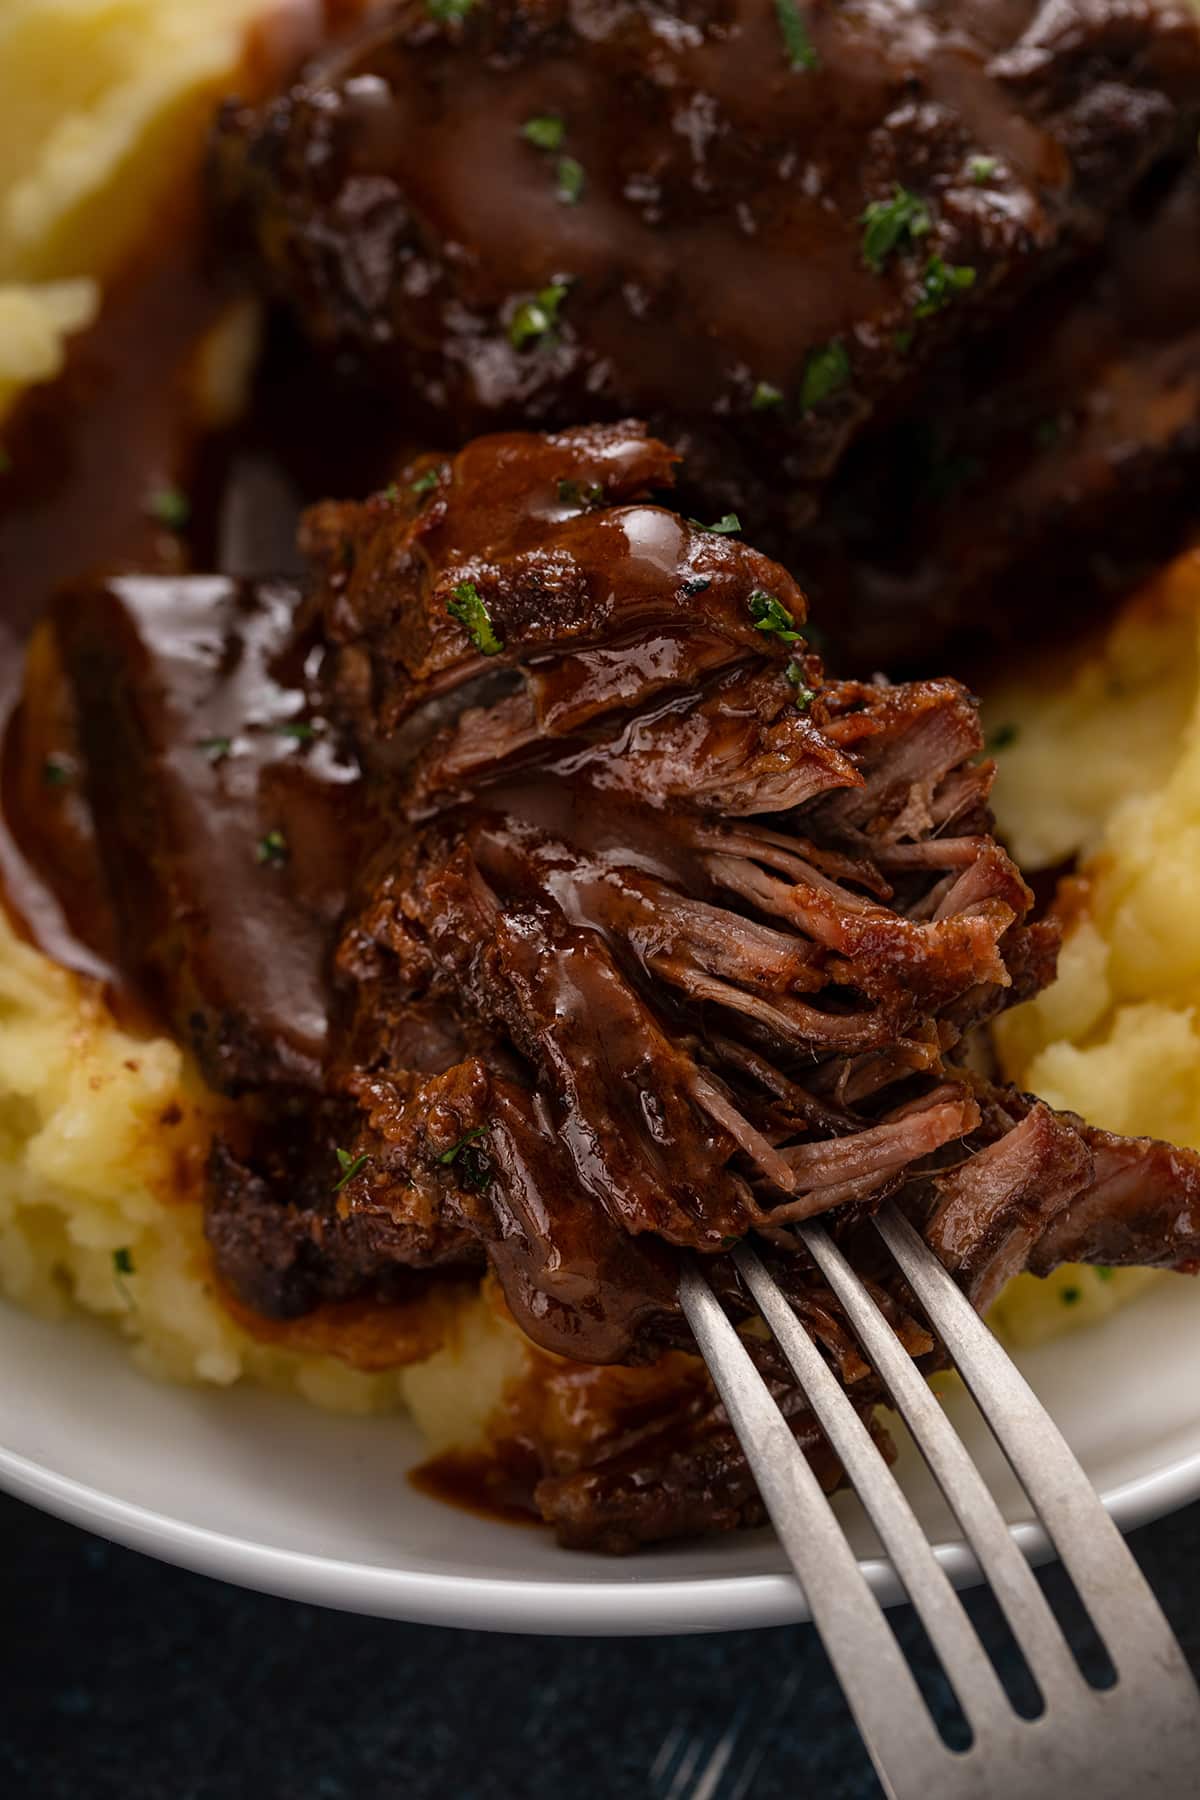
- Texture: Fork-tender beef that still holds its shape, served with a glossy, silky sauce.
- Mostly Hands-Off: Once the ribs go into the oven, there’s very little work left to do until it’s time to finish the sauce.
- Make-Ahead: Even better the next day! Refrigerating overnight also makes removing excess fat much easier.
- Perfect For: Sunday dinners, holidays, dinner parties, and special occasions.
- Dietary: No added dairy, eggs, or nuts. Contains wheat (flour) and wine.
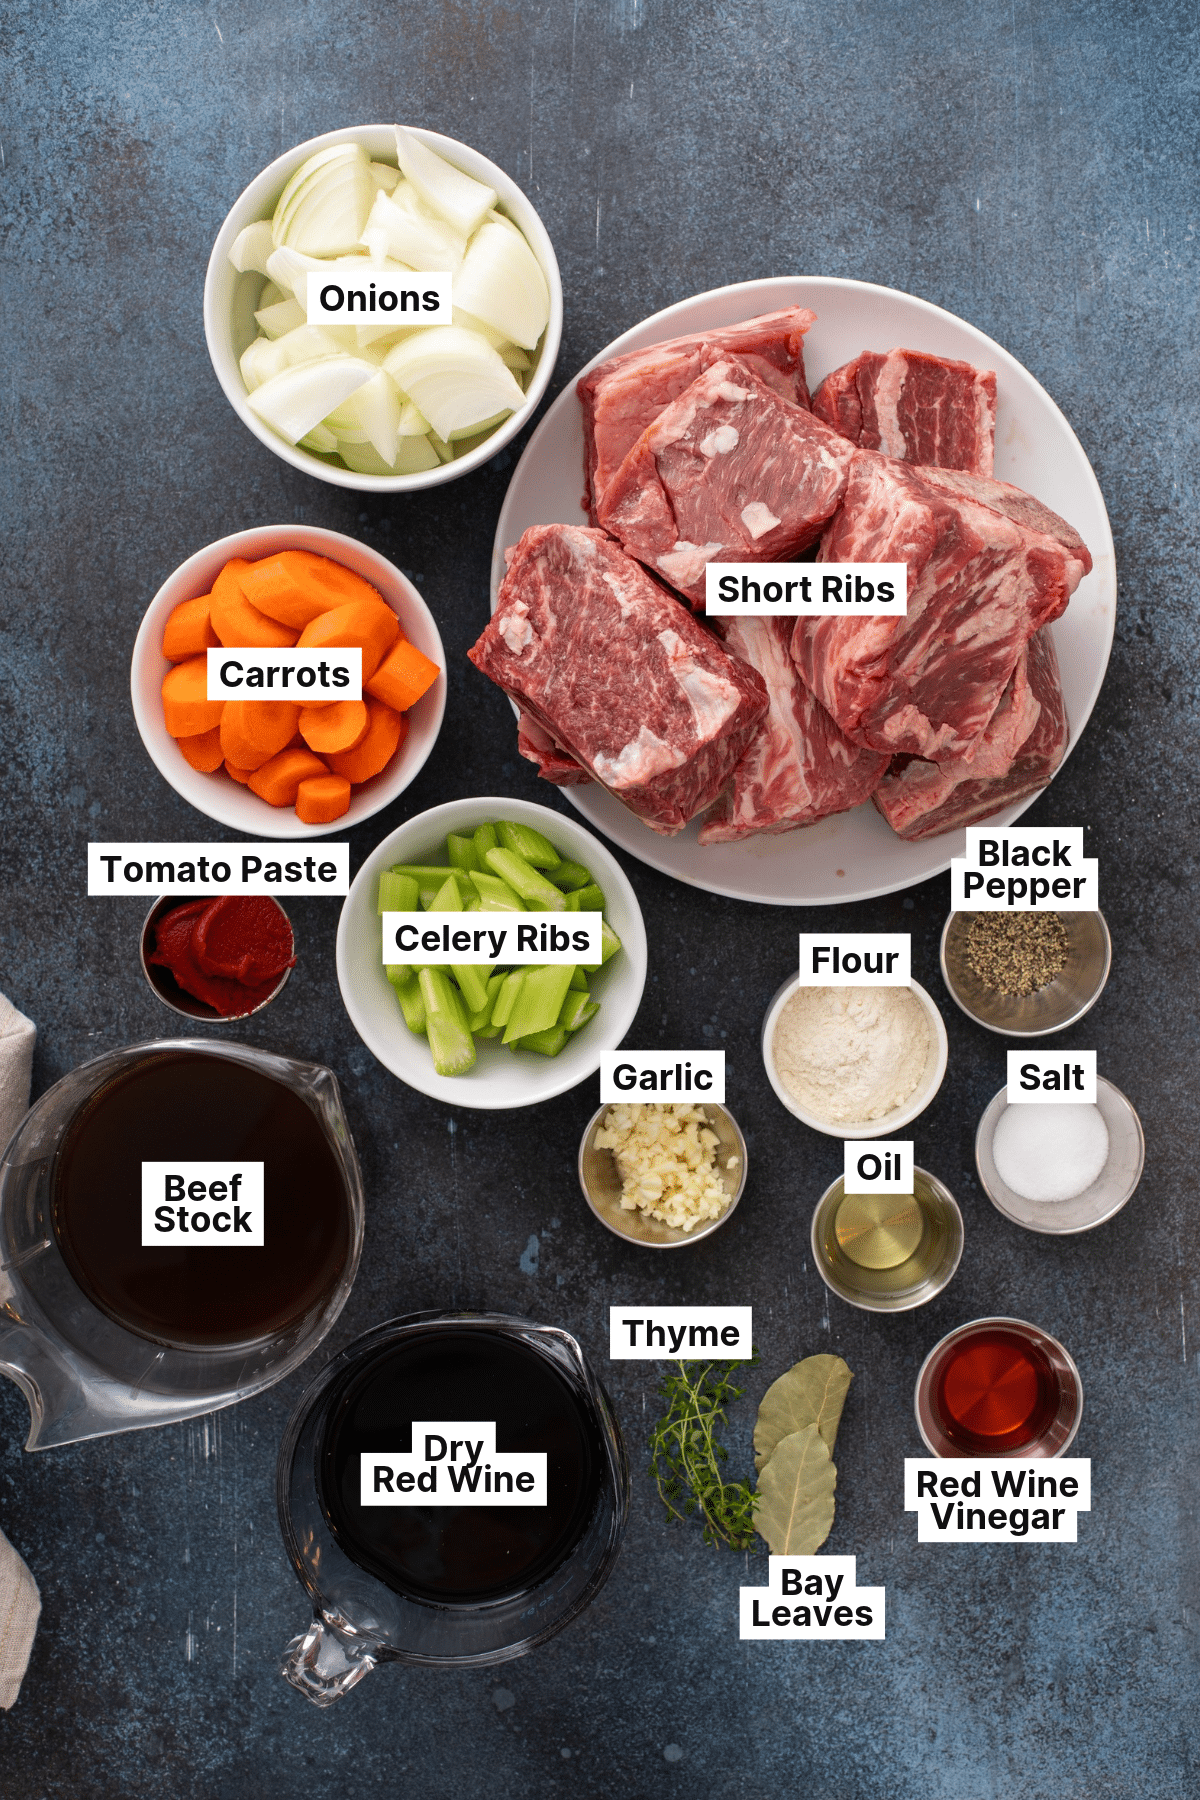
✔️ Ingredients, Substitutions & Swaps
The secret to exceptional braised short ribs isn’t an elaborate ingredient list. It’s using the right cut of beef, building flavor in layers, and giving the meat enough time to become tender.

For the complete list of ingredients and exact quantities, check the printable recipe card below.
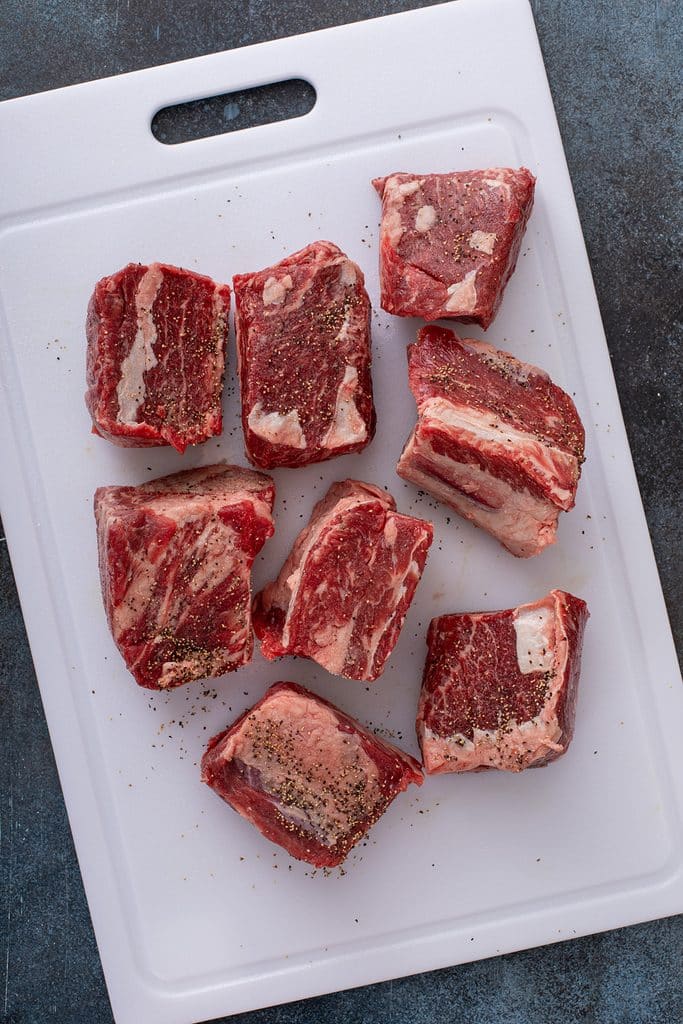
- Bone-in beef short ribs: Look for meaty, English-cut short ribs with one bone per piece and a generous amount of well-marbled beef above the bone. Avoid packages that are mostly bone and exterior fat. Thin flanken-cut short ribs, commonly used for Korean-style grilled ribs, aren’t suitable for this particular recipe.
- Kosher salt or sea salt and black pepper: Season the ribs generously before browning. For deeper seasoning, salt the beef several hours ahead or refrigerate it uncovered overnight.
- All-purpose flour: A light dusting helps develop a browned crust and adds a little body to the sauce. Shake off the excess. You want a barely visible coating, not a thick layer of flour.
- Oil: Use olive oil, avocado, or another neutral oil suitable for medium-high heat.
- Onion, carrots, and celery: This classic combination of aromatic vegetables (called mirepoix ) forms the savory foundation of the sauce. Since the vegetables are strained out after braising, a rough chop is all you need.
- Tomato paste: Adds concentrated tomato flavor, color, and savory depth. Cooking it until it darkens to a brick-red color helps develop its flavor before the liquid goes in.
- Garlic: Fresh minced garlic adds aroma and flavor. We add it after the tomato paste to prevent it from burning.
- Dry red wine: Cabernet Sauvignon, Merlot, or a dry red blend all work beautifully. Choose a wine you’d enjoy drinking, but there’s no need to buy an expensive bottle. Avoid sweet wines and cooking wines.
- Beef stock: Adds richness and enhances the beef flavor. A good-quality chicken stock can also be used for a slightly lighter, less intensely beefy sauce.
- Fresh thyme and bay leaves: These classic braising herbs add subtle earthy notes without overpowering the beef.
- Red wine vinegar or sherry vinegar (optional): A small splash at the end can brighten the sauce and balance its richness. Start with one teaspoon and add more only if needed.
- Fresh parsley (optional): Adds a little freshness and color when serving.
🔎 How to Make Braised Short Ribs
Making braised short ribs is easier than it looks. The first few steps build the flavor, and the oven handles the slow cooking that makes the beef wonderfully tender.
For the exact instructions and cooking times, check the printable recipe card below.
- Season the Short Ribs: Pat the beef thoroughly dry with paper towels and season all sides with salt and black pepper. If time allows, refrigerate the seasoned ribs uncovered for several hours or overnight for deeper seasoning.
- Lightly Coat with Flour: Preheat the oven to 325°F (163°C). Lightly dust the short ribs with flour, shaking off as much excess as possible. The coating should be thin and barely visible.
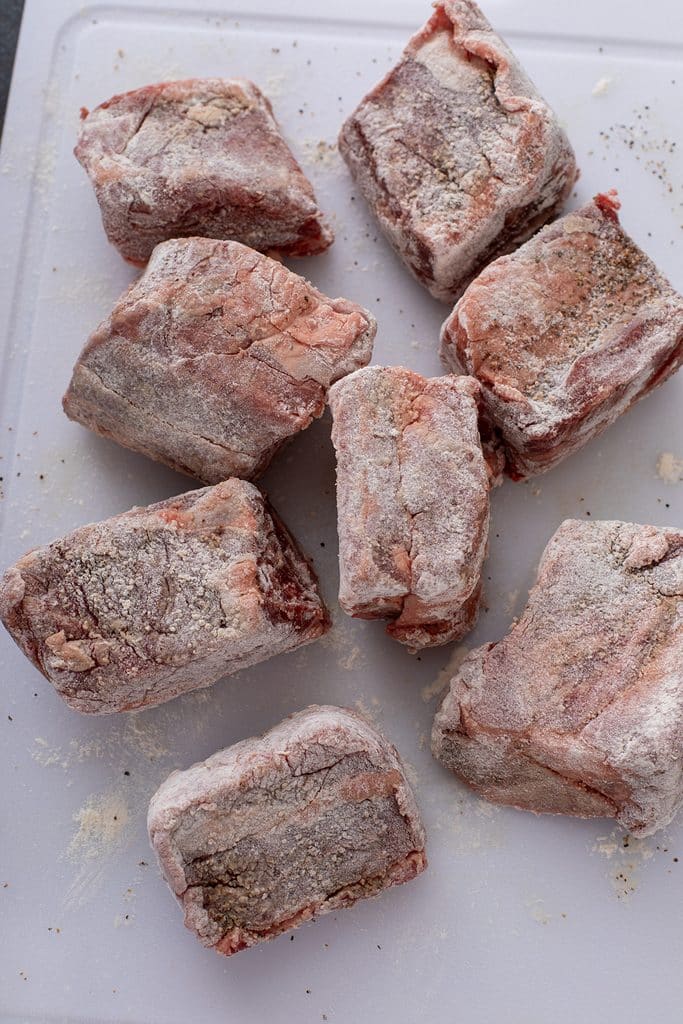
- Brown the Beef: Heat the oil in a large Dutch oven over medium-high heat. Working in batches, brown the ribs for approximately 3 to 4 minutes on each broad, meaty side, until a deep brown crust develops. Brown the edges briefly if necessary. Transfer the ribs to a plate and repeat with the remaining beef.
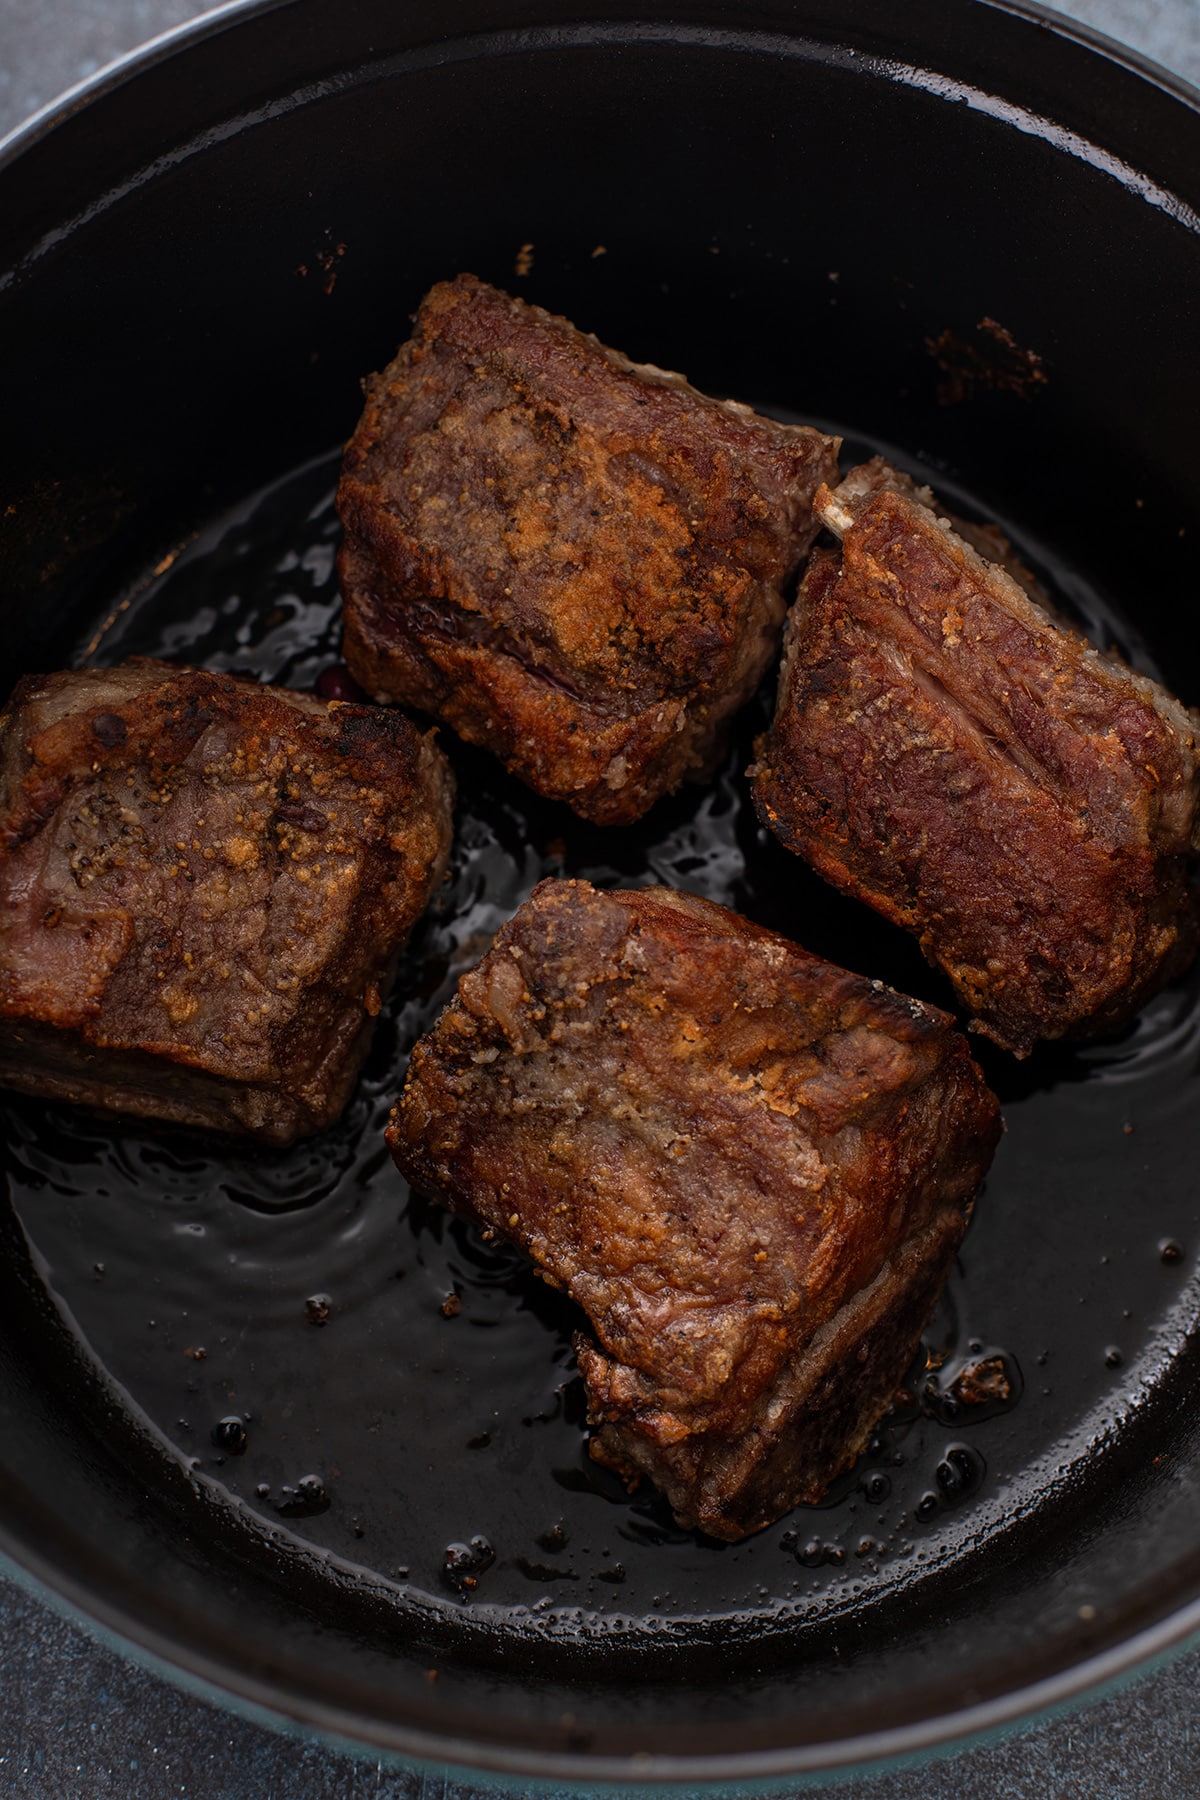
- Sauté the Vegetables: Pour off all but approximately 2 tablespoons of fat from the Dutch oven, leaving the flavorful browned bits behind. Reduce the heat to medium. Add the onions, carrots, and celery and cook for 8 to 10 minutes, stirring occasionally, until softened and beginning to brown.
- Add the Tomato Paste and Garlic: Stir in the tomato paste and cook for about 2 minutes, until it darkens to a brick-red color. Add the minced garlic and cook for another 30 seconds, just until fragrant.
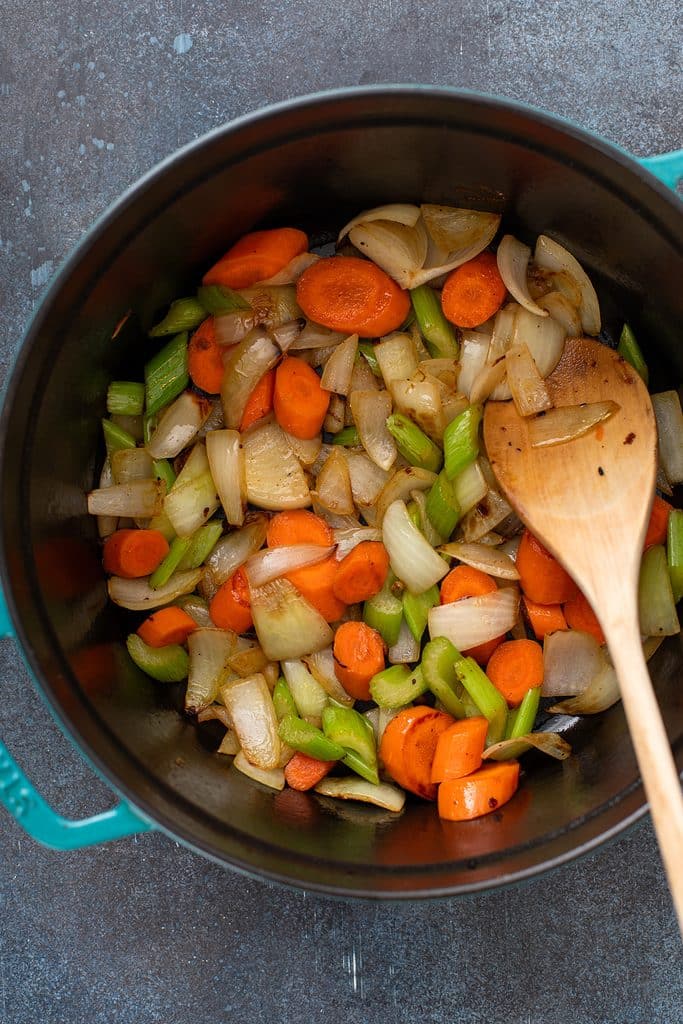
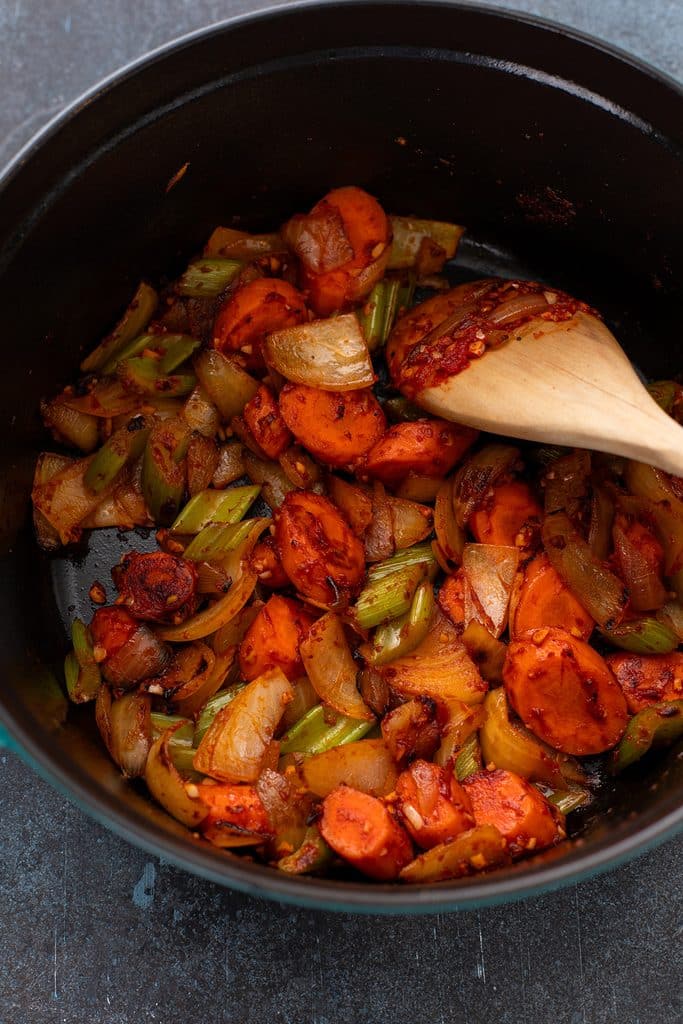
- Deglaze and Reduce the Wine: Pour in the red wine, scraping the bottom of the pot with a wooden spoon to release the browned bits. Bring to a lively simmer and cook for approximately 12 to 18 minutes, until reduced by about half. You should have roughly 1 cup of wine remaining.
Why this matters: Reducing the wine before adding the stock concentrates its flavor and allows some of the alcohol to evaporate. Since very little liquid evaporates once the Dutch oven is covered, this step helps build a more concentrated, balanced sauce.
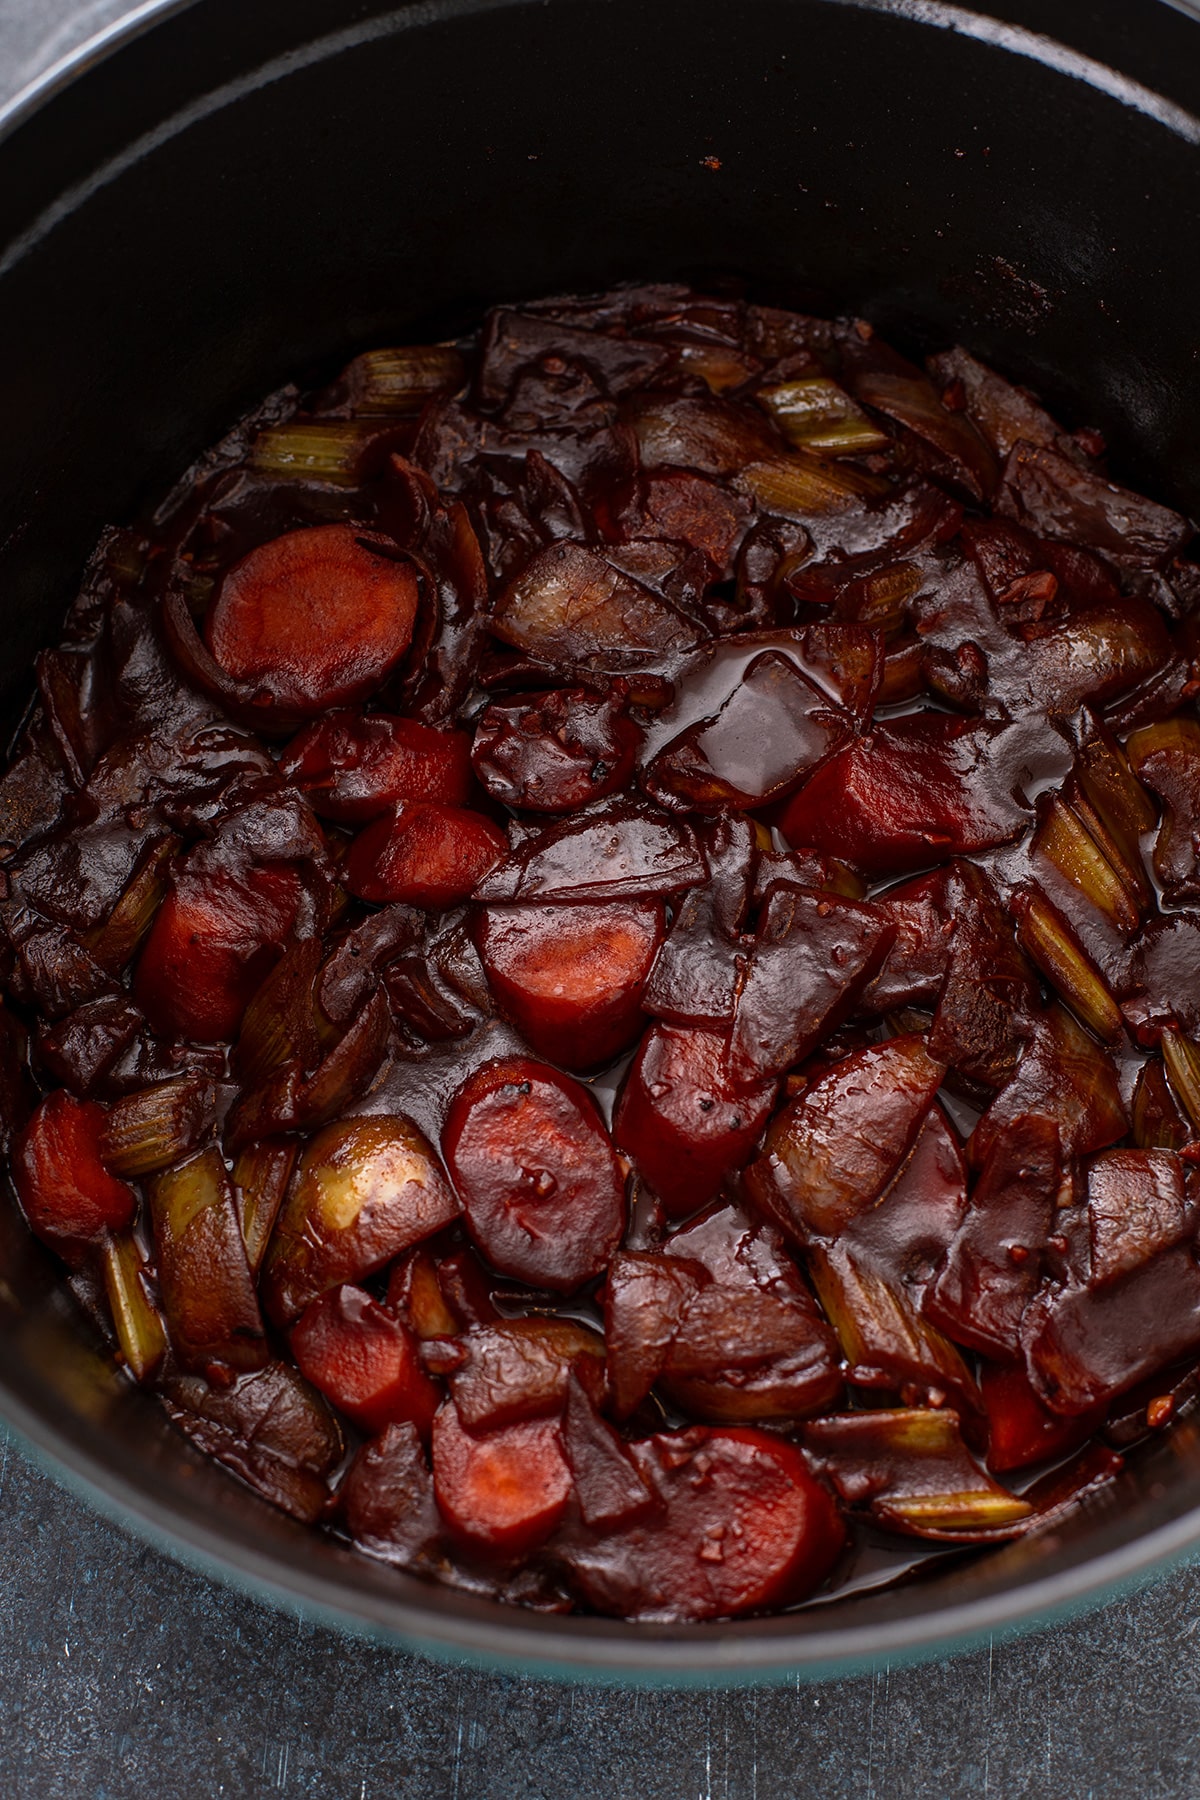
- Build the Braise: Add the beef stock, fresh thyme, and bay leaves. Return the short ribs and any accumulated juices to the Dutch oven. Arrange the ribs in a single layer with the meaty sides facing down or partially submerged. The liquid should reach approximately halfway to two-thirds up the ribs. Add a little more stock only if necessary.
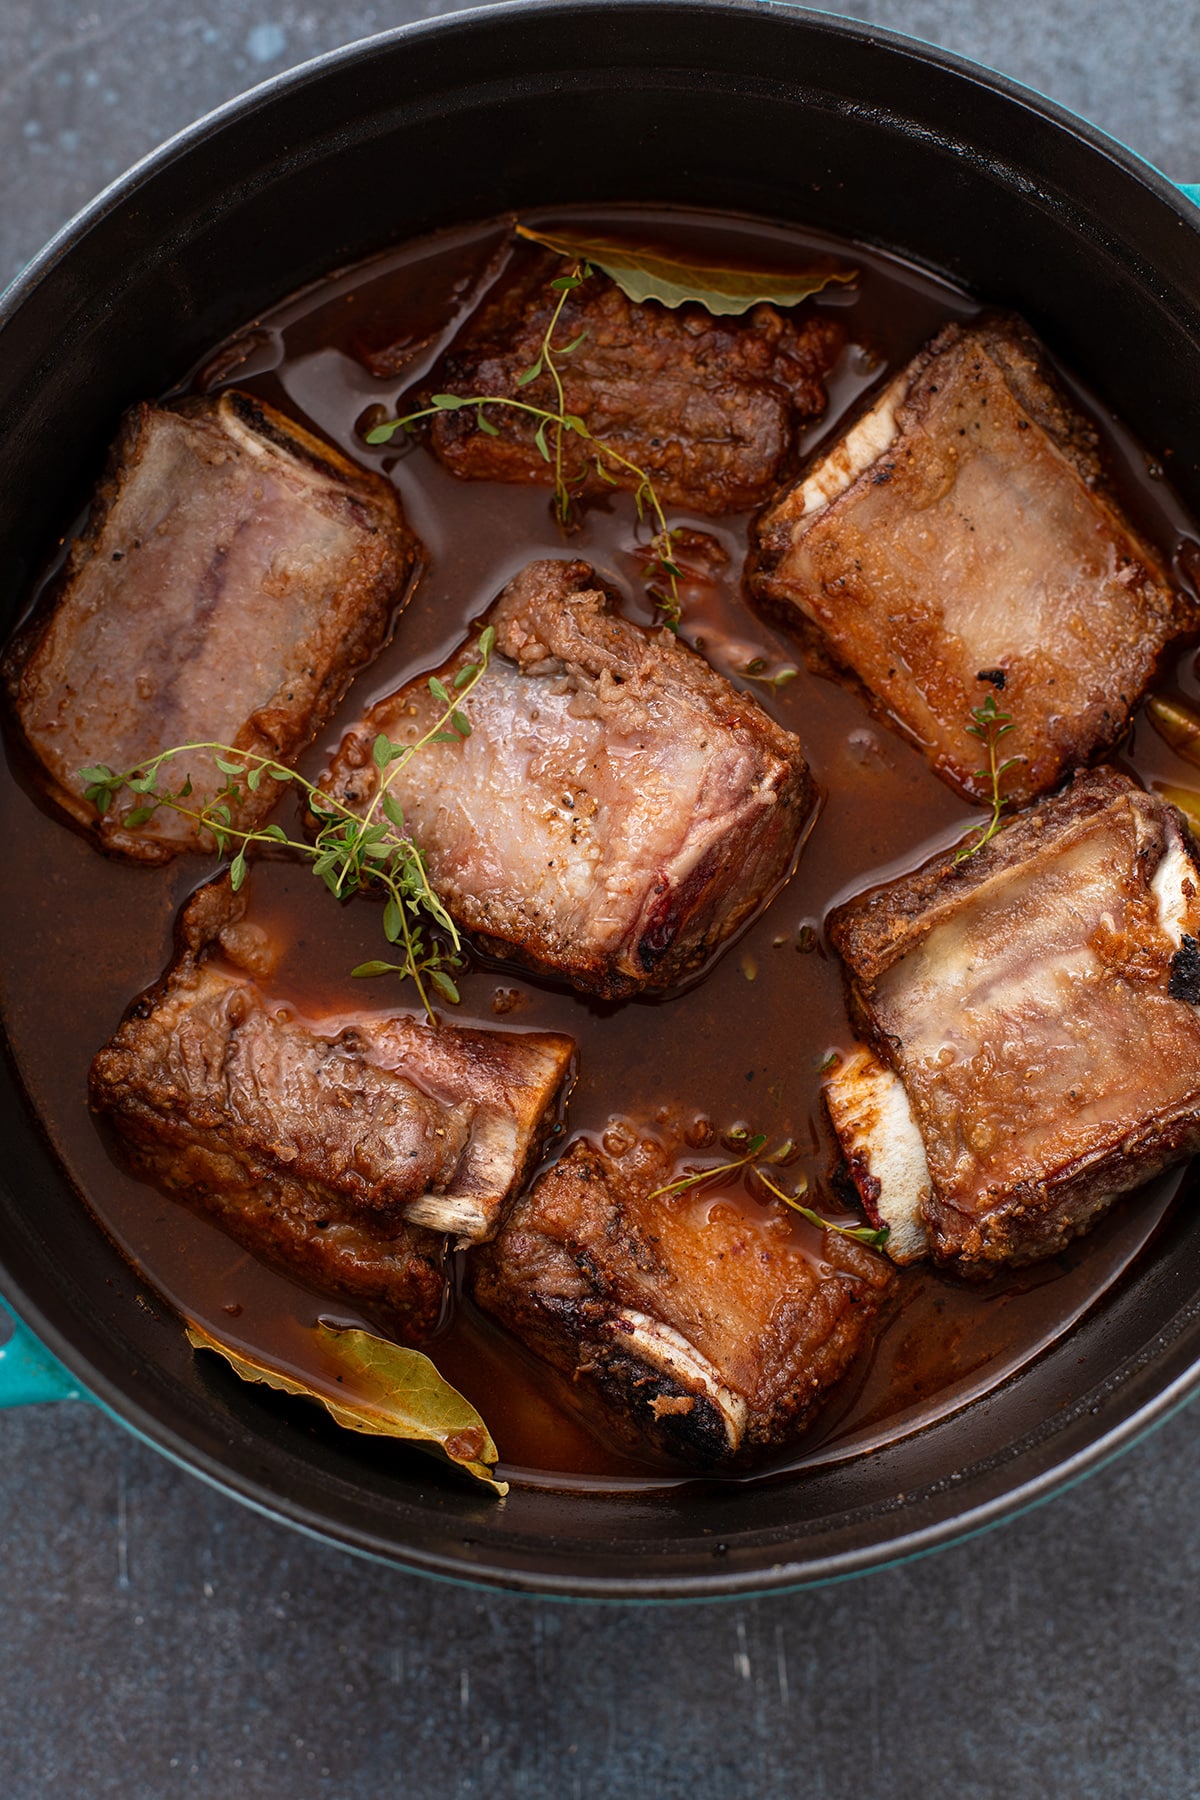
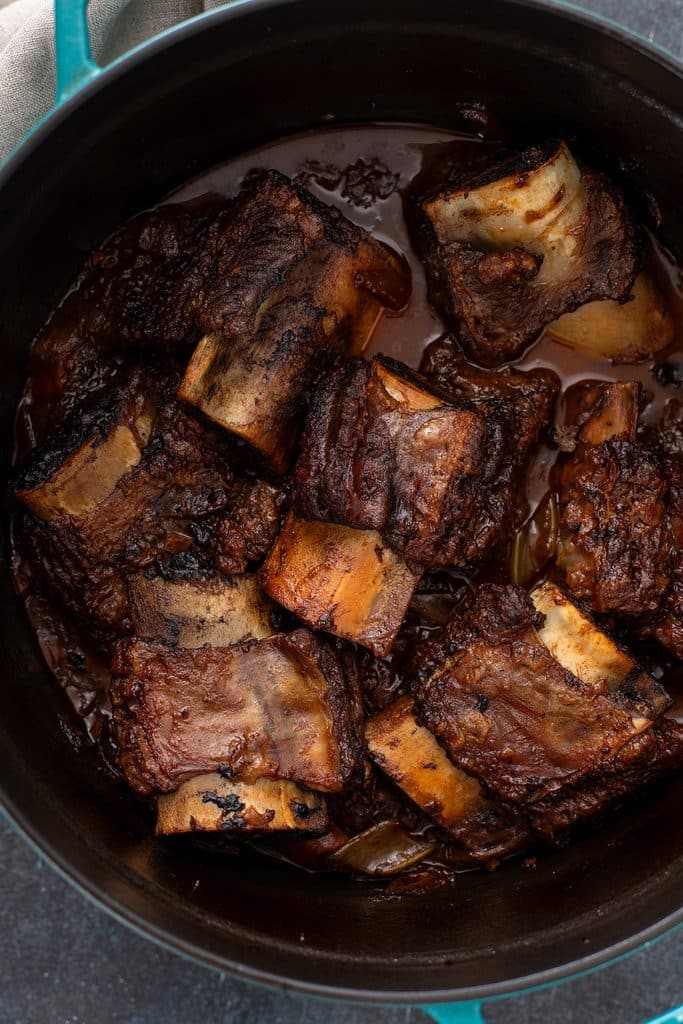
- Braise Until Tender: Bring the liquid to a gentle simmer, cover the Dutch oven, and transfer it to the oven. Braise for 2½ to 3½ hours, turning the ribs once about halfway through. The ribs are ready when a fork or thin skewer slides into the thickest part of the meat with very little resistance. If the beef still feels firm, it needs more time.
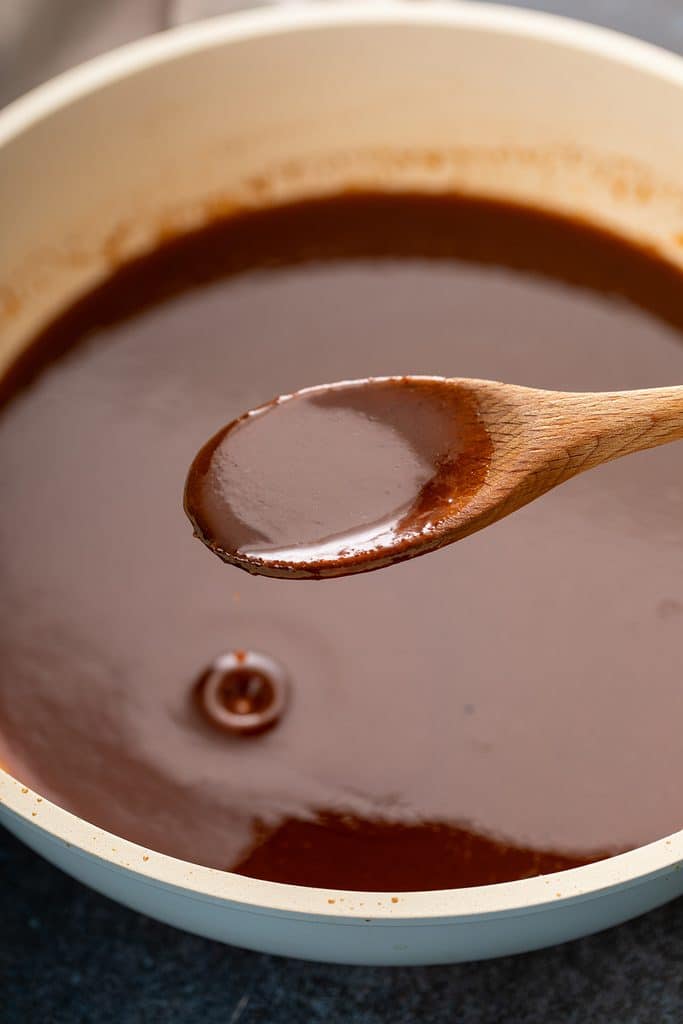
- Strain and Skim the Sauce: Carefully transfer the short ribs to a platter and tent loosely with foil. Remove the thyme stems and bay leaves. Strain the braising liquid through a fine-mesh sieve into a saucepan, pressing gently on the vegetables to extract their flavorful liquid. Allow the sauce to settle briefly, then skim off as much fat as possible.
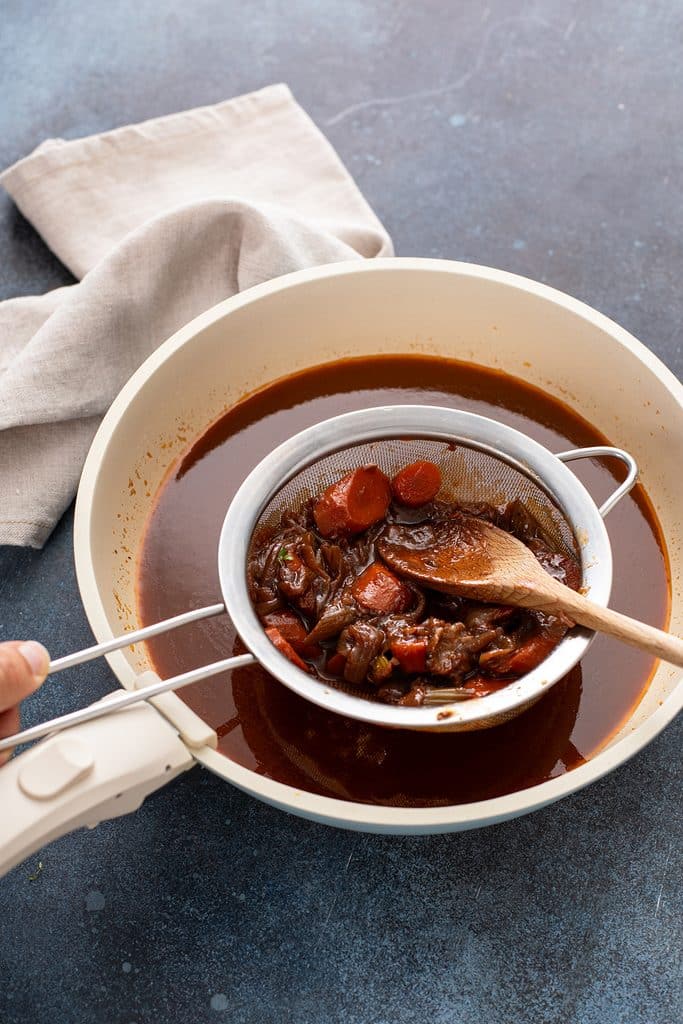
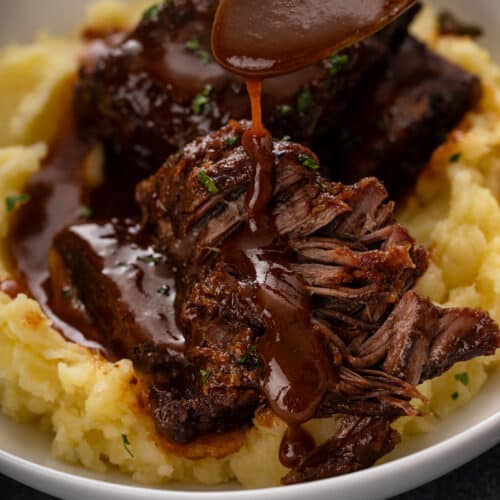
- Reduce, Season, and Serve: Simmer the strained sauce for 5 to 15 minutes, or until rich and lightly thickened. Taste and adjust the seasoning with salt and black pepper. If the sauce tastes rich but slightly flat, stir in 1 teaspoon of red wine or sherry vinegar. Taste before adding more. Return the ribs to the sauce and warm gently. Serve over mashed potatoes or creamy polenta, spooning plenty of that delicious red wine sauce over the top.

Chef Kathy’s Tips for the Best Short Ribs
- Choose the meatiest short ribs: Short ribs are sold by weight, including the bone. Look for pieces with generous meat above the bone and good marbling throughout. Don’t assume the cheapest package is the best value.
- Brown the beef well: Browning develops savory, roasted flavors through a process called the Maillard reaction. Don’t crowd the pot or rush this step. Properly browned ribs and the flavorful bits left in the pot give the sauce greater depth.
- Use a light flour coating: A little flour helps create a browned crust and contributes to the sauce’s body. Too much can burn during searing and leave the sauce with a pasty texture.
- Reduce the wine before adding the stock: Simmering the wine uncovered concentrates its flavor before the slow braise. This is especially helpful because the covered Dutch oven retains most of its moisture during cooking.
- Keep the braise gentle: Short ribs contain collagen, a tough connective tissue that gradually breaks down into gelatin during prolonged moist cooking. This makes the meat tender and contributes to the sauce’s silky texture. An aggressive boil can tighten the muscle fibers and leave the meat drier, so slow and gentle is the way to go.
- Cook to tenderness, not the clock: Short ribs can be fully cooked long before they’re tender. If a skewer meets resistance, cover the pot and continue braising, checking every 20 to 30 minutes.
- Tender doesn’t have to mean falling off the bone: Ideally, the meat should be exceptionally tender but still hold together when lifted from the pot. If the bones slip out, the ribs will still taste delicious; they’re simply past the point of neat restaurant-style presentation.
- Remove the excess fat: Short ribs release a considerable amount of fat during cooking. Skimming the finished sauce makes a big difference. Making the recipe a day ahead is particularly helpful because the fat solidifies in the refrigerator and lifts right off.
- Finish the sauce by taste: Reduction concentrates both flavor and salt. Adjust the seasoning after the sauce has reached its final consistency. If it tastes heavy or flat, a small splash of vinegar can provide the acidity needed to balance the richness.
Tested in Kathy’s kitchen. What cooking means to me.
🚨 Troubleshooting Short Ribs
Short ribs are still tough: They need more braising time. Cover the pot and return it to the oven, checking every 20 to 30 minutes until tender.
Sauce is too thin: Simmer the strained sauce a little longer. The small amount of flour, natural gelatin, and reduction should provide enough body without adding cornstarch.
Sauce is too thick: Add a little beef stock and simmer briefly until it reaches the consistency you prefer.
Sauce tastes greasy: Remove more fat from the surface. For the easiest fat removal, refrigerate the ribs in their braising liquid overnight and skim the solidified fat the next day.
💡 What to Serve with Short Ribs
Braised short ribs deserve something that can soak up every last spoonful of that incredible sauce. I love serving them over polenta, mashed potatoes with a simple vegetable on the side. And don’t underestimate a good piece of crusty bread. Leaving that delicious sauce behind would be a shame!
- Creamy Instant Pot Mashed Potatoes: Rich, fluffy mashed potatoes are the perfect base for tender beef and red wine gravy.
- Slow Cooker Mashed Potatoes: A great option when entertaining because they don’t take up space on the stovetop.
- Creamy Polenta: Buttery, Parmesan-rich polenta is especially delicious with slow-braised beef.
- Garlic Butter Noodles: Simple, buttery noodles are another delicious way to enjoy the sauce.
- Sautéed Green Beans: Bright green beans with garlic, lemon, Parmesan, and pistachios provide a nice contrast to the rich beef.
If you love cozy, slow-cooked beef dinners, you may also enjoy my Beef Stew with Red Wine.
Hosting this year?
Which Thanksgiving Are You Hosting?
I wrote four complete menus so you can plan only the dinner you can actually pull off. Each one has its own shopping list, oven schedule and hour-by-hour plan.
✓
Cooking for 2–4
Menu 1 · Turkey breast, one oven, planned leftovers
✓
A classic dinner for 8–12
Menu 2 · Brined turkey, half the work done Wednesday
✓
A big crowd, 12–16
Menu 3 · Ham and slow cooker turkey; guests bring the rest
✓
Vegetarian guests
Menu 4 · Stuffed acorn squash with mushroom gravy
Free 40-page printable, with a thawing chart, a “What can I bring?” sheet and my fixes for when things go sideways.
❄️ Make-Ahead, Storage, Freezing & Reheating
✔️ Make-Ahead Instructions
Braised short ribs are one of my favorite kinds of make-ahead dinners. They reheat beautifully, and preparing them the day before makes it easier to remove excess fat from the sauce. Braise the ribs as directed, but wait until the next day to finish the sauce. Cool the ribs promptly in their braising liquid, using shallow containers if necessary to speed cooling, and refrigerate within 2 hours.
The following day:
- Remove the layer of solidified fat from the surface.
- Carefully transfer the ribs to a plate.
- Strain the braising liquid and reduce it until lightly thickened.
- Return the ribs to the sauce and reheat in a covered 325°F (163°C) oven until thoroughly heated
✔️ Refrigerate Leftovers
Store leftover short ribs with their sauce in an airtight container in the refrigerator for 3 to 4 days. Keeping the meat in the sauce helps prevent it from drying out.
✔️ Freezing
Braised short ribs freeze beautifully! Transfer the cooled ribs and sauce to freezer-safe containers, leaving enough room for expansion. Freeze for up to 3 months for best quality. Thaw overnight in the refrigerator before reheating.
✔️ Reheating
Place the ribs and sauce in a covered Dutch oven or oven-safe dish. Reheat in a 325°F (163°C) oven until heated through to 165°F (74°C). Smaller portions can also be reheated on the stovetop over gentle heat. Avoid vigorous boiling, which can cause the tender beef to fall apart.
💛 Conscious Bites
Your priorities, your recipe. Learn about Intentional Cooking.

Time & Convenience: Braised short ribs look like an all-day project, but the active work is about 35 minutes. Make them the day before a gathering and the next day is mostly reheating, which frees you up to enjoy your guests. Great for celebrations and holiday meals.

Animal Welfare: If how cattle are raised matters to your family, a local butcher or farm is a good place to start. They can usually tell you where the beef comes from, how it was raised, and even cut thick, English-style short ribs to order.

Finances: Short ribs aren’t the cheapest cut of beef, but choosing meaty pieces instead of packages with mostly bone and fat helps you get more for your money. Making this restaurant-style dinner at home can also be considerably less expensive than ordering it out, especially when you turn leftovers into another meal.
👀 Take a look at these other favorite recipes:


🛒 Essentials you’ll adore for this recipe
-

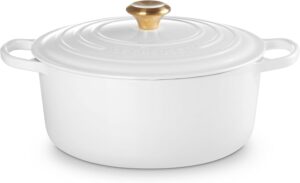
Le Creuset Enameled Cast Iron Dutch Oven
This is the Rolls-Royce of Dutch ovens. An investment piece that lasts a lifetime. High quality, easy to clean, durable with perfect heat distribution. Definitely an investment piece. 7.5 Qt capacity. Available in many colors.
-

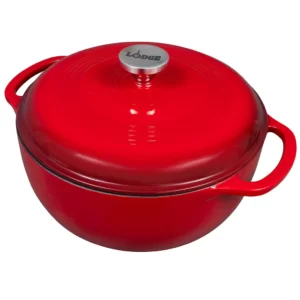
Lodge Cast Iron Dutch Oven
This 7.5 Qt Dutch oven is of good quality and great value for the price, especially if compared to more expensive brands like Le Creuset. I own several Lodge pieces and I love them all. Available in many colors.
Red Wine Braised Short Ribs Recipe

Equipment
Ingredients
- 4½ to 5 pounds meaty English-cut bone-in beef short ribs, preferably 6 to 8 ribs
- 2½ teaspoons sea salt or Kosher salt, plus more as needed (see salt note)
- 1 teaspoon ground black pepper
- ¼ cup all-purpose flour, for dusting
- 2 to 3 tablespoons oil (olive oil, vegetable oil or avocado oil), divided
- 1 large onion, chopped
- 2 medium carrots, peeled and chopped
- 2 celery ribs, chopped
- 2 tablespoons tomato paste
- 4 garlic cloves, minced
- 2 cups dry red wine, such as Cabernet Sauvignon, Merlot, or a red blend
- 2½ cups beef stock, plus more if needed
- 5 sprigs fresh thyme
- 2 bay leaves
- 1 to 2 teaspoons red wine vinegar or sherry vinegar, optional
- Chopped fresh parsley, for serving, optional
Instructions
- Season the short ribs: Pat the short ribs thoroughly dry with paper towels. Season them on all sides with salt and black pepper. For deeper seasoning, refrigerate them uncovered for several hours or overnight. Let them sit at room temperature for about 30 minutes before browning.
- Preheat the oven: Arrange a rack in the lower third of the oven and preheat to 325°F (163°C).
- Dust the ribs with flour: Place the flour in a shallow dish. Lightly coat the short ribs on all sides, shaking off as much excess flour as possible. The coating should be thin and barely visible.
- Brown the short ribs: Heat 2 tablespoons of oil in a large Dutch oven over medium-high heat. Working in batches to avoid crowding the pot, brown the ribs deeply on the two broadest meaty sides, about 3 to 4 minutes per side. Brown the edges briefly if needed. Transfer the ribs to a plate and repeat with the remaining ribs, adding more oil as necessary.
- Remove excess fat: Pour off all but approximately 2 tablespoons of fat from the pot. Leave the browned bits on the bottom; they will add flavor to the sauce.
- Cook the vegetables: Reduce the heat to medium. Add the onion, carrots, and celery. Cook, stirring occasionally and scraping the bottom of the pot, until the vegetables soften and begin to brown, about 8 to 10 minutes.
- Cook the tomato paste and garlic: Add the tomato paste and cook, stirring frequently, until it darkens to a brick-red color, about 2 minutes. Add the garlic and cook until fragrant, about 30 seconds. Adding the garlic after the tomato paste helps prevent it from scorching.
- Deglaze and reduce the wine: Pour in the red wine. Bring to a boil, scraping the bottom of the pot to release all the browned bits. Cook at a lively simmer until the wine is reduced by approximately half, 12 to 18 minutes. You should have roughly 1 cup remaining.
- Build the braise: Add the beef stock, thyme, and bay leaves. Return the short ribs and any accumulated juices to the pot. Arrange the ribs in a single layer with the meaty sides facing down or partially submerged. The liquid should reach approximately halfway to two-thirds up the ribs. Add a little more stock only if necessary.
- Braise: Bring the liquid to a gentle simmer. Cover the pot and transfer it to the oven. Braise for 2½ to 3½ hours, turning the ribs once about halfway through, until the meat is very tender. A fork or thin skewer should slide into the thickest portion with little resistance. Cook according to tenderness rather than relying strictly on time.
- Rest the ribs: Carefully transfer the short ribs to a platter. Tent loosely with foil to keep warm. Remove and discard the thyme stems and bay leaves.
- Finish the sauce: Strain the braising liquid through a fine-mesh sieve into a saucepan, pressing gently on the vegetables to extract their liquid. Discard the vegetables. Allow the sauce to settle, then skim off as much fat as possible.
- Reduce as needed: Bring the sauce to a gentle simmer and cook until it reaches a rich, lightly thickened consistency, about 5 to 15 minutes. Remember that it will continue to thicken slightly as it cools.
- Season and serve: Taste and adjust the seasoning with salt and pepper. If the sauce tastes rich but slightly flat, stir in 1 teaspoon of red wine or sherry vinegar. Add the second teaspoon only if needed. Return the ribs to the sauce and warm gently before serving. Garnish with chopped parsley if desired.
Chef’s Notes
- Choose meaty ribs: Look for thick English-cut ribs with plenty of meat above the bone. Avoid packages composed mostly of bone and exterior fat.
- Flour: A light dusting is all you need. Shake off the excess to prevent burning or a pasty sauce.
- Wine: Two cups of dry red wine provide plenty of flavor once reduced. You don’t need an expensive bottle.
- Stock: Beef stock creates a rich, beef-forward sauce. Chicken stock can be substituted for a slightly lighter flavor. Adjust salt to taste since brands vary in seasoning.
- Sauce consistency: The small amount of flour, natural gelatin released by the ribs, and final reduction should provide enough body without additional flour or cornstarch.
- Doneness: The beef may be fully cooked before it becomes tender. Continue braising until a thin skewer slides into the meat with little resistance.
- Falling off the bone: The ribs should be exceptionally tender but ideally remain intact enough to lift from the pot and serve attractively. If the bones fall away, they’re still delicious!
- Make ahead: Braise the ribs one day ahead. Refrigerate promptly in their cooking liquid, then remove the solidified fat, strain and reduce the sauce, and reheat before serving.
- Storage: Refrigerate leftovers in their sauce for 3 to 4 days or freeze for up to 3 months.
Nutrition
🤔 Frequently Asked Questions
What is the difference between English-cut and flanken-cut short ribs?
English-cut short ribs are cut between the bones, leaving a thick piece of meat attached to a single bone. Flanken-cut short ribs are sliced across several bones and are usually much thinner. For this oven-braised recipe, choose meaty English-cut ribs.
How long should you braise short ribs at 325°F?
Plan on approximately 2½ to 3½ hours in the oven. Cooking time depends on the thickness and meatiness of the ribs. Start checking around 2½ hours and continue cooking until a fork or thin skewer slides into the meat easily.
Why are my braised short ribs still tough?
They usually need more cooking time. Short ribs contain a significant amount of connective tissue that requires prolonged moist cooking to soften. If the meat is still firm, cover the pot and continue braising, checking every 20 to 30 minutes.
What is the best red wine for braised short ribs?
A dry red wine such as Cabernet Sauvignon, Merlot, or a red blend works beautifully. Choose a reasonably priced wine you enjoy drinking.
Should short ribs be completely covered with braising liquid?
No. Braising uses moist heat in a covered pot with a relatively small amount of liquid. The liquid should reach about halfway to two-thirds up the ribs, rather than completely submerging them.
How many short ribs should I buy per person?
Plan on approximately ¾ pound of meaty bone-in short ribs per person, allowing for the weight of the bones. This recipe uses 4½ to 5 pounds, usually 6 to 8 ribs, to serve 6 people.
Can I make braised short ribs without red wine?
Yes, short ribs can be braised without wine, but the sauce will have a different flavor. Although I have made short ribs without wine previously, this particular recipe, has been tested with red wine is a key ingredient.




Leave a Reply