

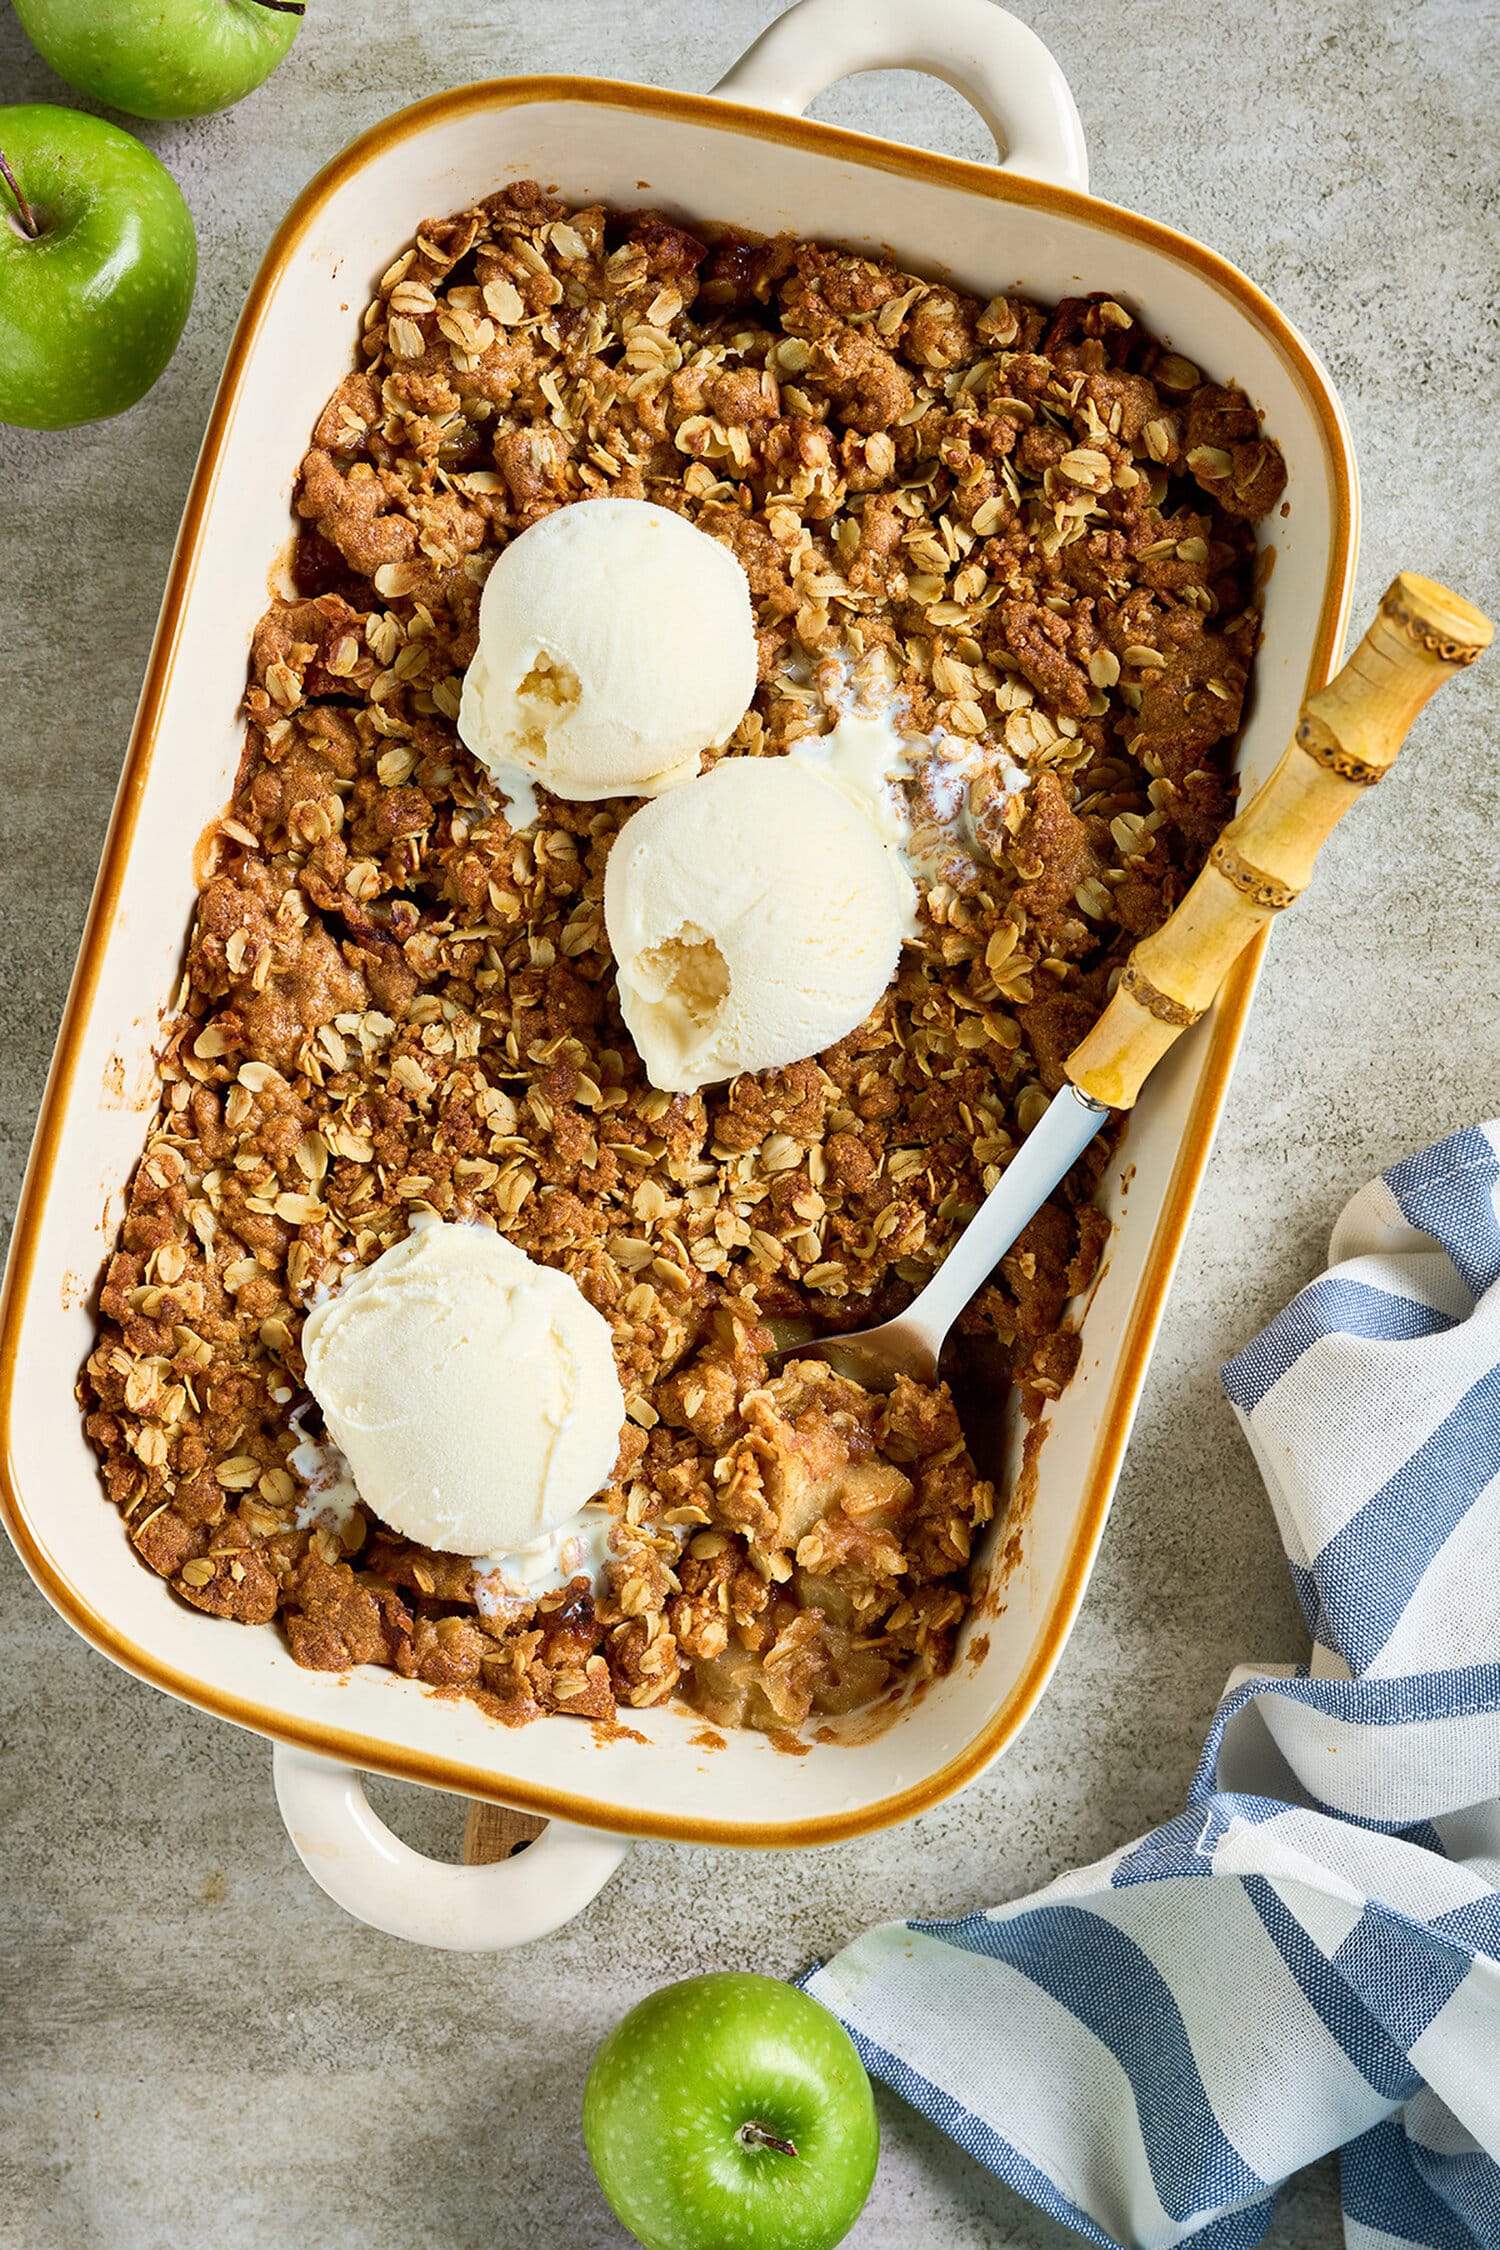

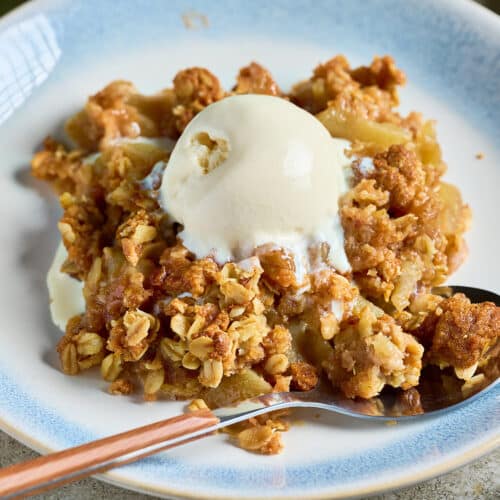
The apple filling is intentionally lightly sweetened so the flavor of the apples comes through, while the golden oat topping adds plenty of buttery, brown sugar goodness. It’s especially perfect during apple season, but because apples are available year-round, there’s really no reason to save this one just for fall.
Apple crisp happens to be my best friend’s favorite dessert, so I’ve made it for her more times than I can count when she comes over for dinner – and definitely not only in autumn. It’s one of those dependable desserts I love having in my back pocket: easy to make, hard to mess up, and always loved by everyone at the table.
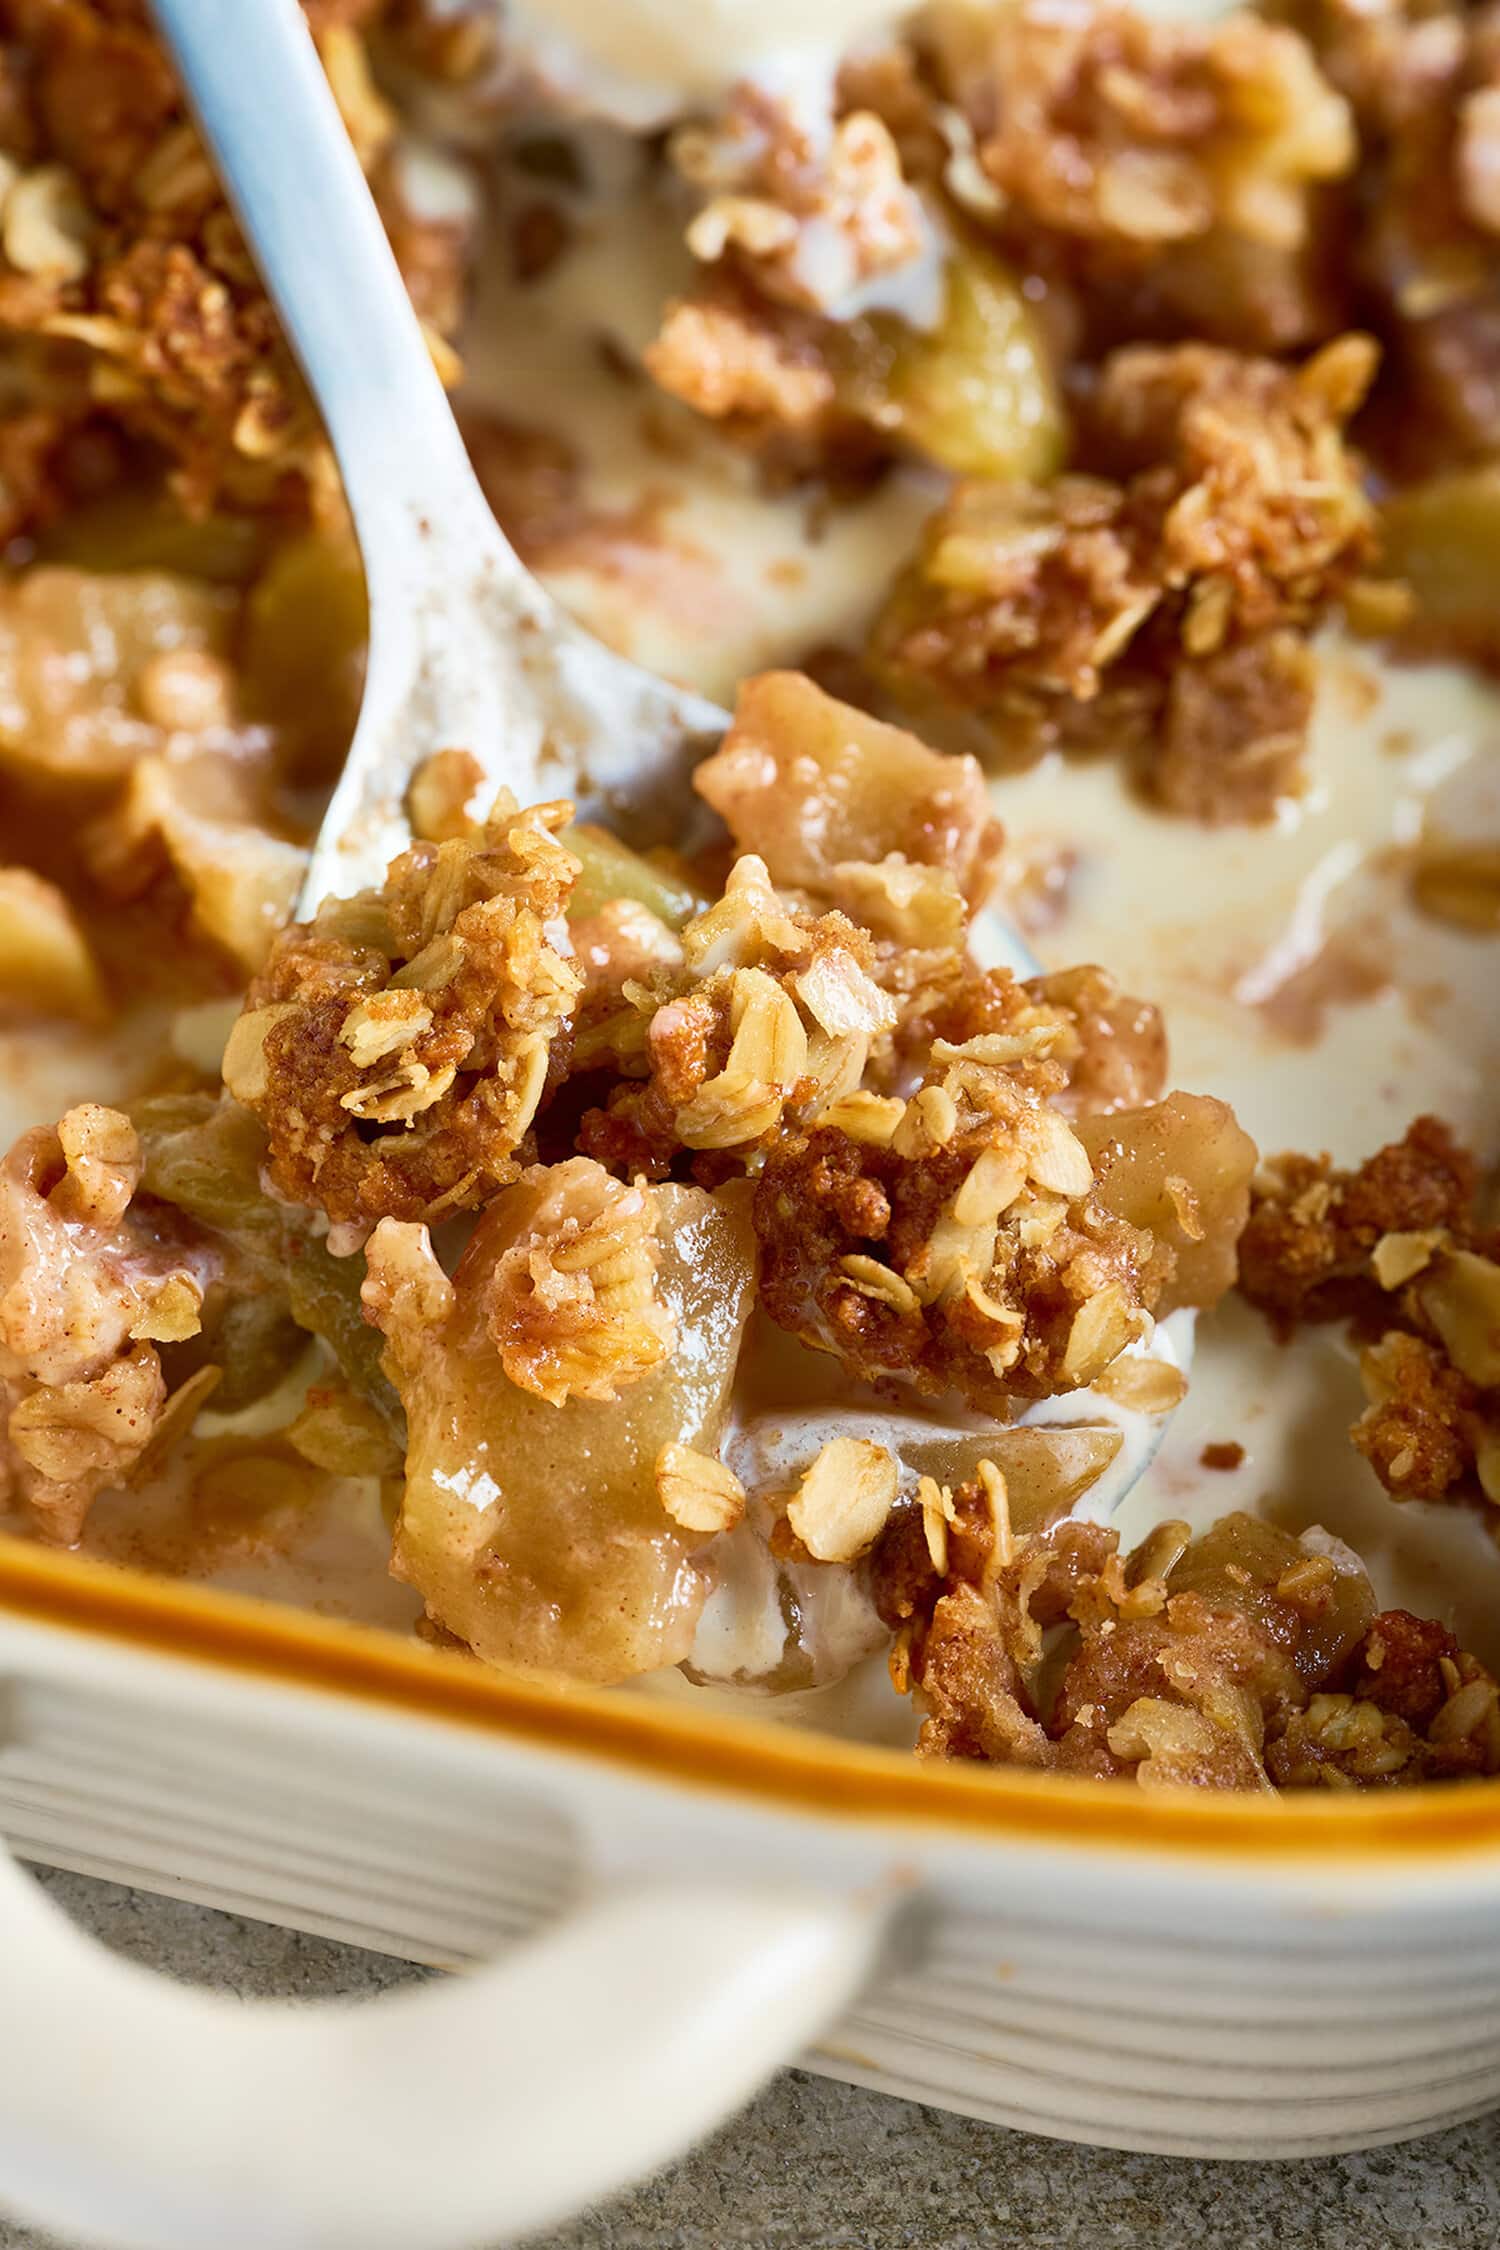
⭐️ Recipe Highlights
- Quick & Easy: About 15 minutes of prep with no pie dough and no precooking the apples.
- Flavor: Tender cinnamon-spiced apples with a buttery brown sugar oat topping. Pure comfort food in dessert form.
- Budget-Friendly: Makes a generous 9 x 13-inch dessert using apples and common inexpensive pantry staples.
- Customizable: Use one variety of apple or combine sweet and tart apples for a more complex flavor.
- Dietary: Vegetarian, egg-free and nut-free. Contains dairy and wheat.
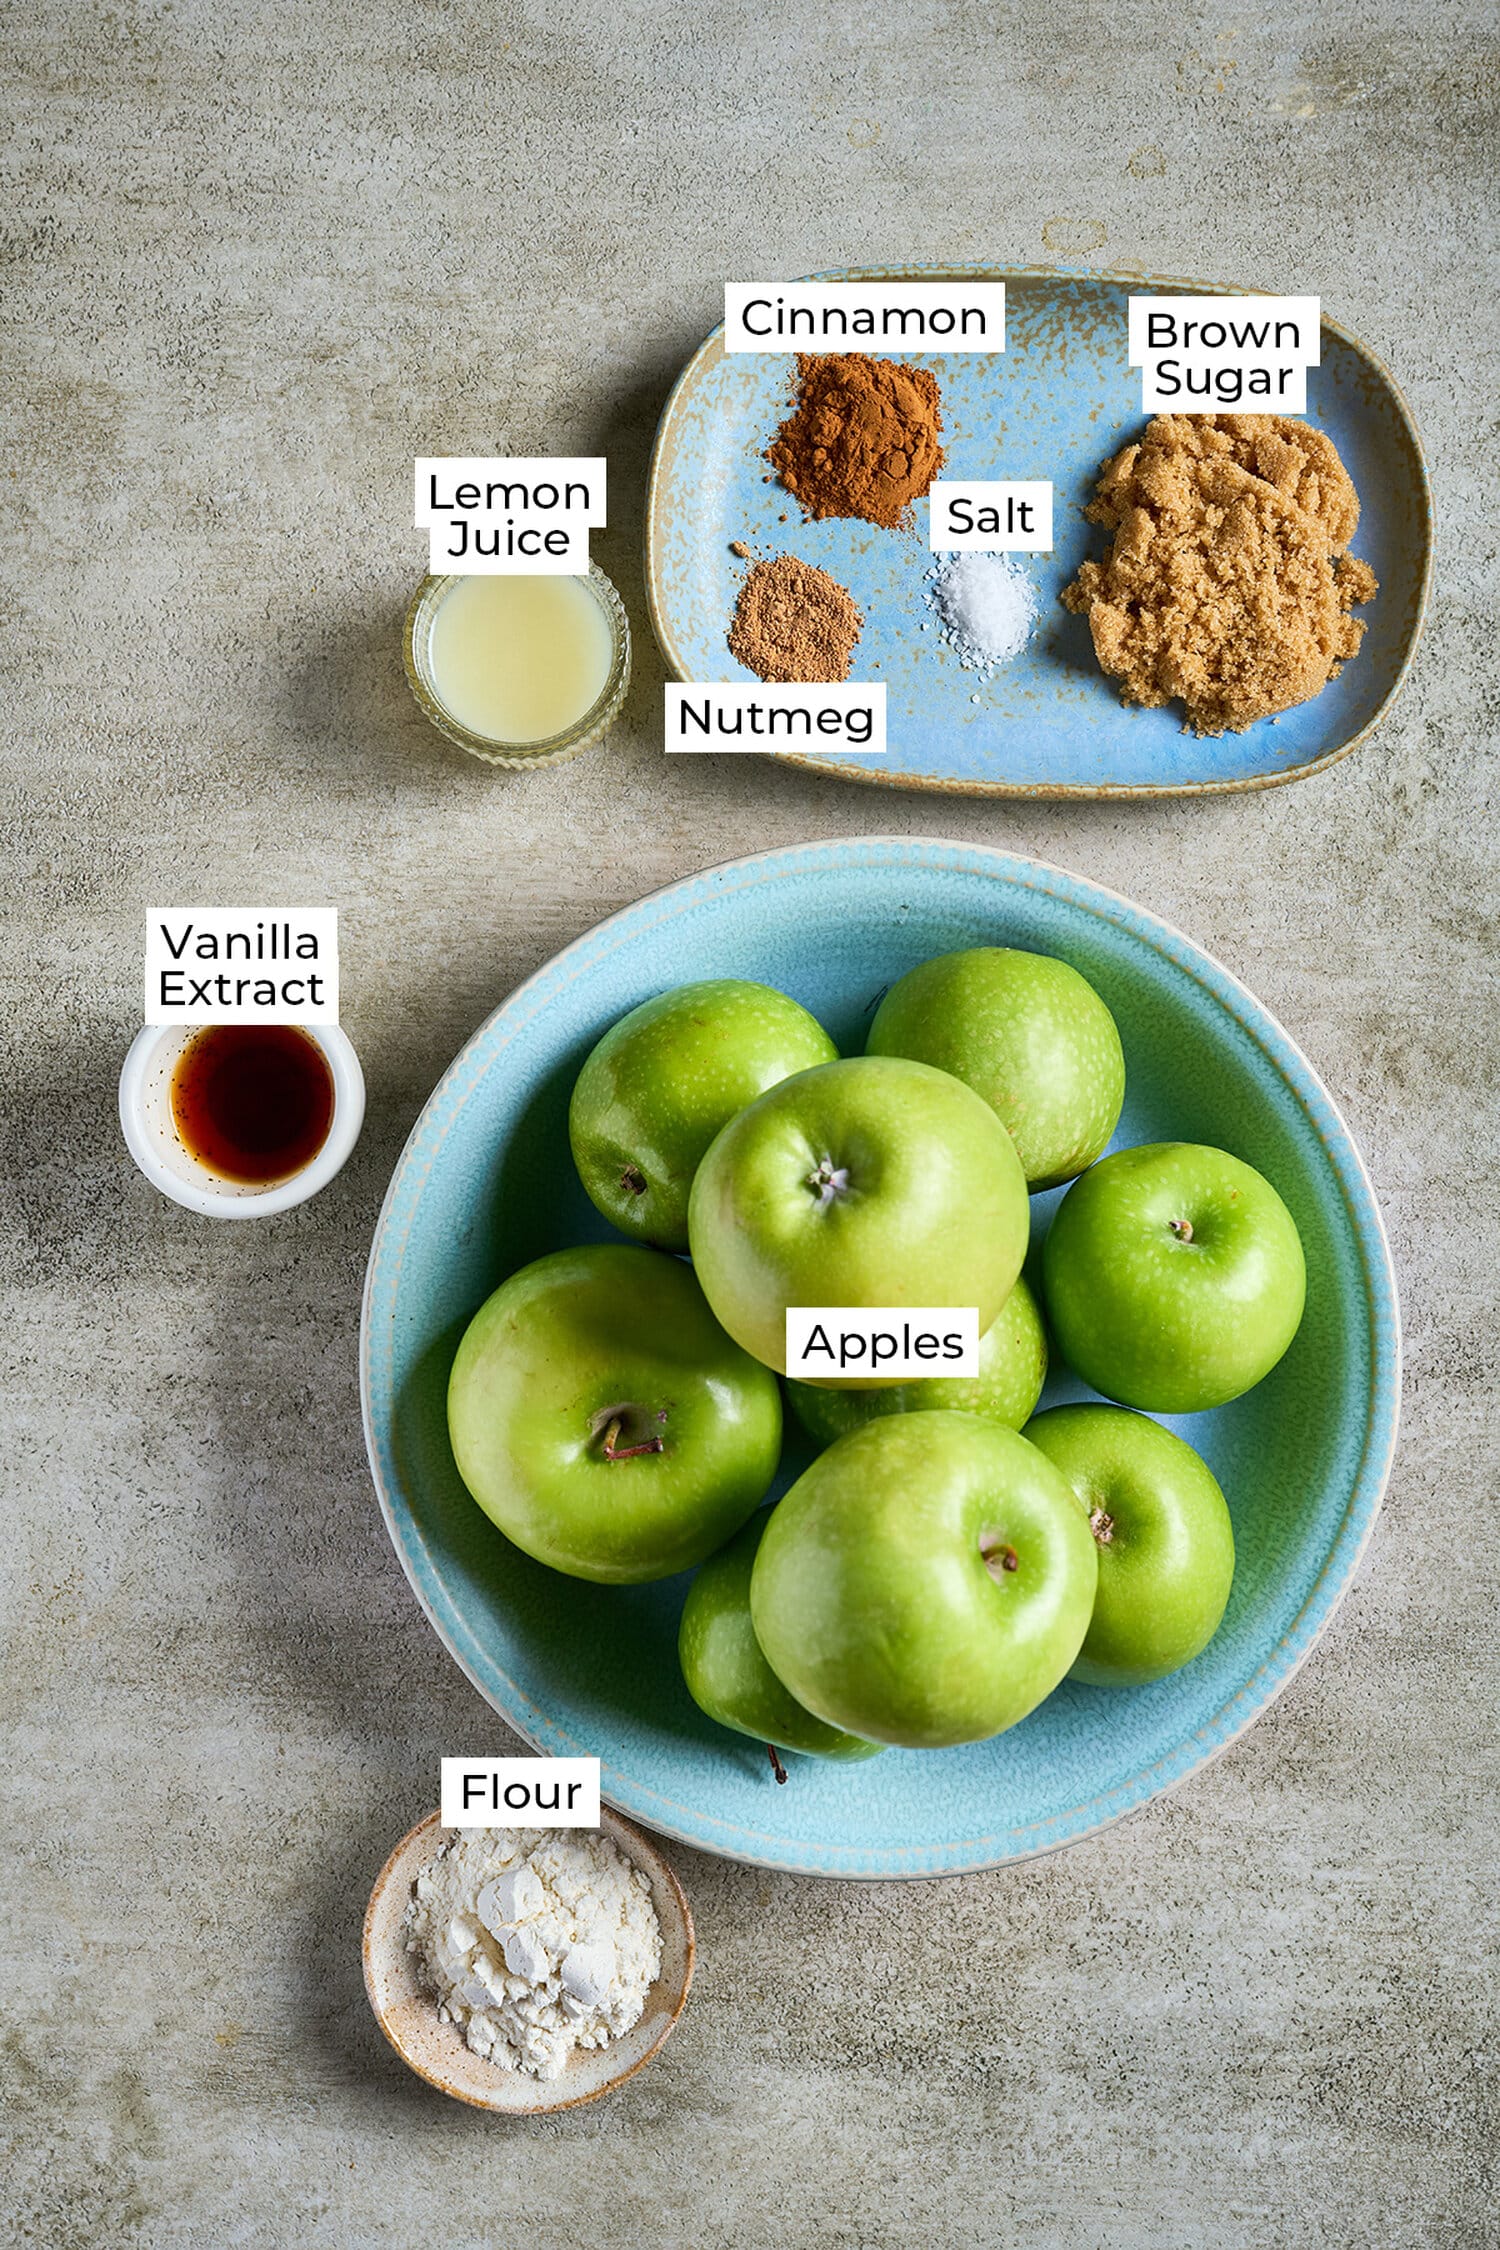
🔎 Ingredients You’ll Need

For the complete list of ingredients and exact quantities, check the printable recipe card below.
✔️ For the Apple Filling
- Apples: Firm baking apples give you the best texture. I like Granny Smith, Pink Lady, Honeycrisp, Braeburn and Jazz, or a combination of different varieties. Mixing different types of apples results in a dessert with different textures and a perfect balance of sweetness and tartness.
- Lemon juice: Adds a little acidity to balance the sweetness and brighten the flavor of the apples.
- All-purpose flour: As the apples bake, they release quite a bit of juice. The flour helps thicken those juices into a soft, saucy filling rather than leaving liquid at the bottom of the baking dish.
- Brown sugar: There are only 3 tablespoons in the filling. I intentionally keep the apples lightly sweetened because the oat topping provides plenty of sweetness.
- Cinnamon and nutmeg: Warm spices that complement the apples without overpowering them.
- Salt: A small amount balances the sweetness and enhances the flavor of the filling.
- Vanilla extract: Adds warmth and rounds out the cinnamon, brown sugar and apple flavors.
✔️ For the Oat Topping
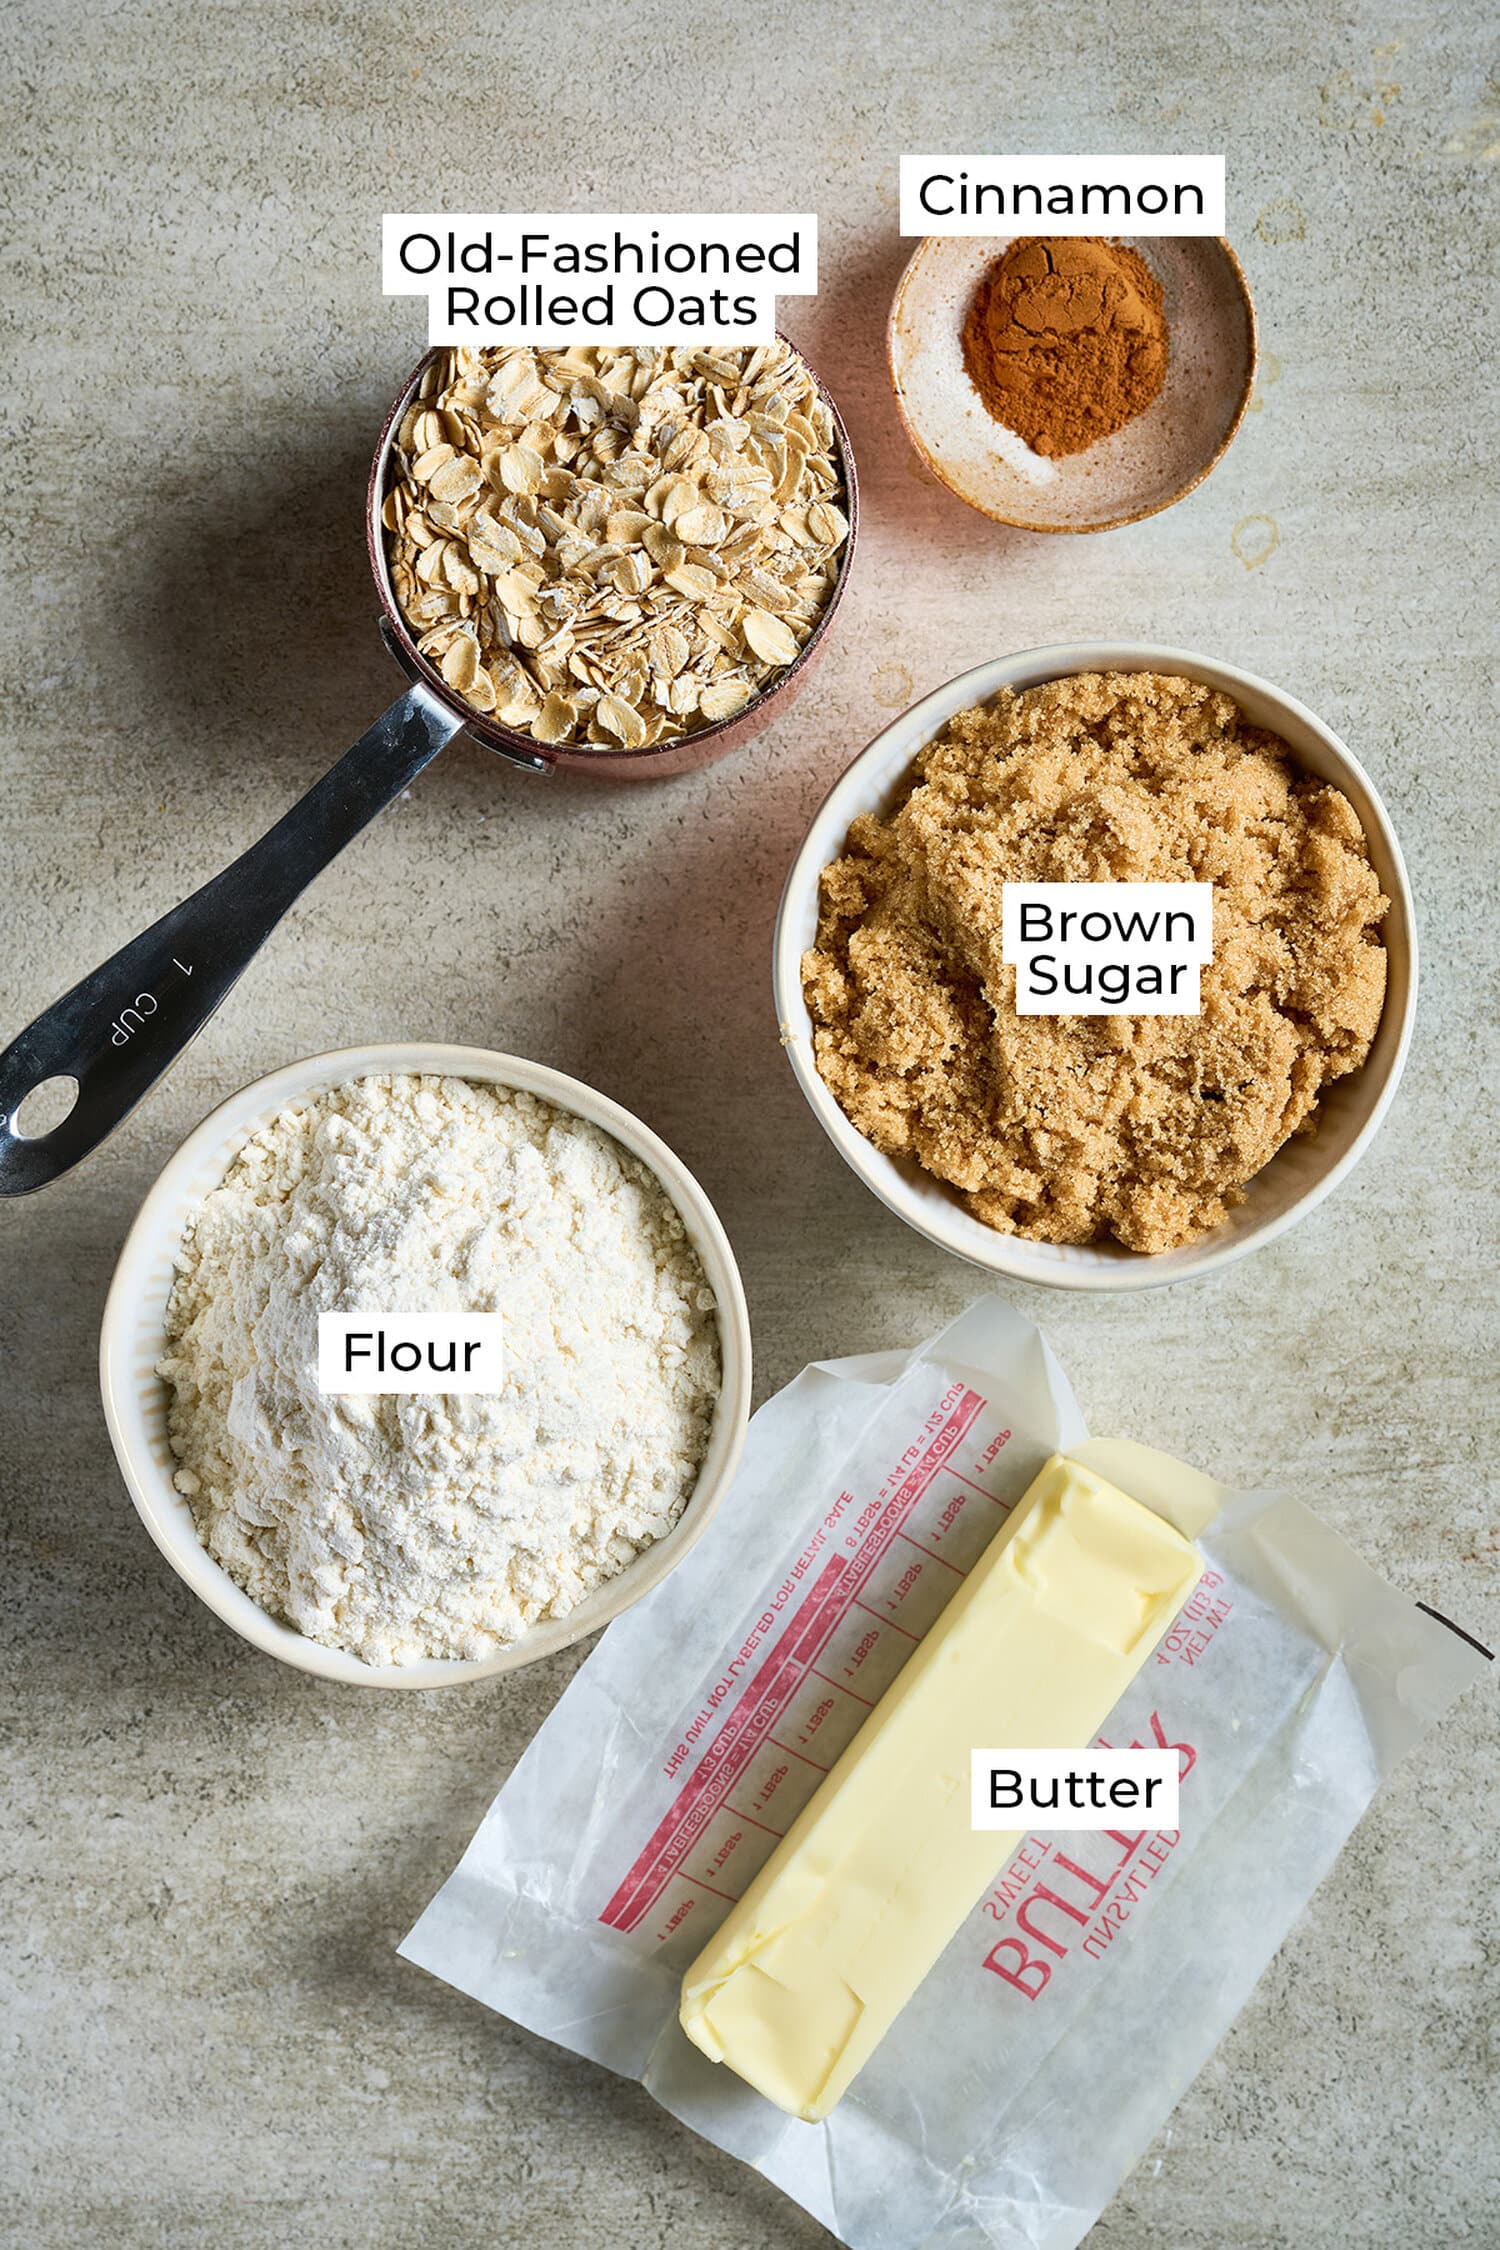
- All-purpose flour: Gives the topping structure and helps create buttery crumbs.
- Brown sugar: Adds sweetness along with a deeper caramel-like flavor.
- Cinnamon: Adds another layer of warm spice to the topping.
- Cold unsalted butter: Keep the butter cold. Working cold butter into the flour creates irregular crumbs that bake into a crisp, buttery topping. I’ve previously made this recipe with salted butter with good results so in a pinch, feel free to use it.
- Old-fashioned rolled oats: Old-fashioned oats give the topping its hearty texture and visible oat pieces. Quick oats are much finer and won’t give you quite the same chunky crumble. Steel-cut oats are not a substitute here.
🔎 How to Make Apple Crisp
Scroll down to the printable recipe card below for detailed instructions and cooking times.
- Prepare the oven and baking dish: Preheat the oven to 350ºF (177ºC). Lightly grease a 9 x 13-inch baking dish with butter or cooking spray.
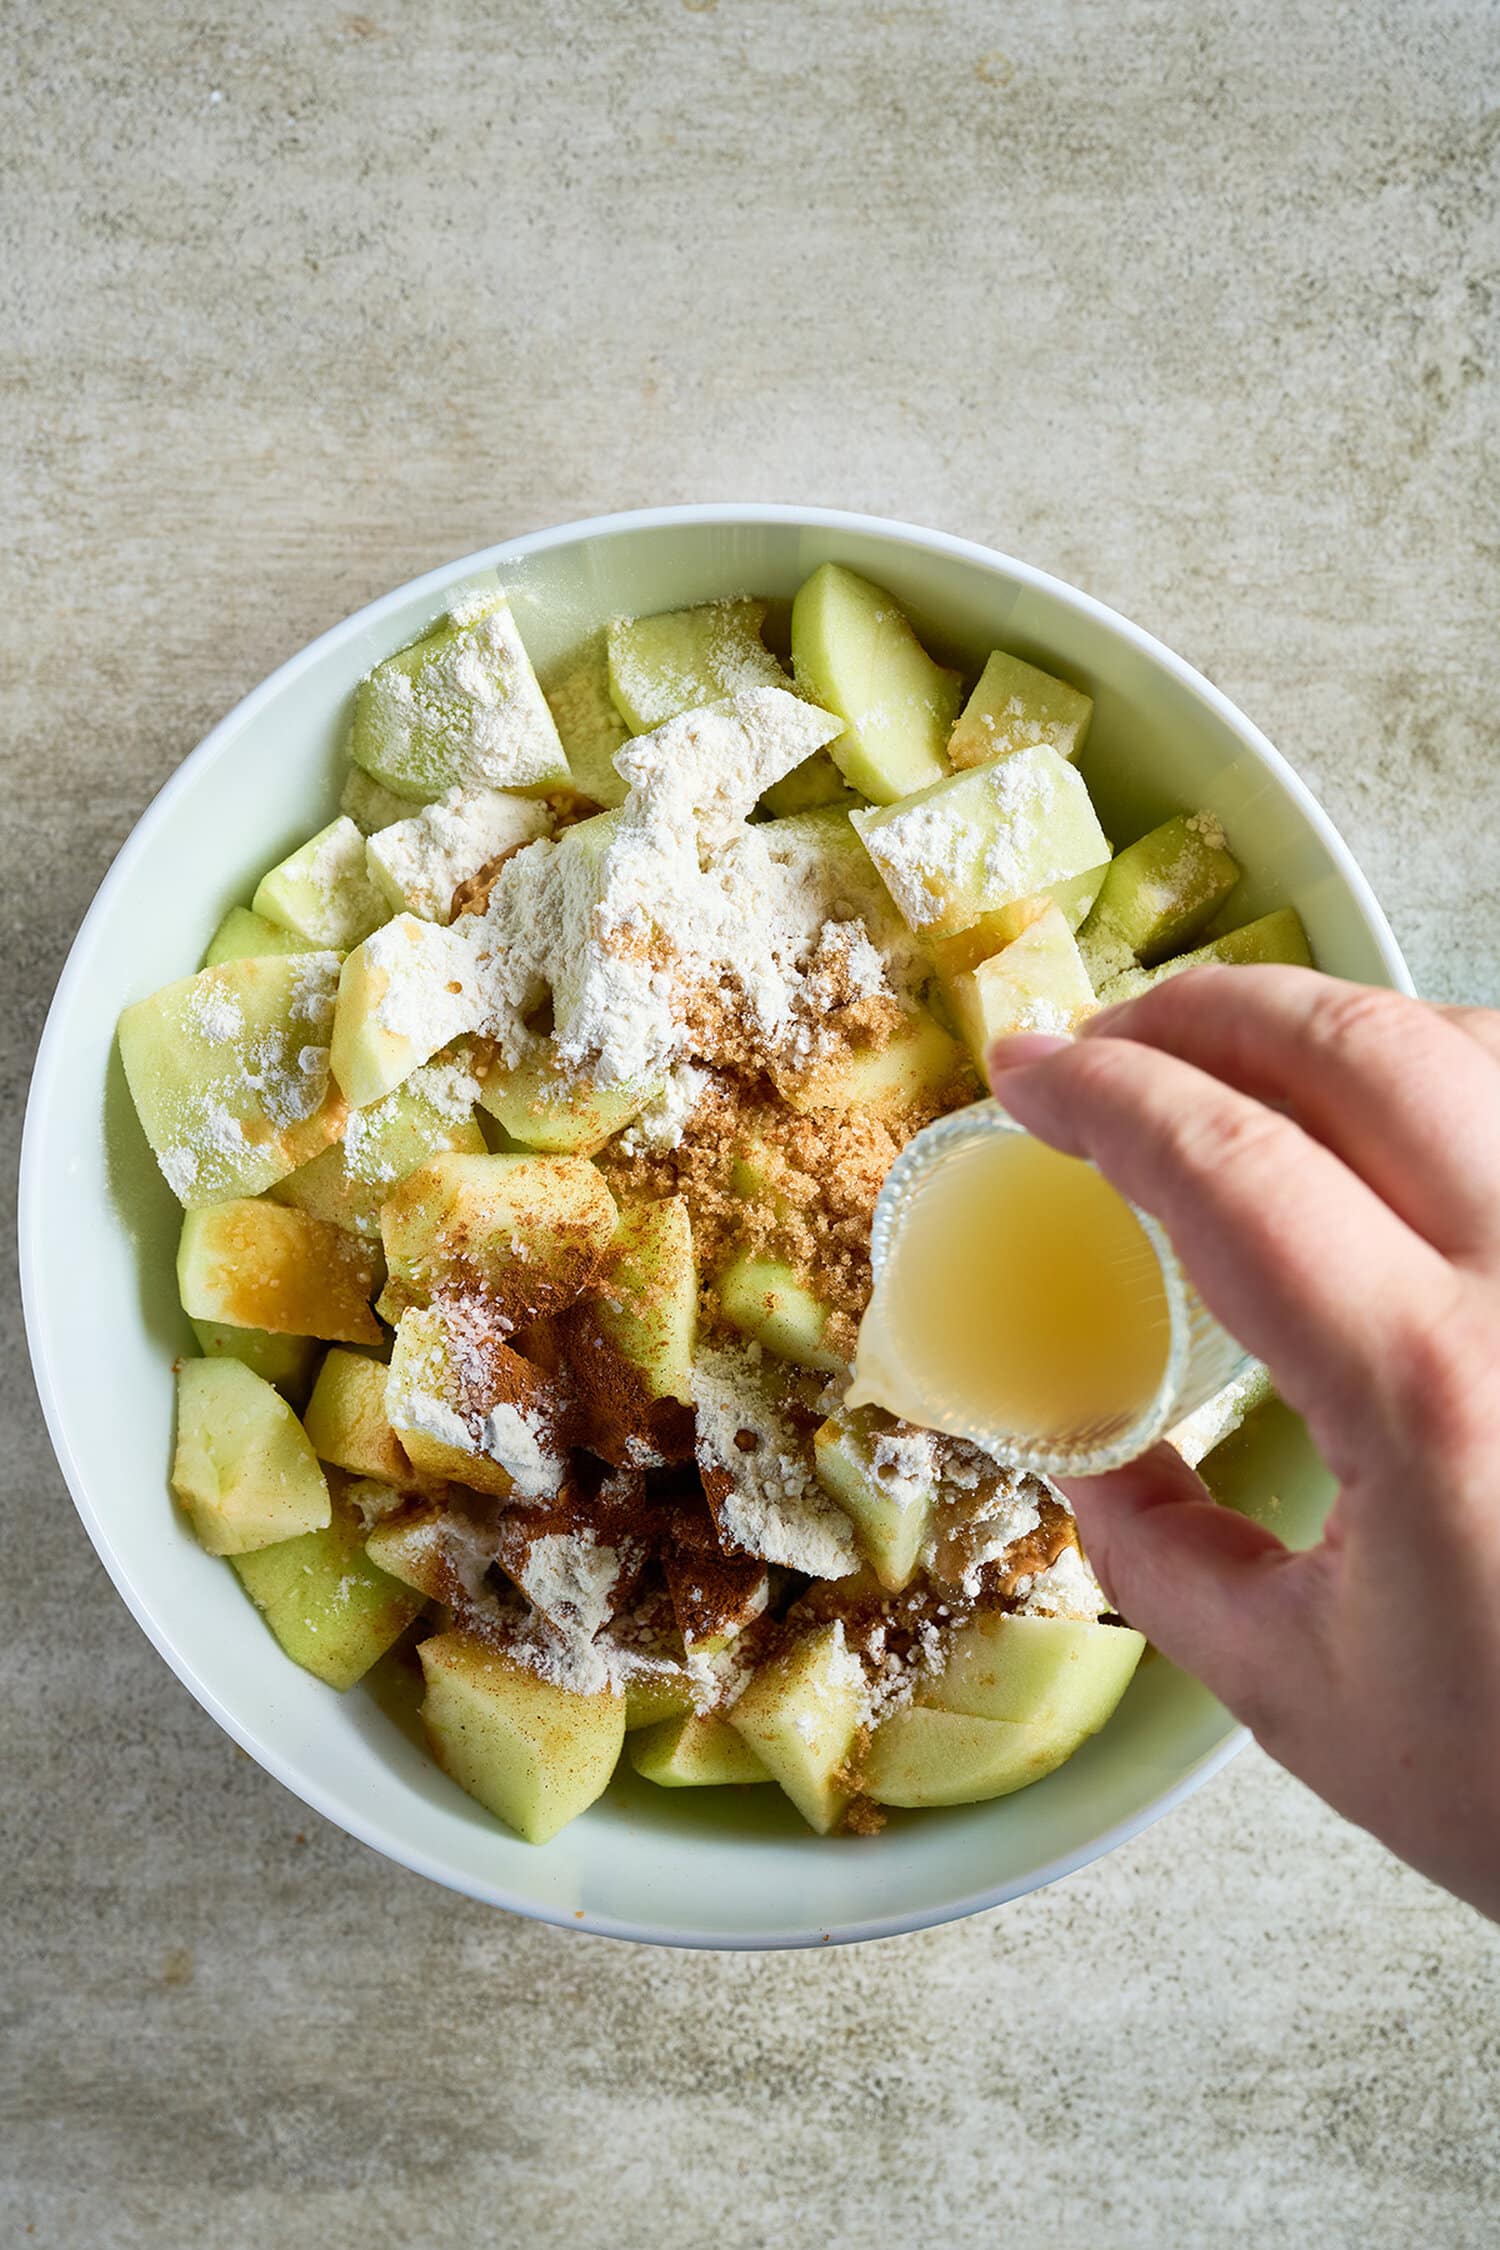
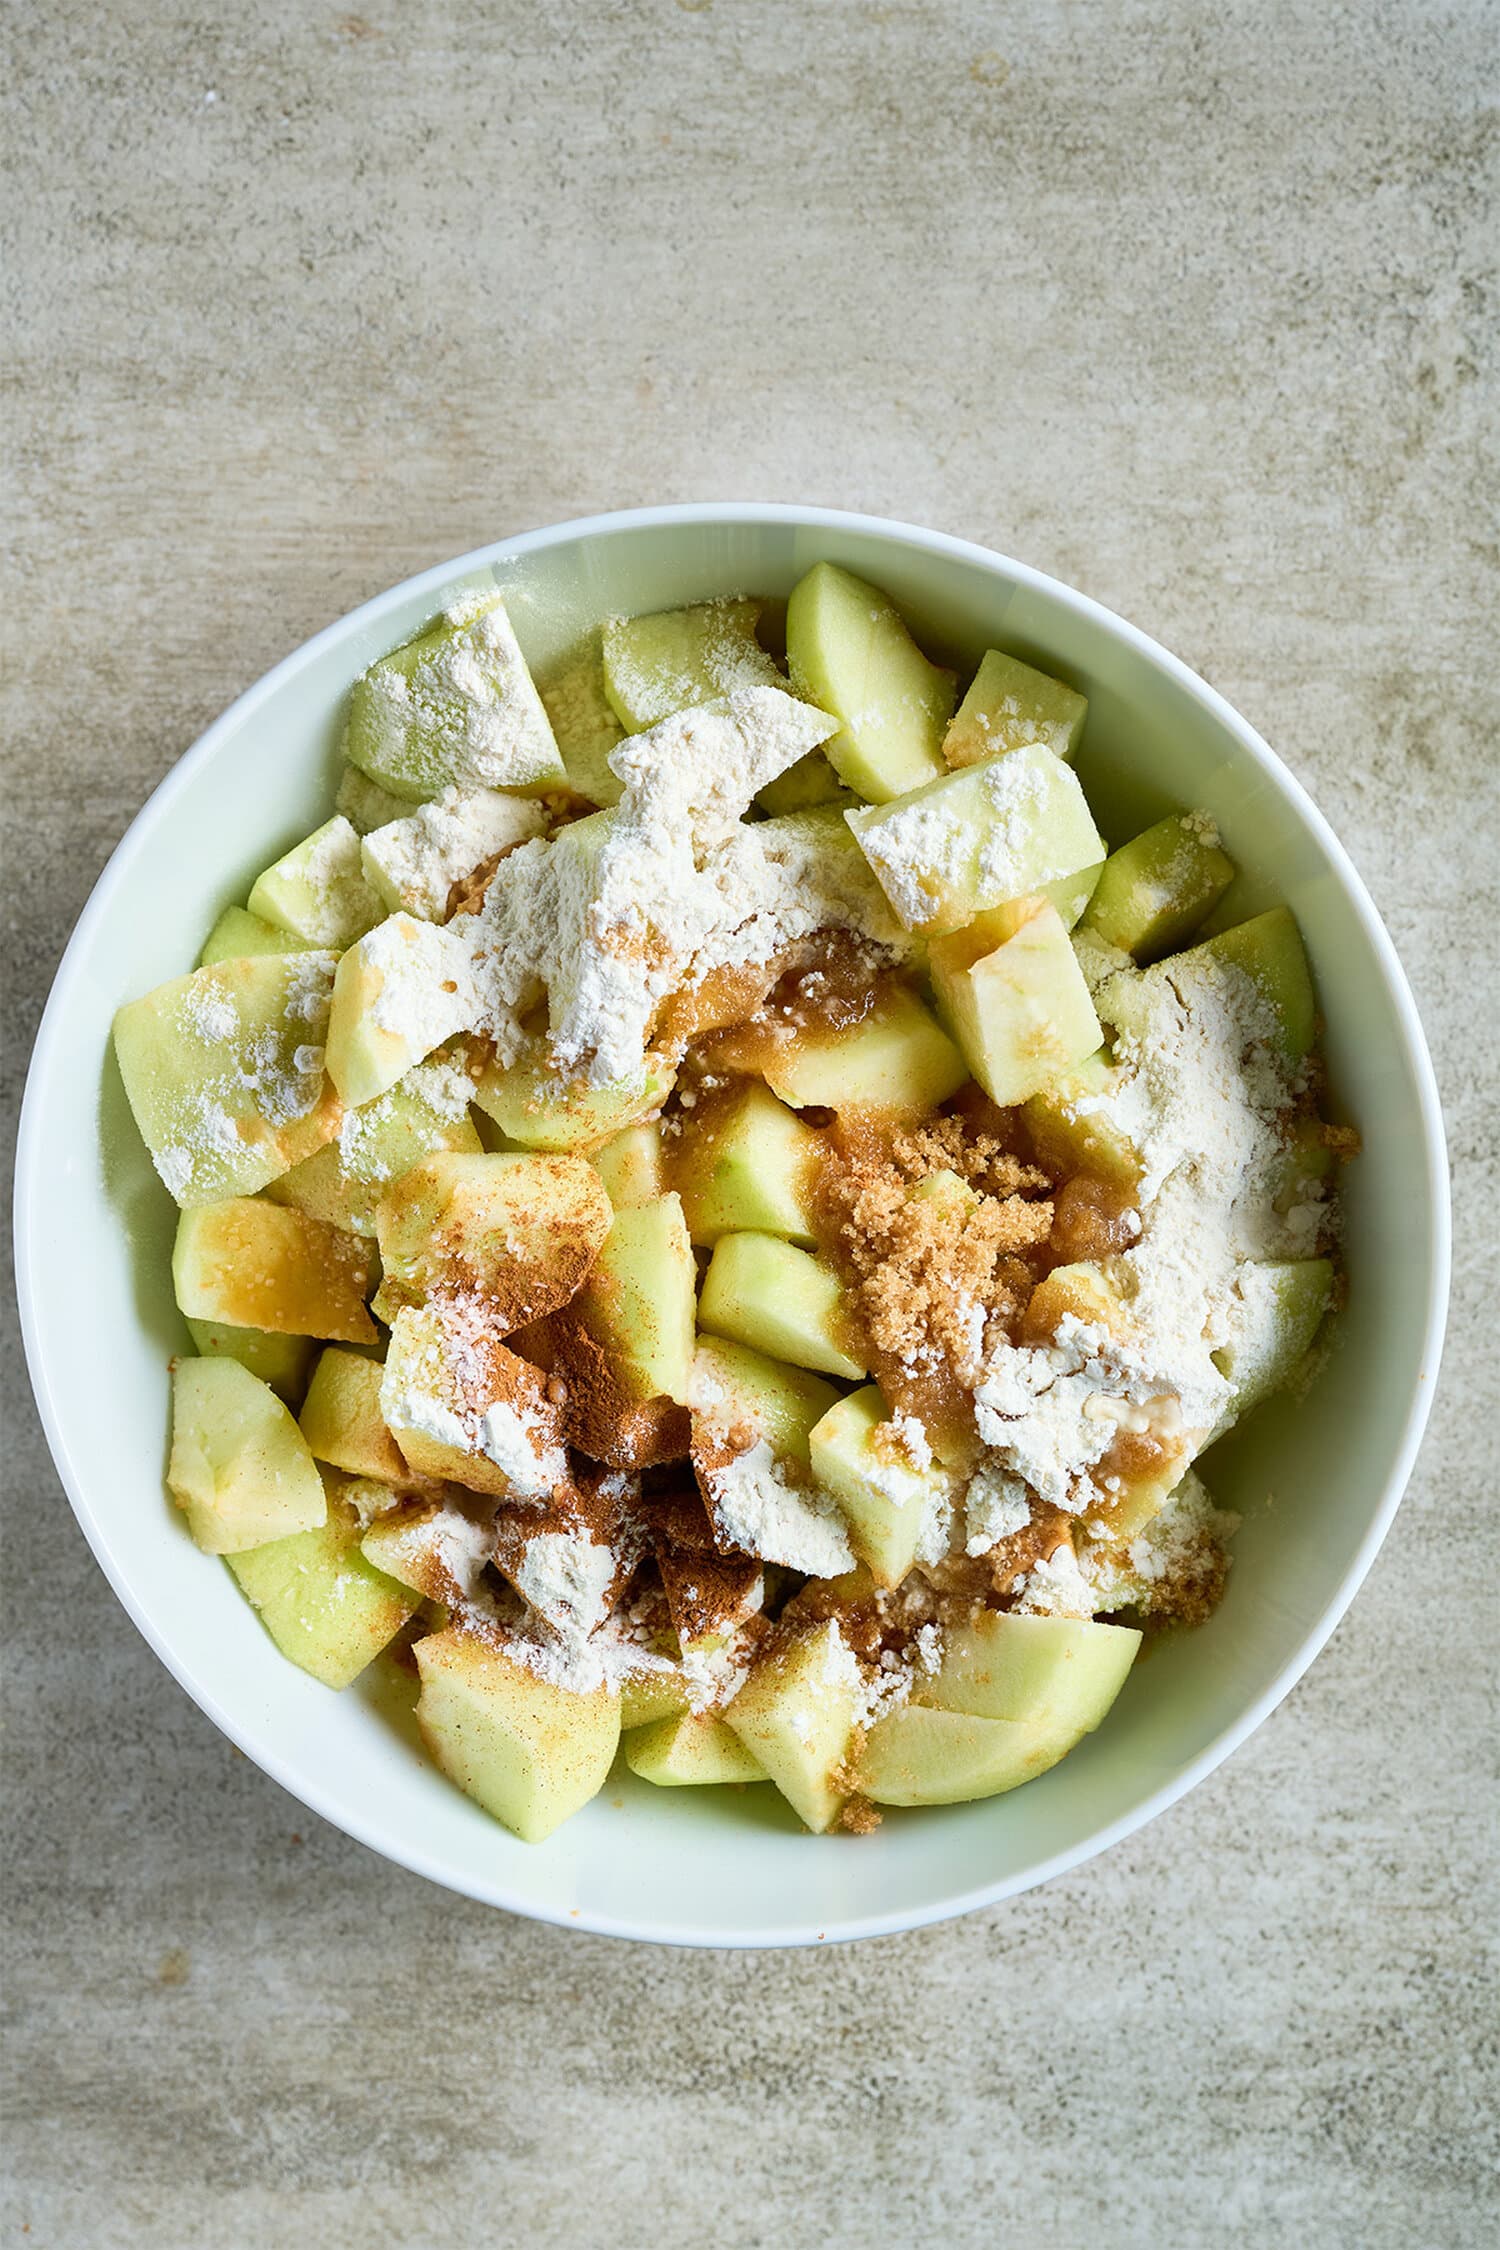
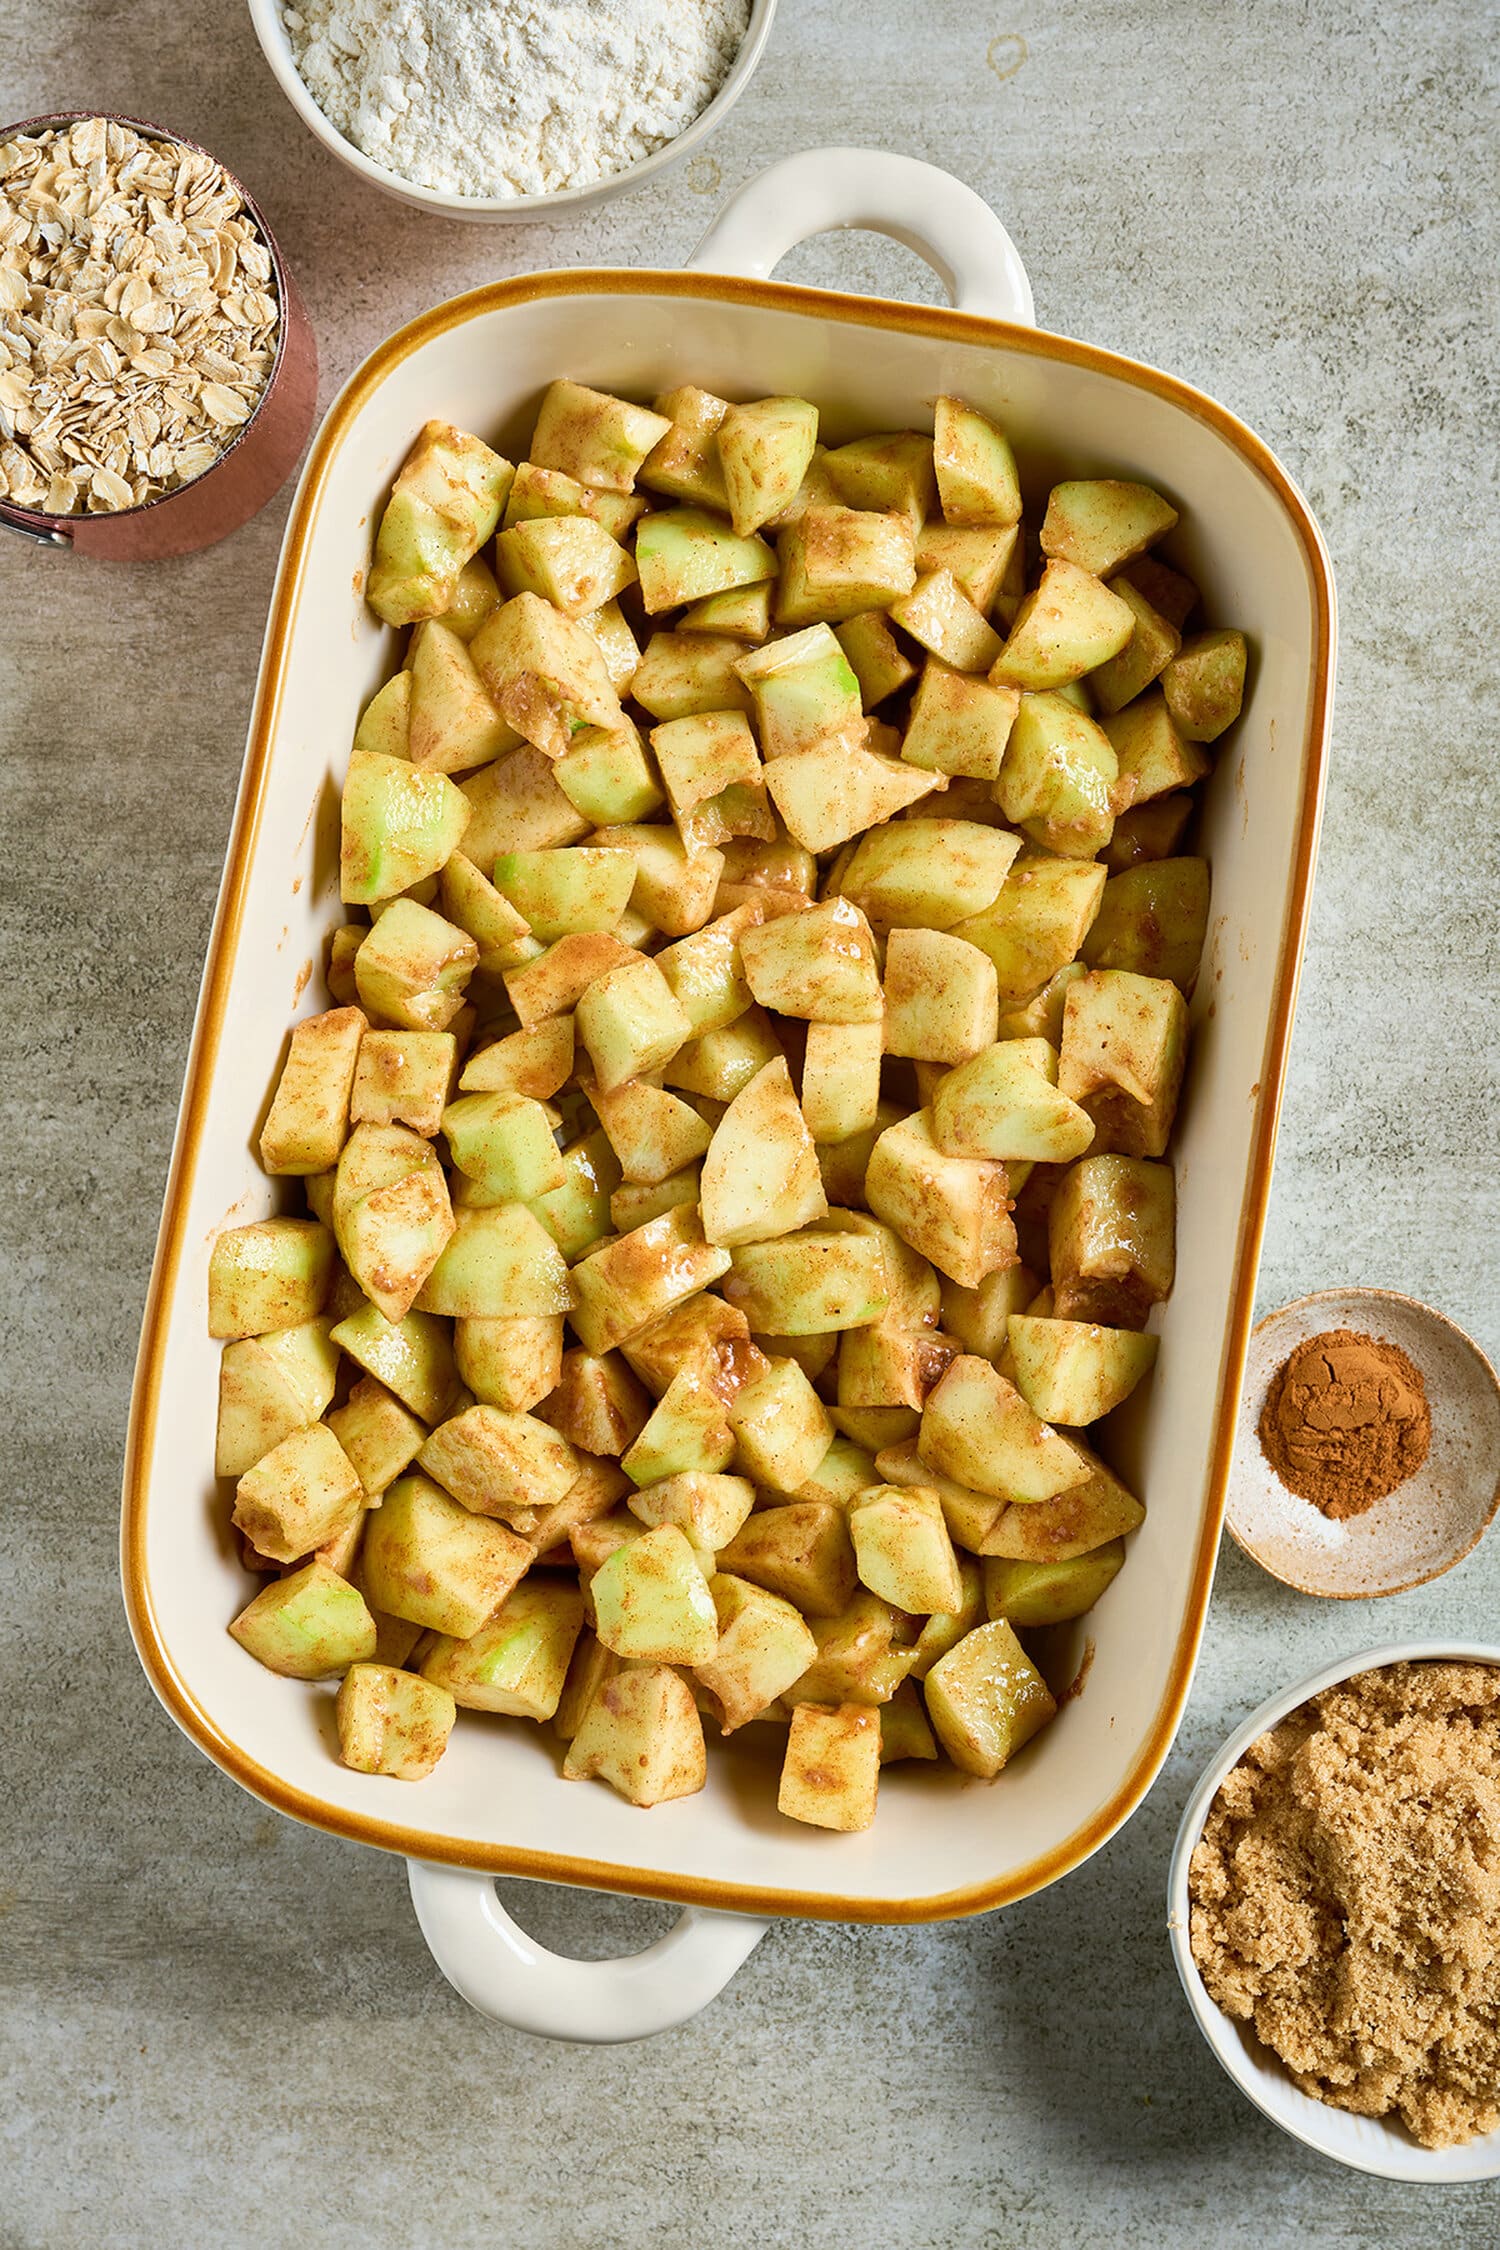
- Make the apple filling: Place the apples in a large bowl. Add the lemon juice, flour, brown sugar, cinnamon, nutmeg, salt and vanilla extract. Toss until the apples are evenly coated.
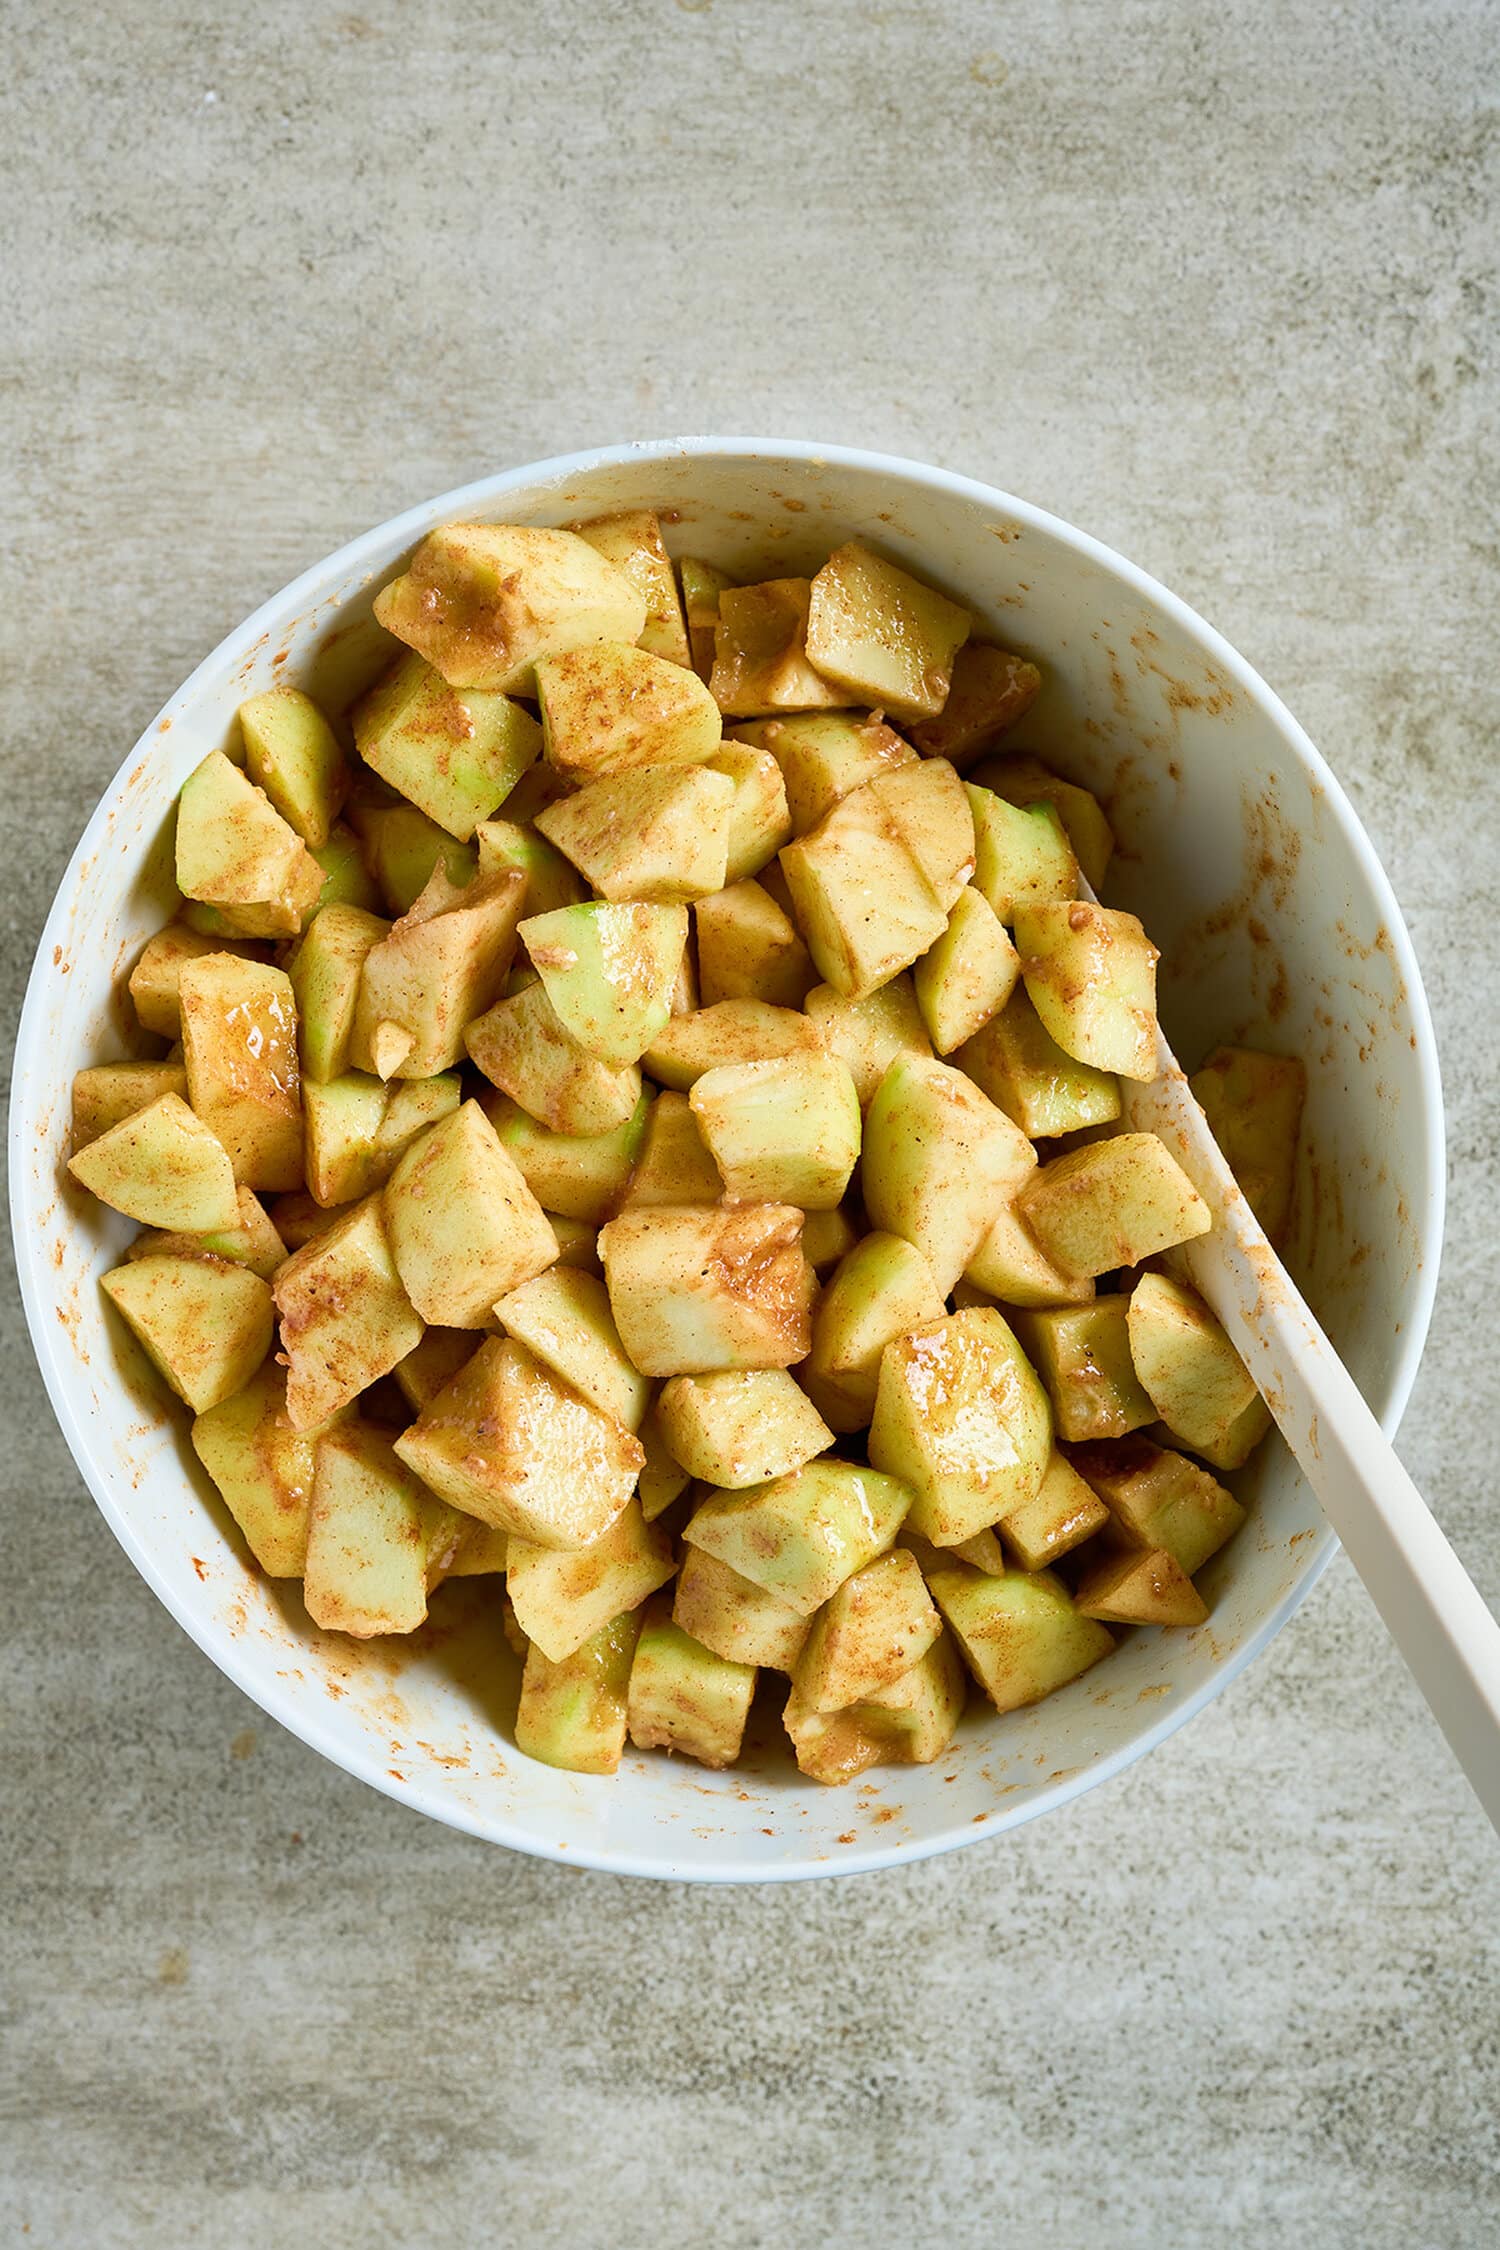
- Transfer to the baking dish: Spread the apple mixture evenly in the prepared pan.
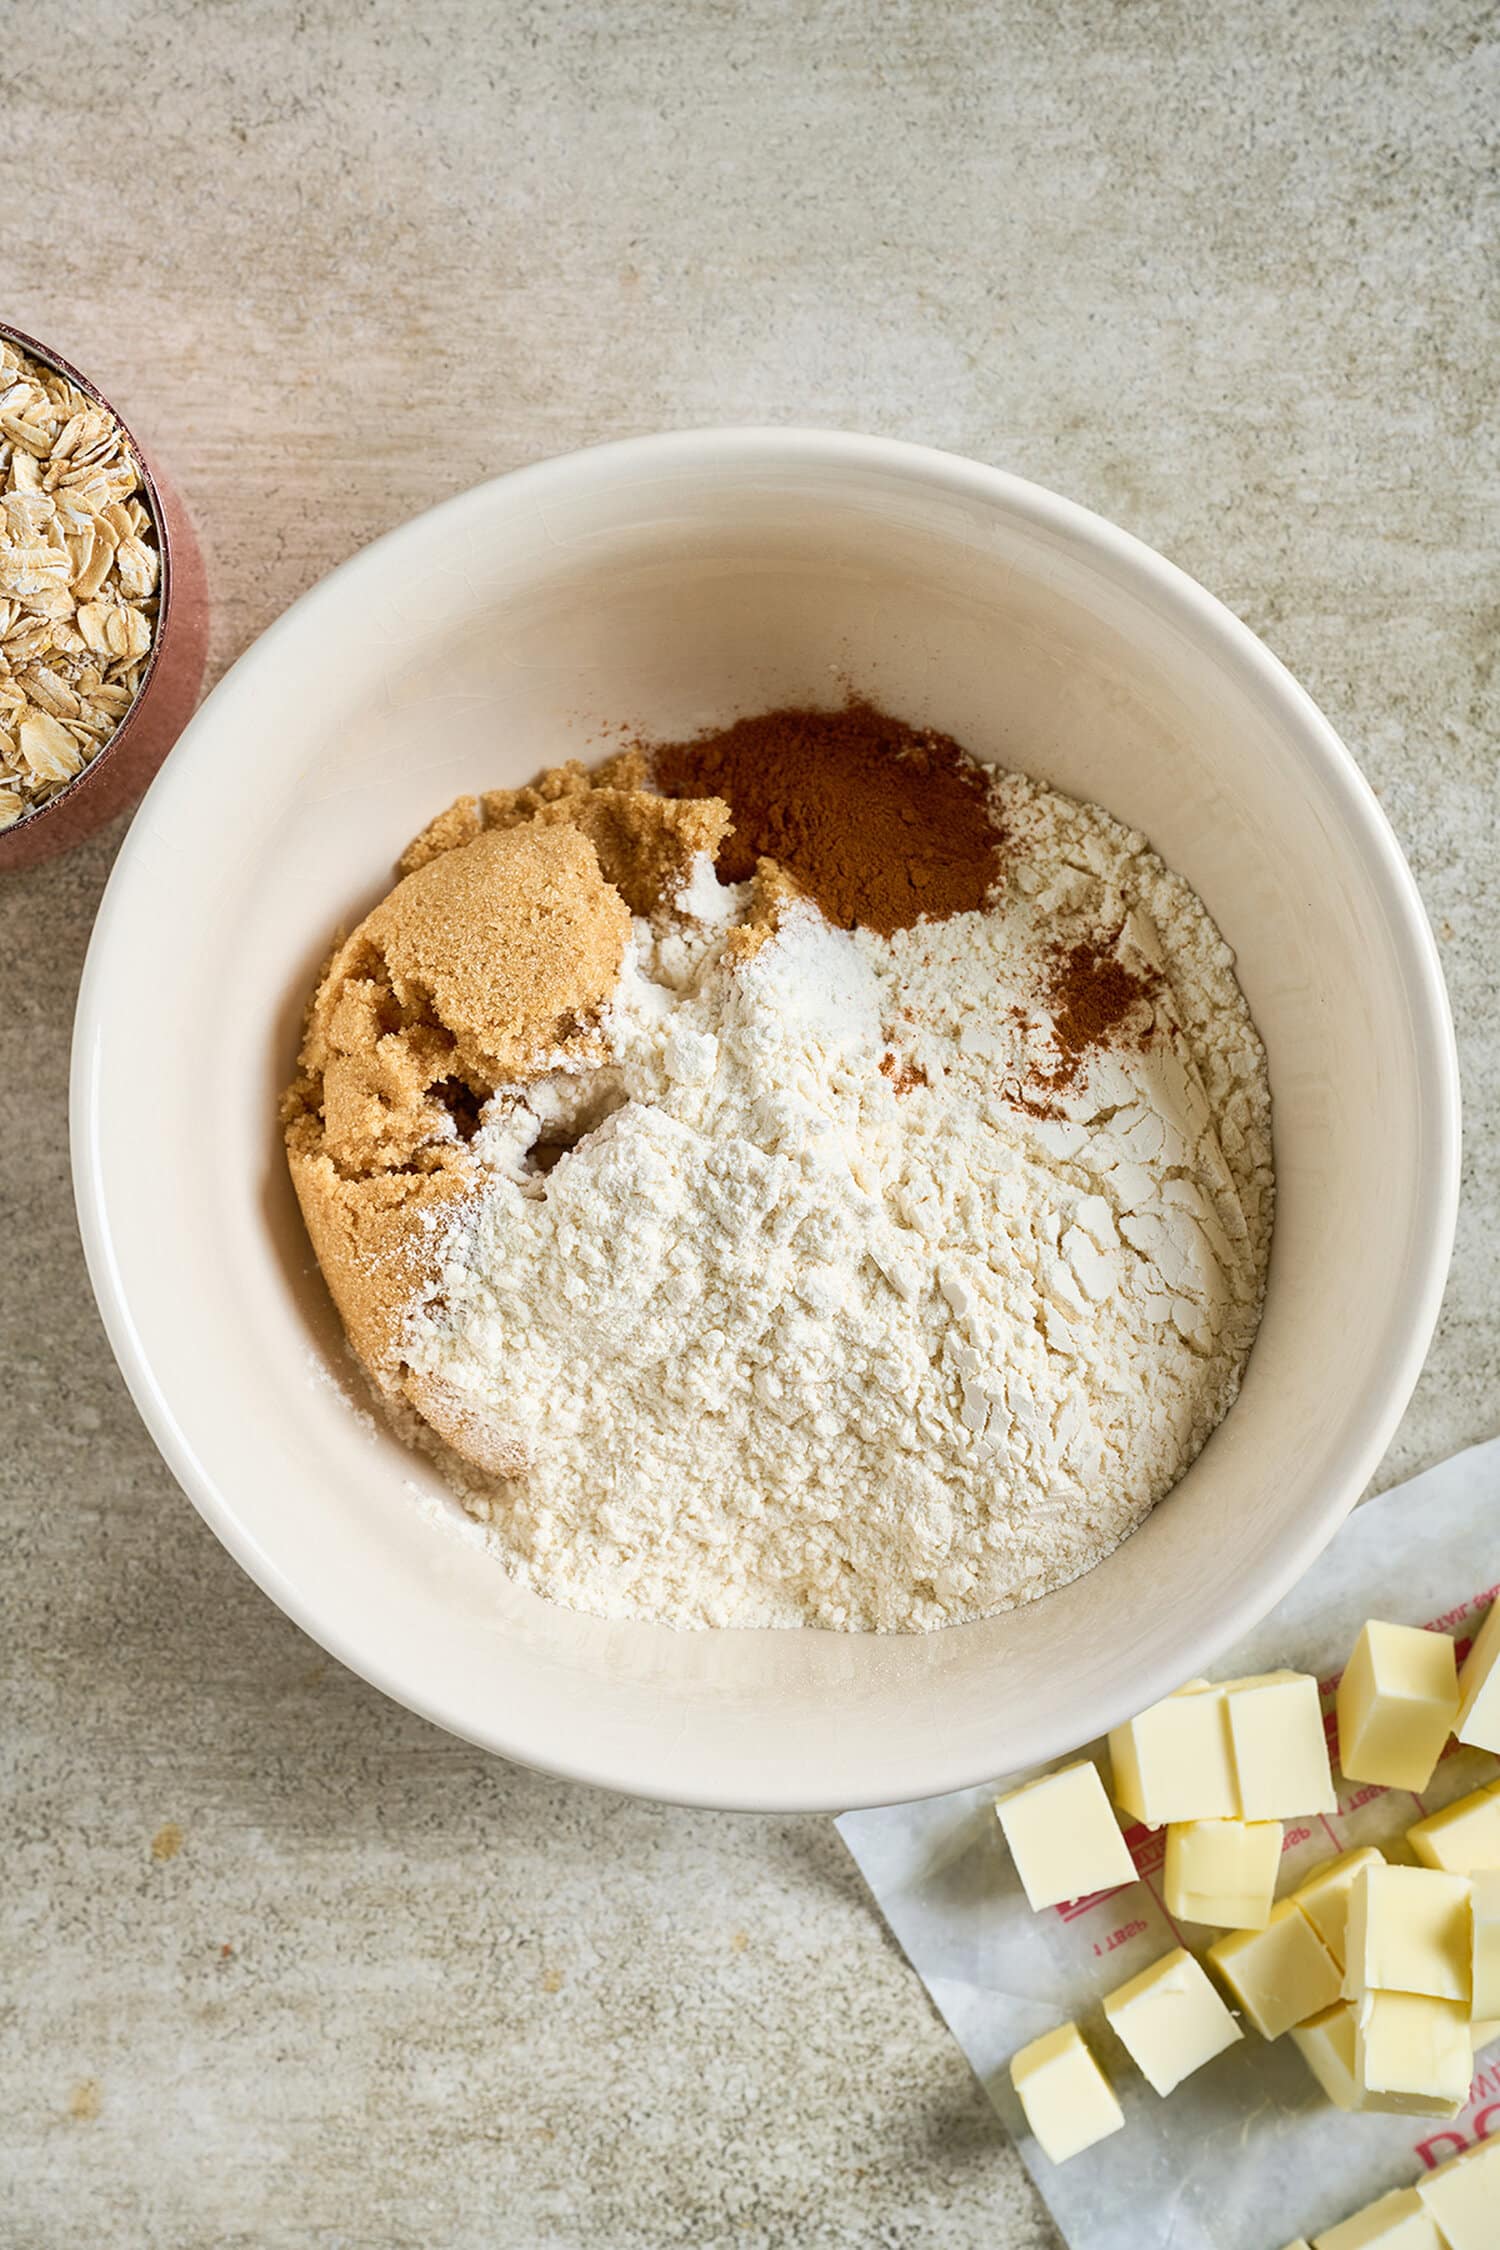
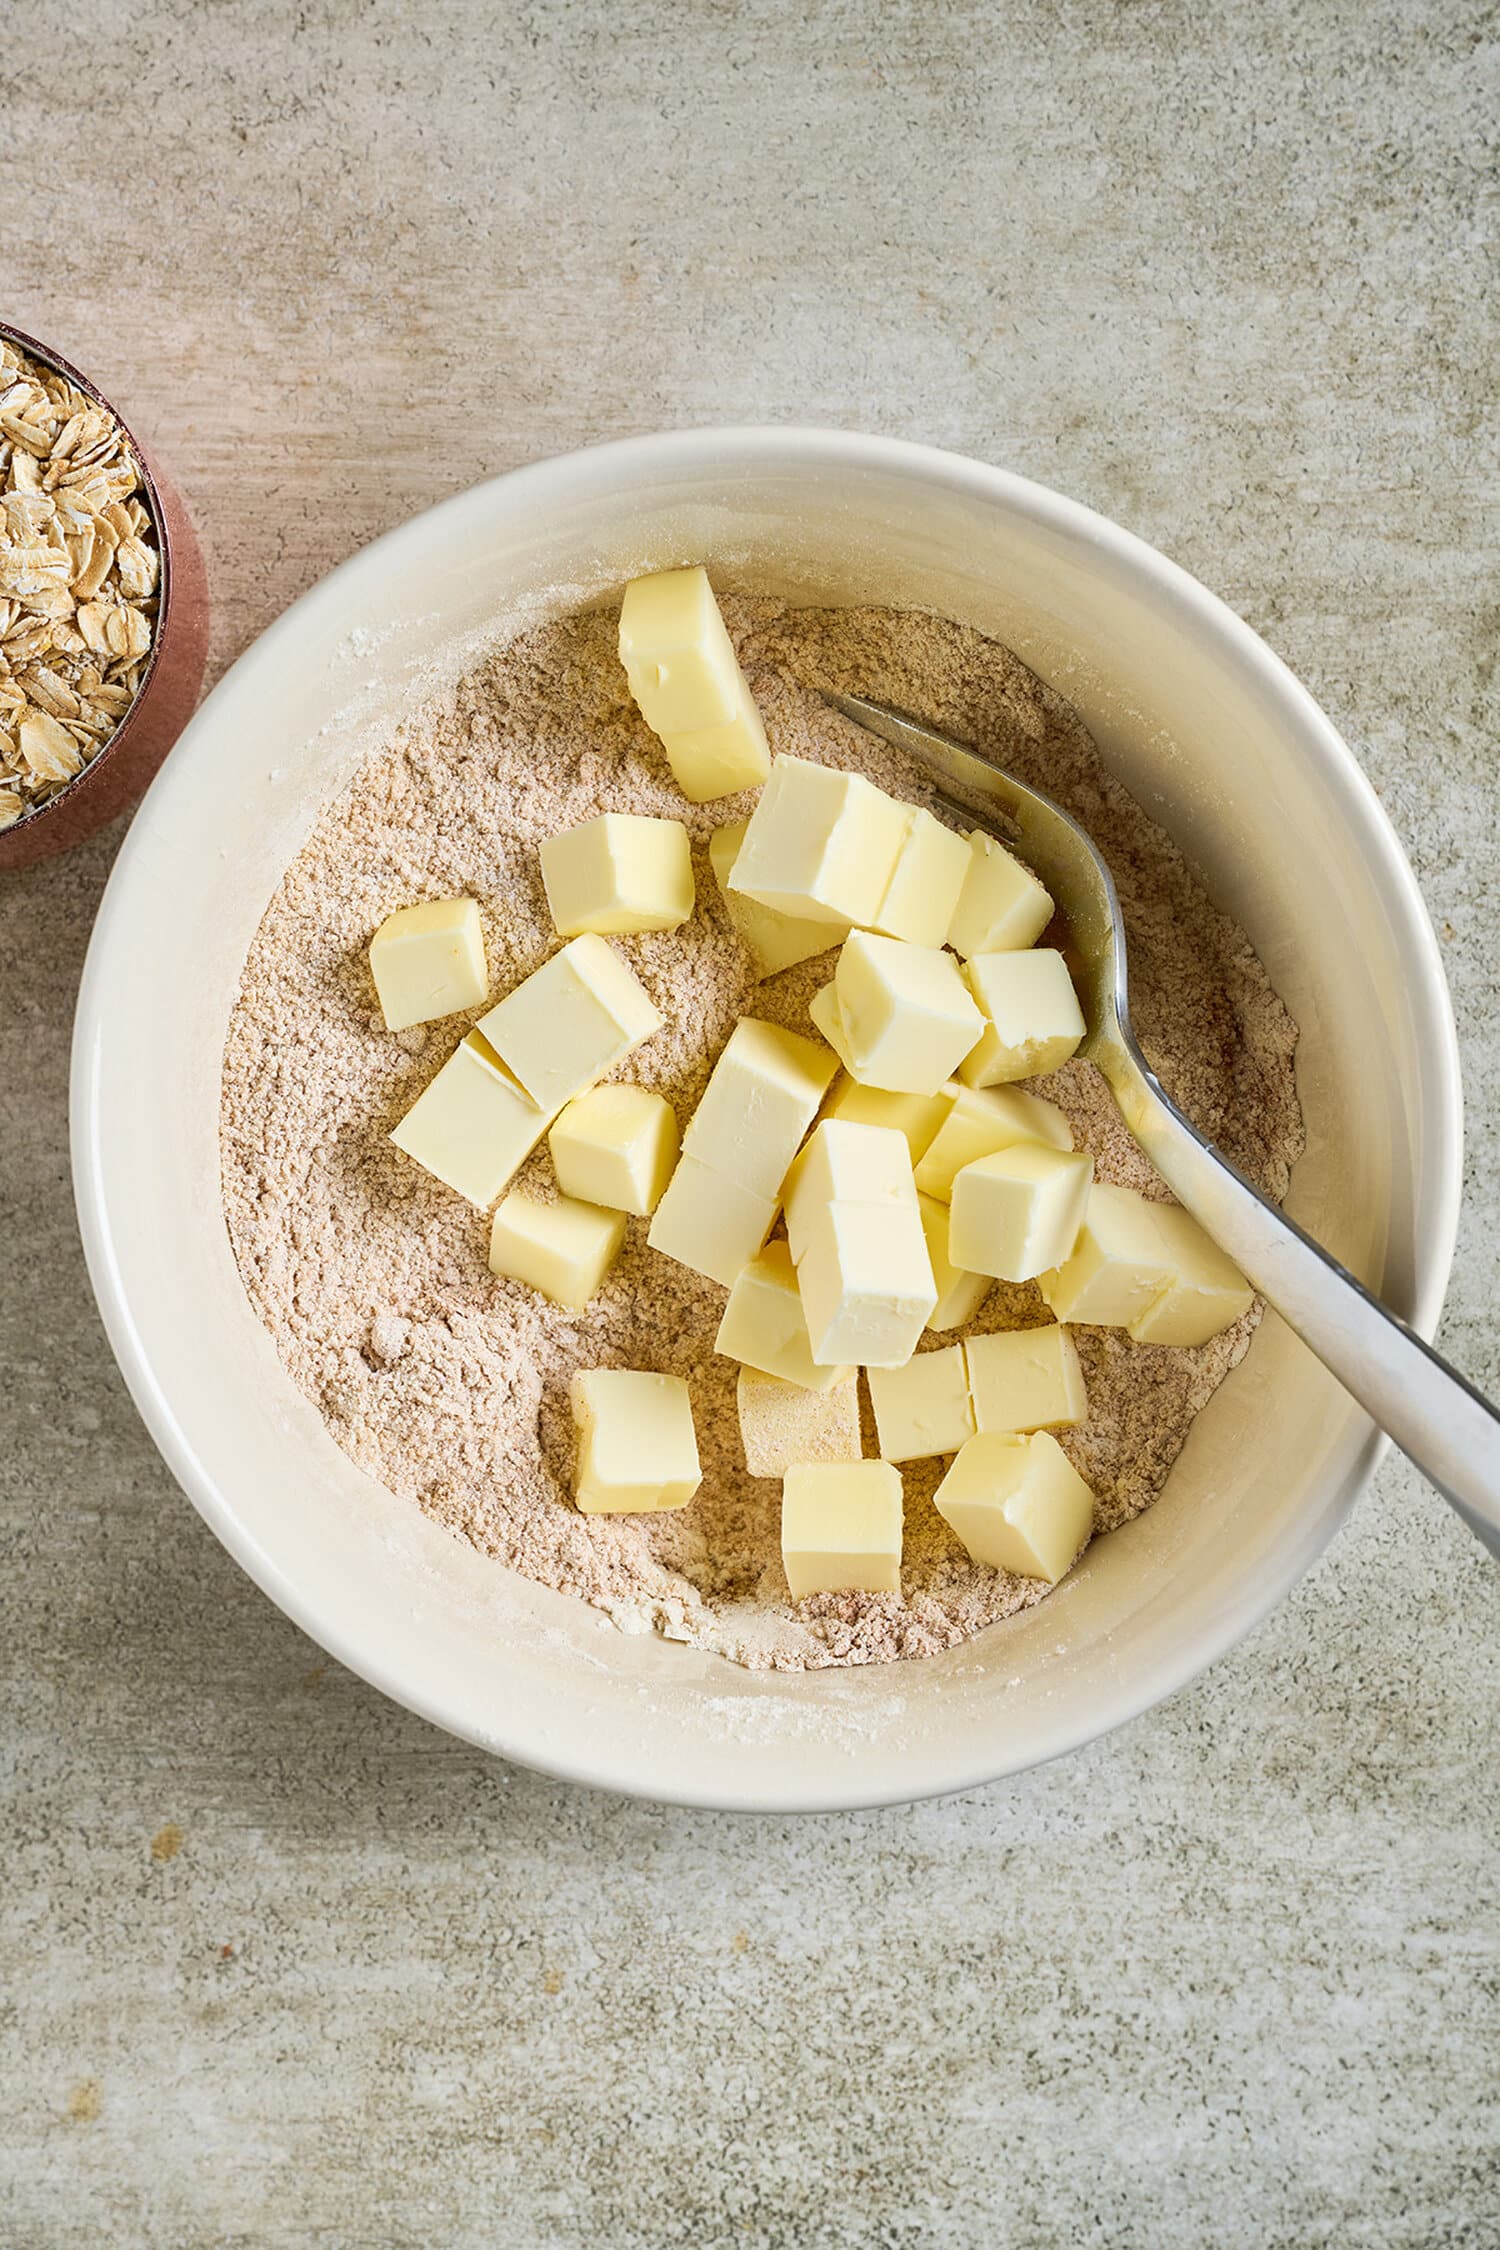
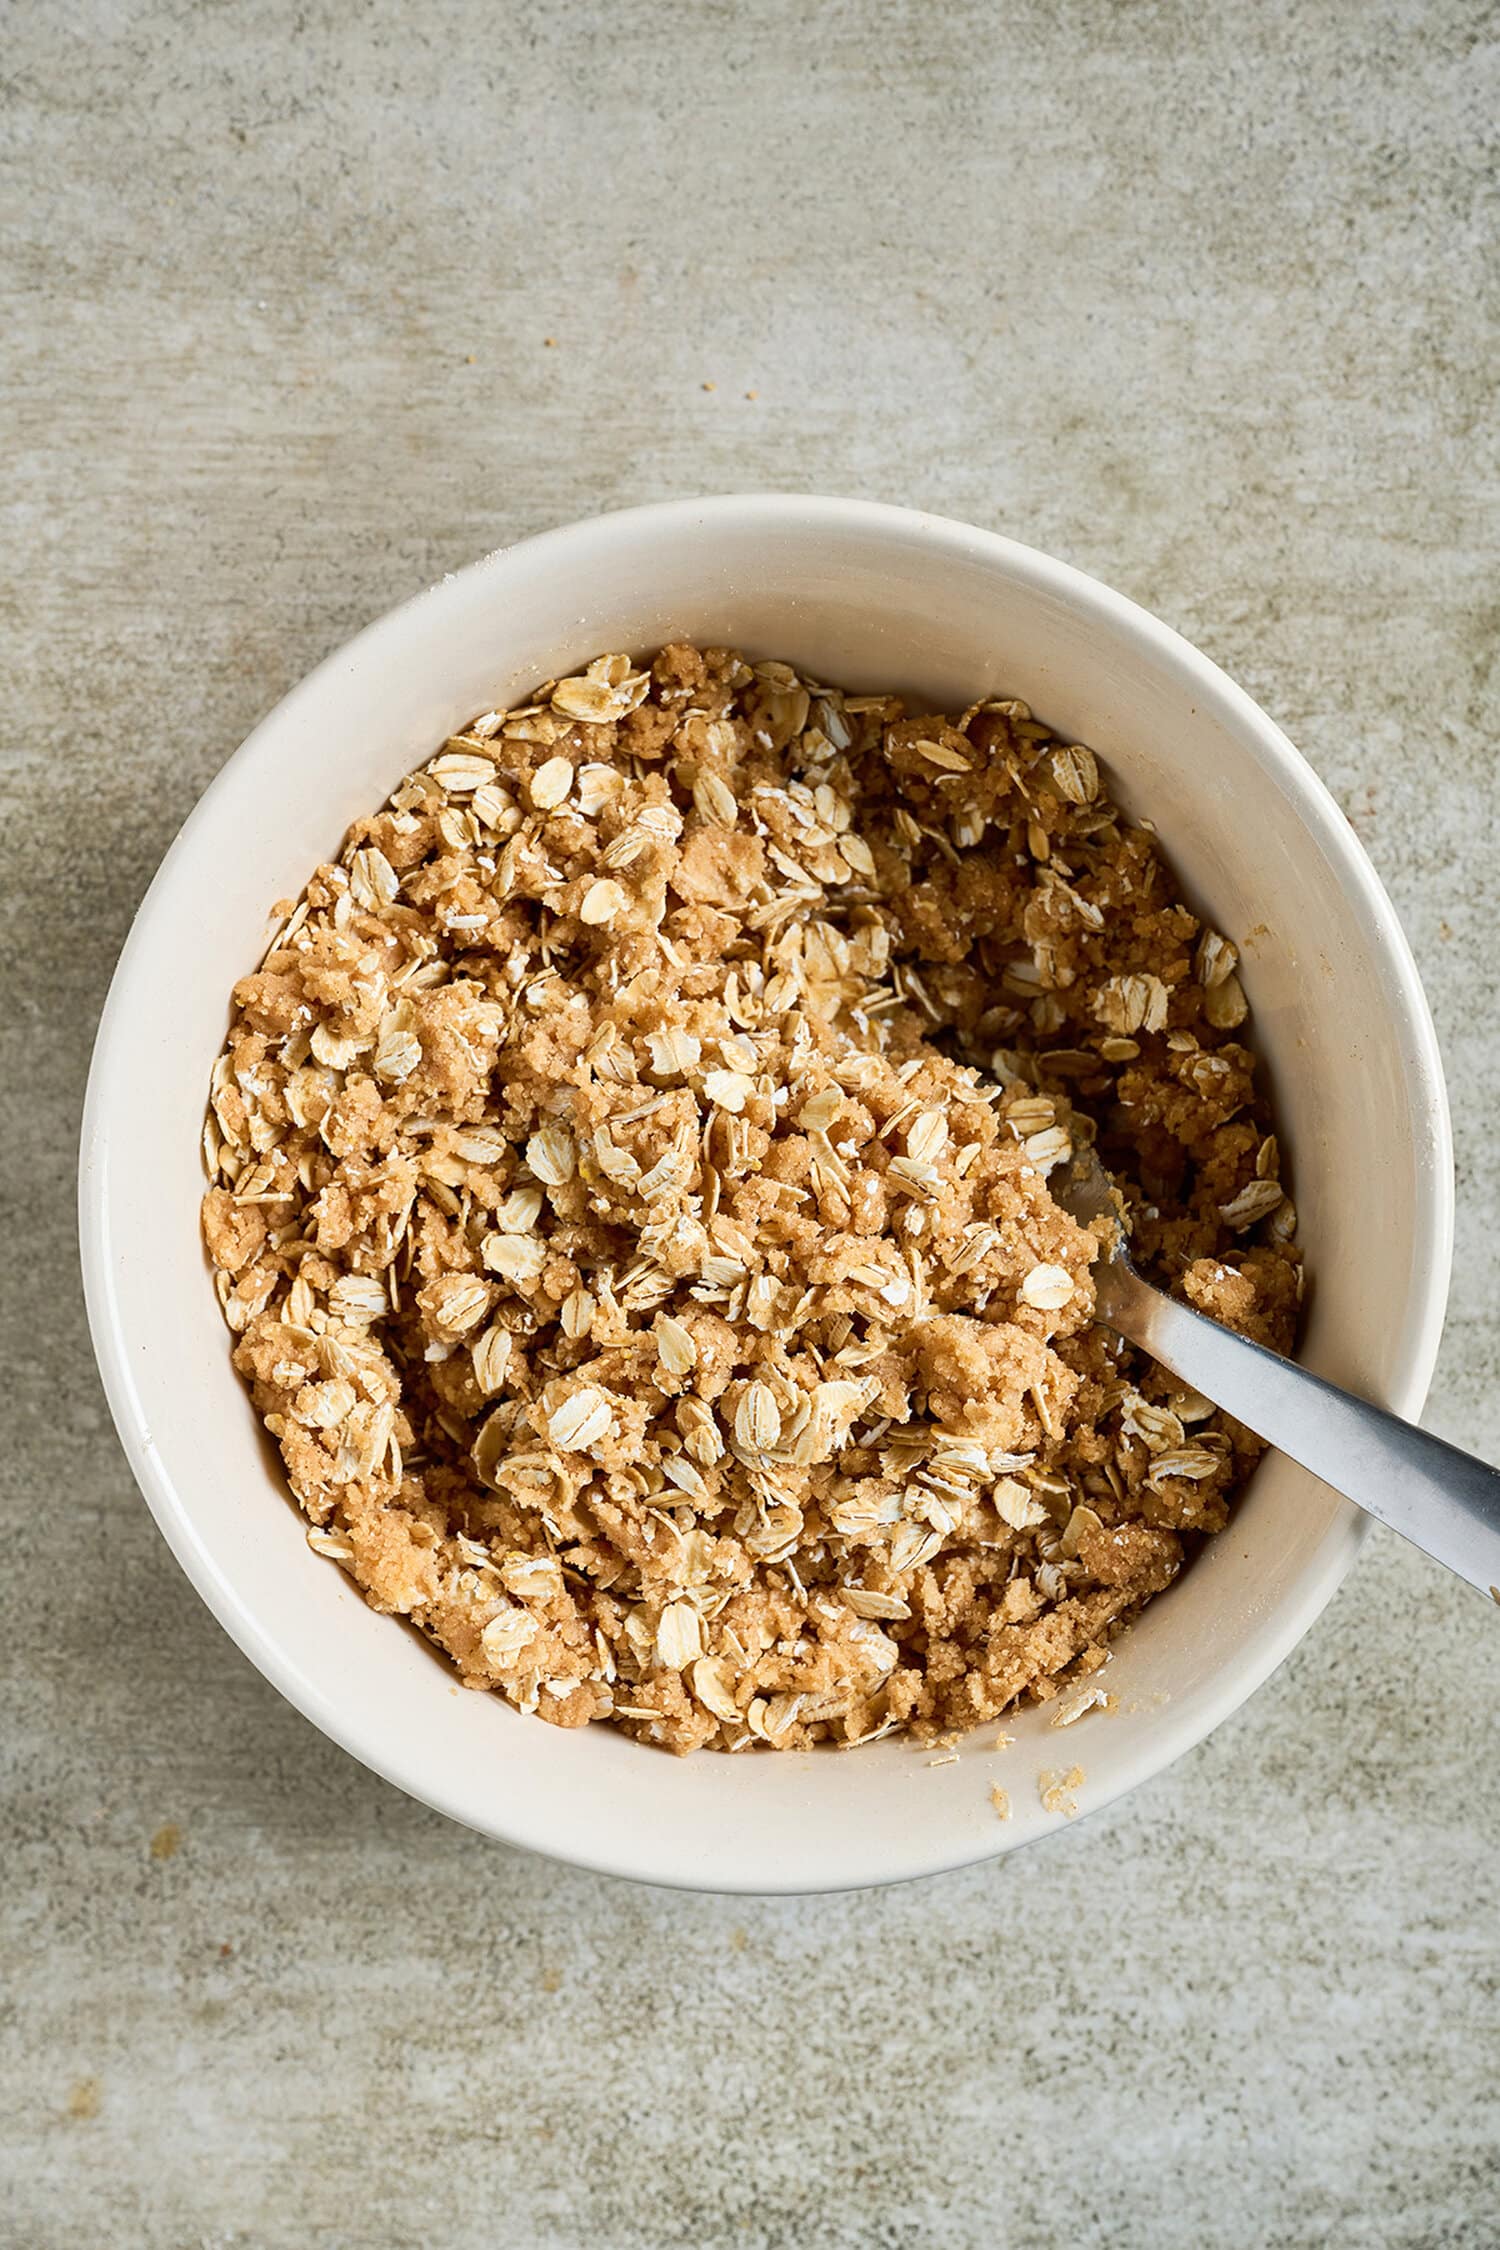
- Make the oat topping: In a medium bowl, combine the flour, brown sugar and cinnamon. Add the cold cubed butter. Using a pastry cutter or fork, work the butter into the flour mixture with a gentle downward twisting motion until coarse crumbs form.

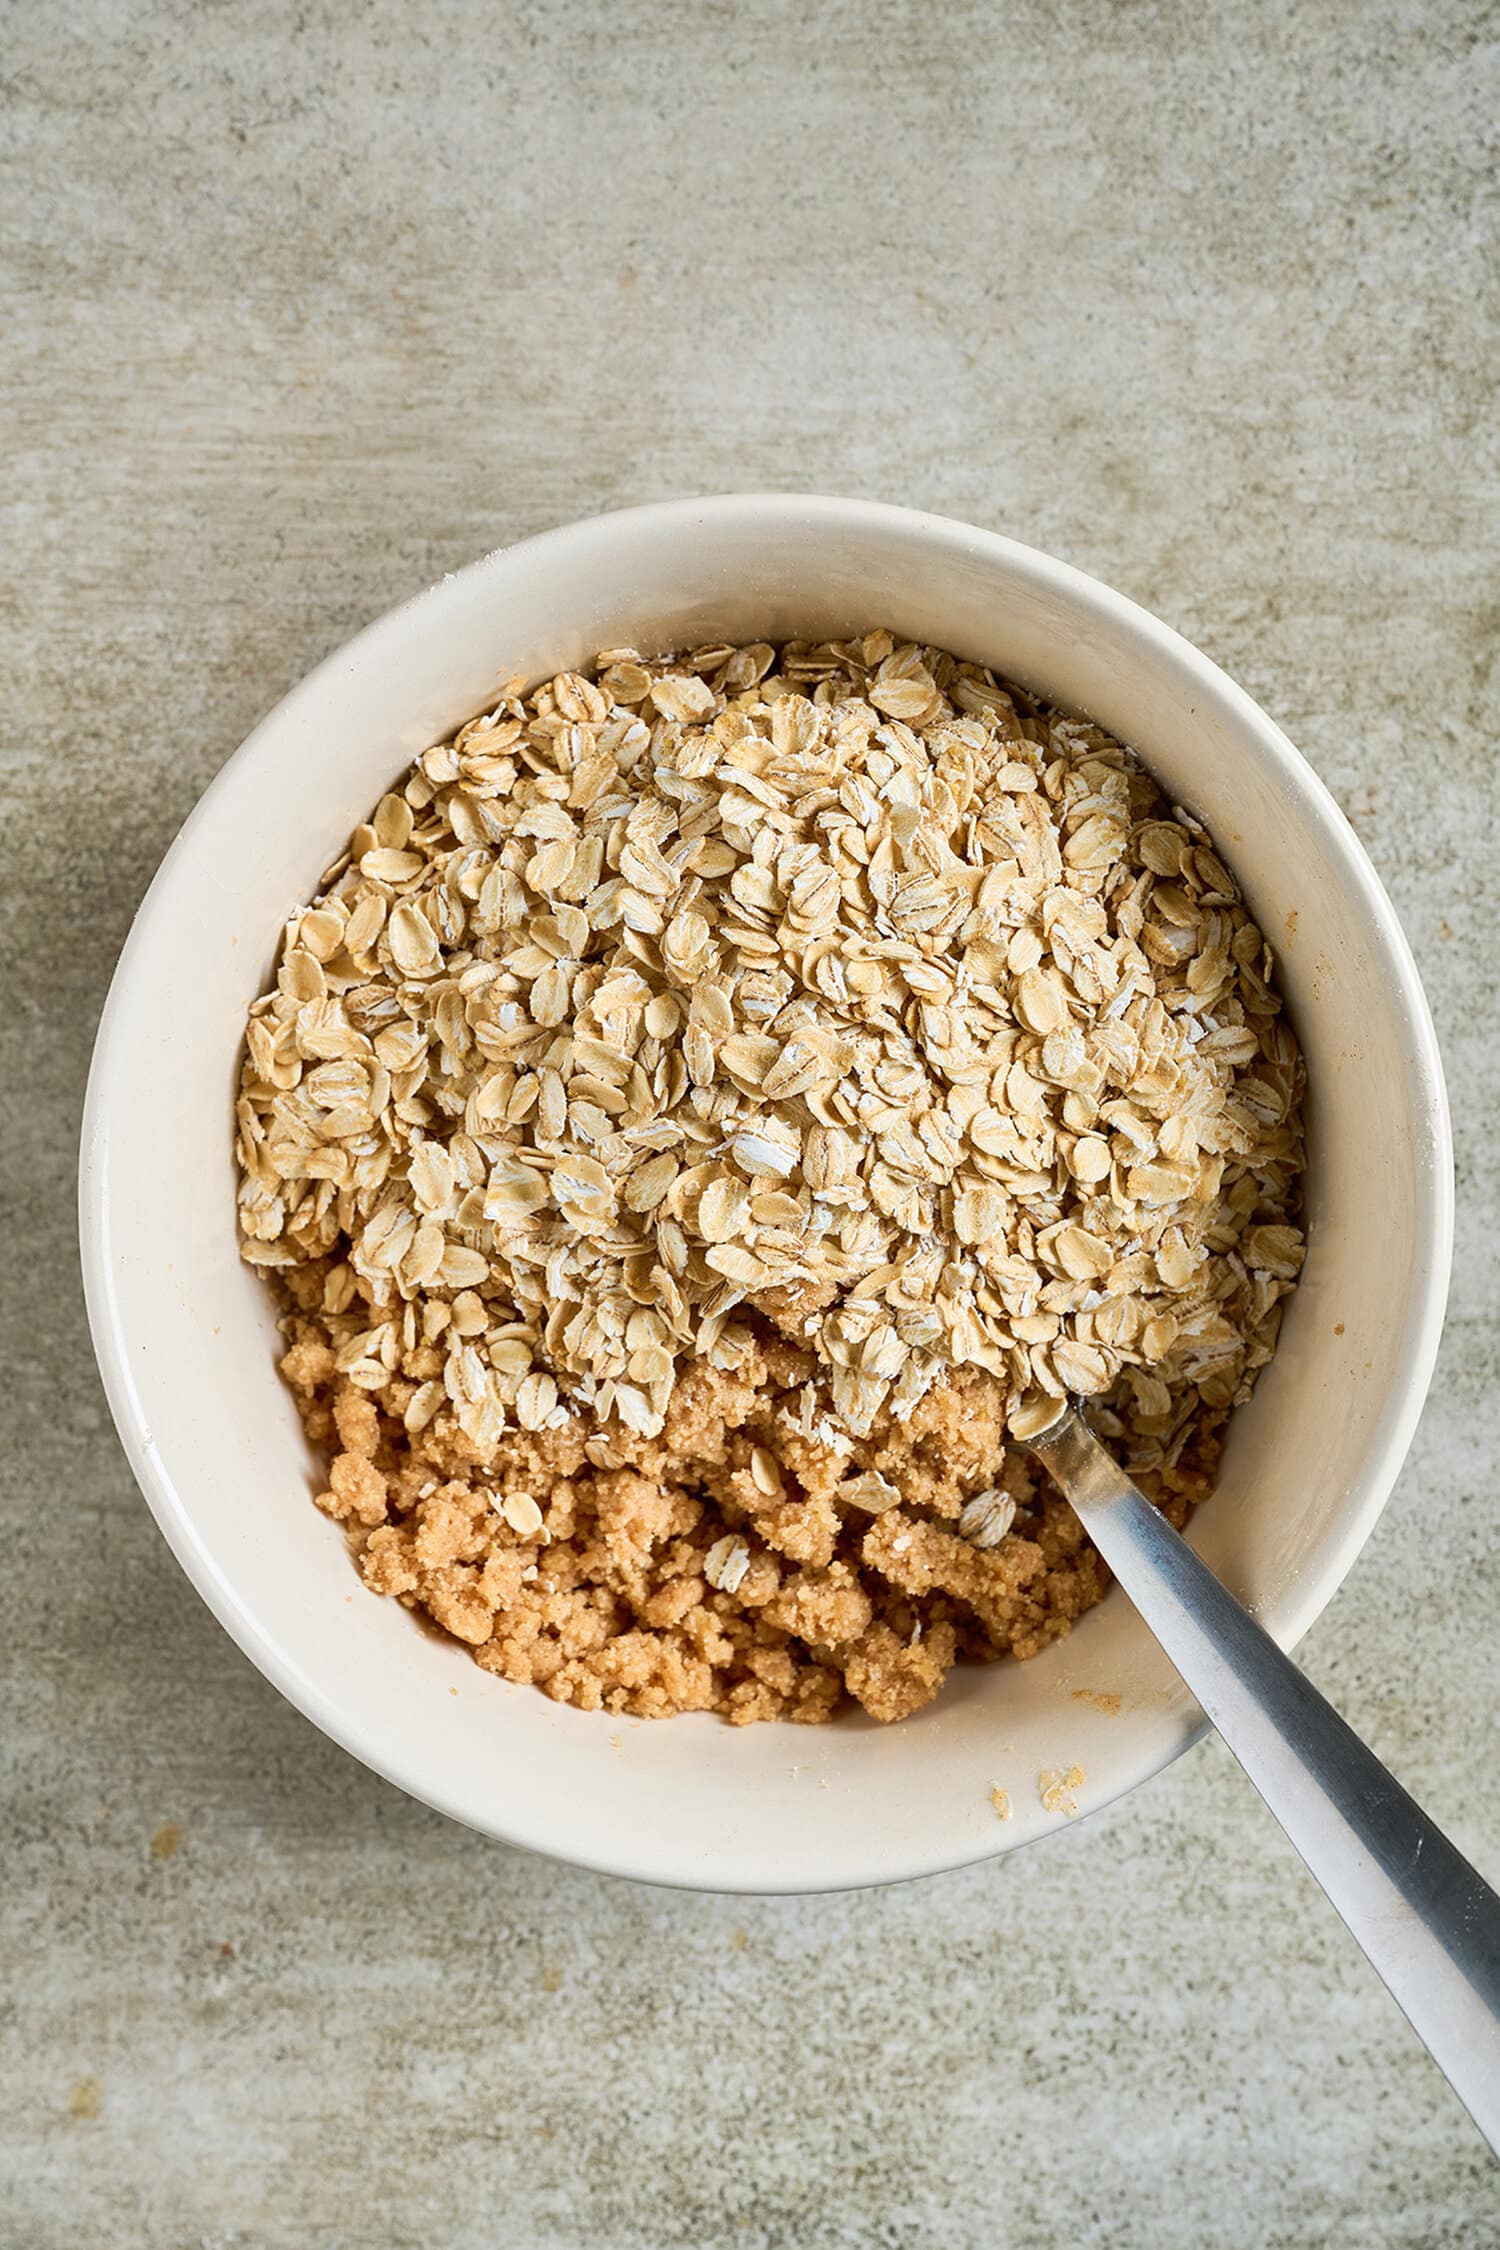
- Add the oats: Stir in the rolled oats. I like to finish mixing with my fingertips to make sure the oats and buttery crumbs are evenly distributed without overworking the mixture.
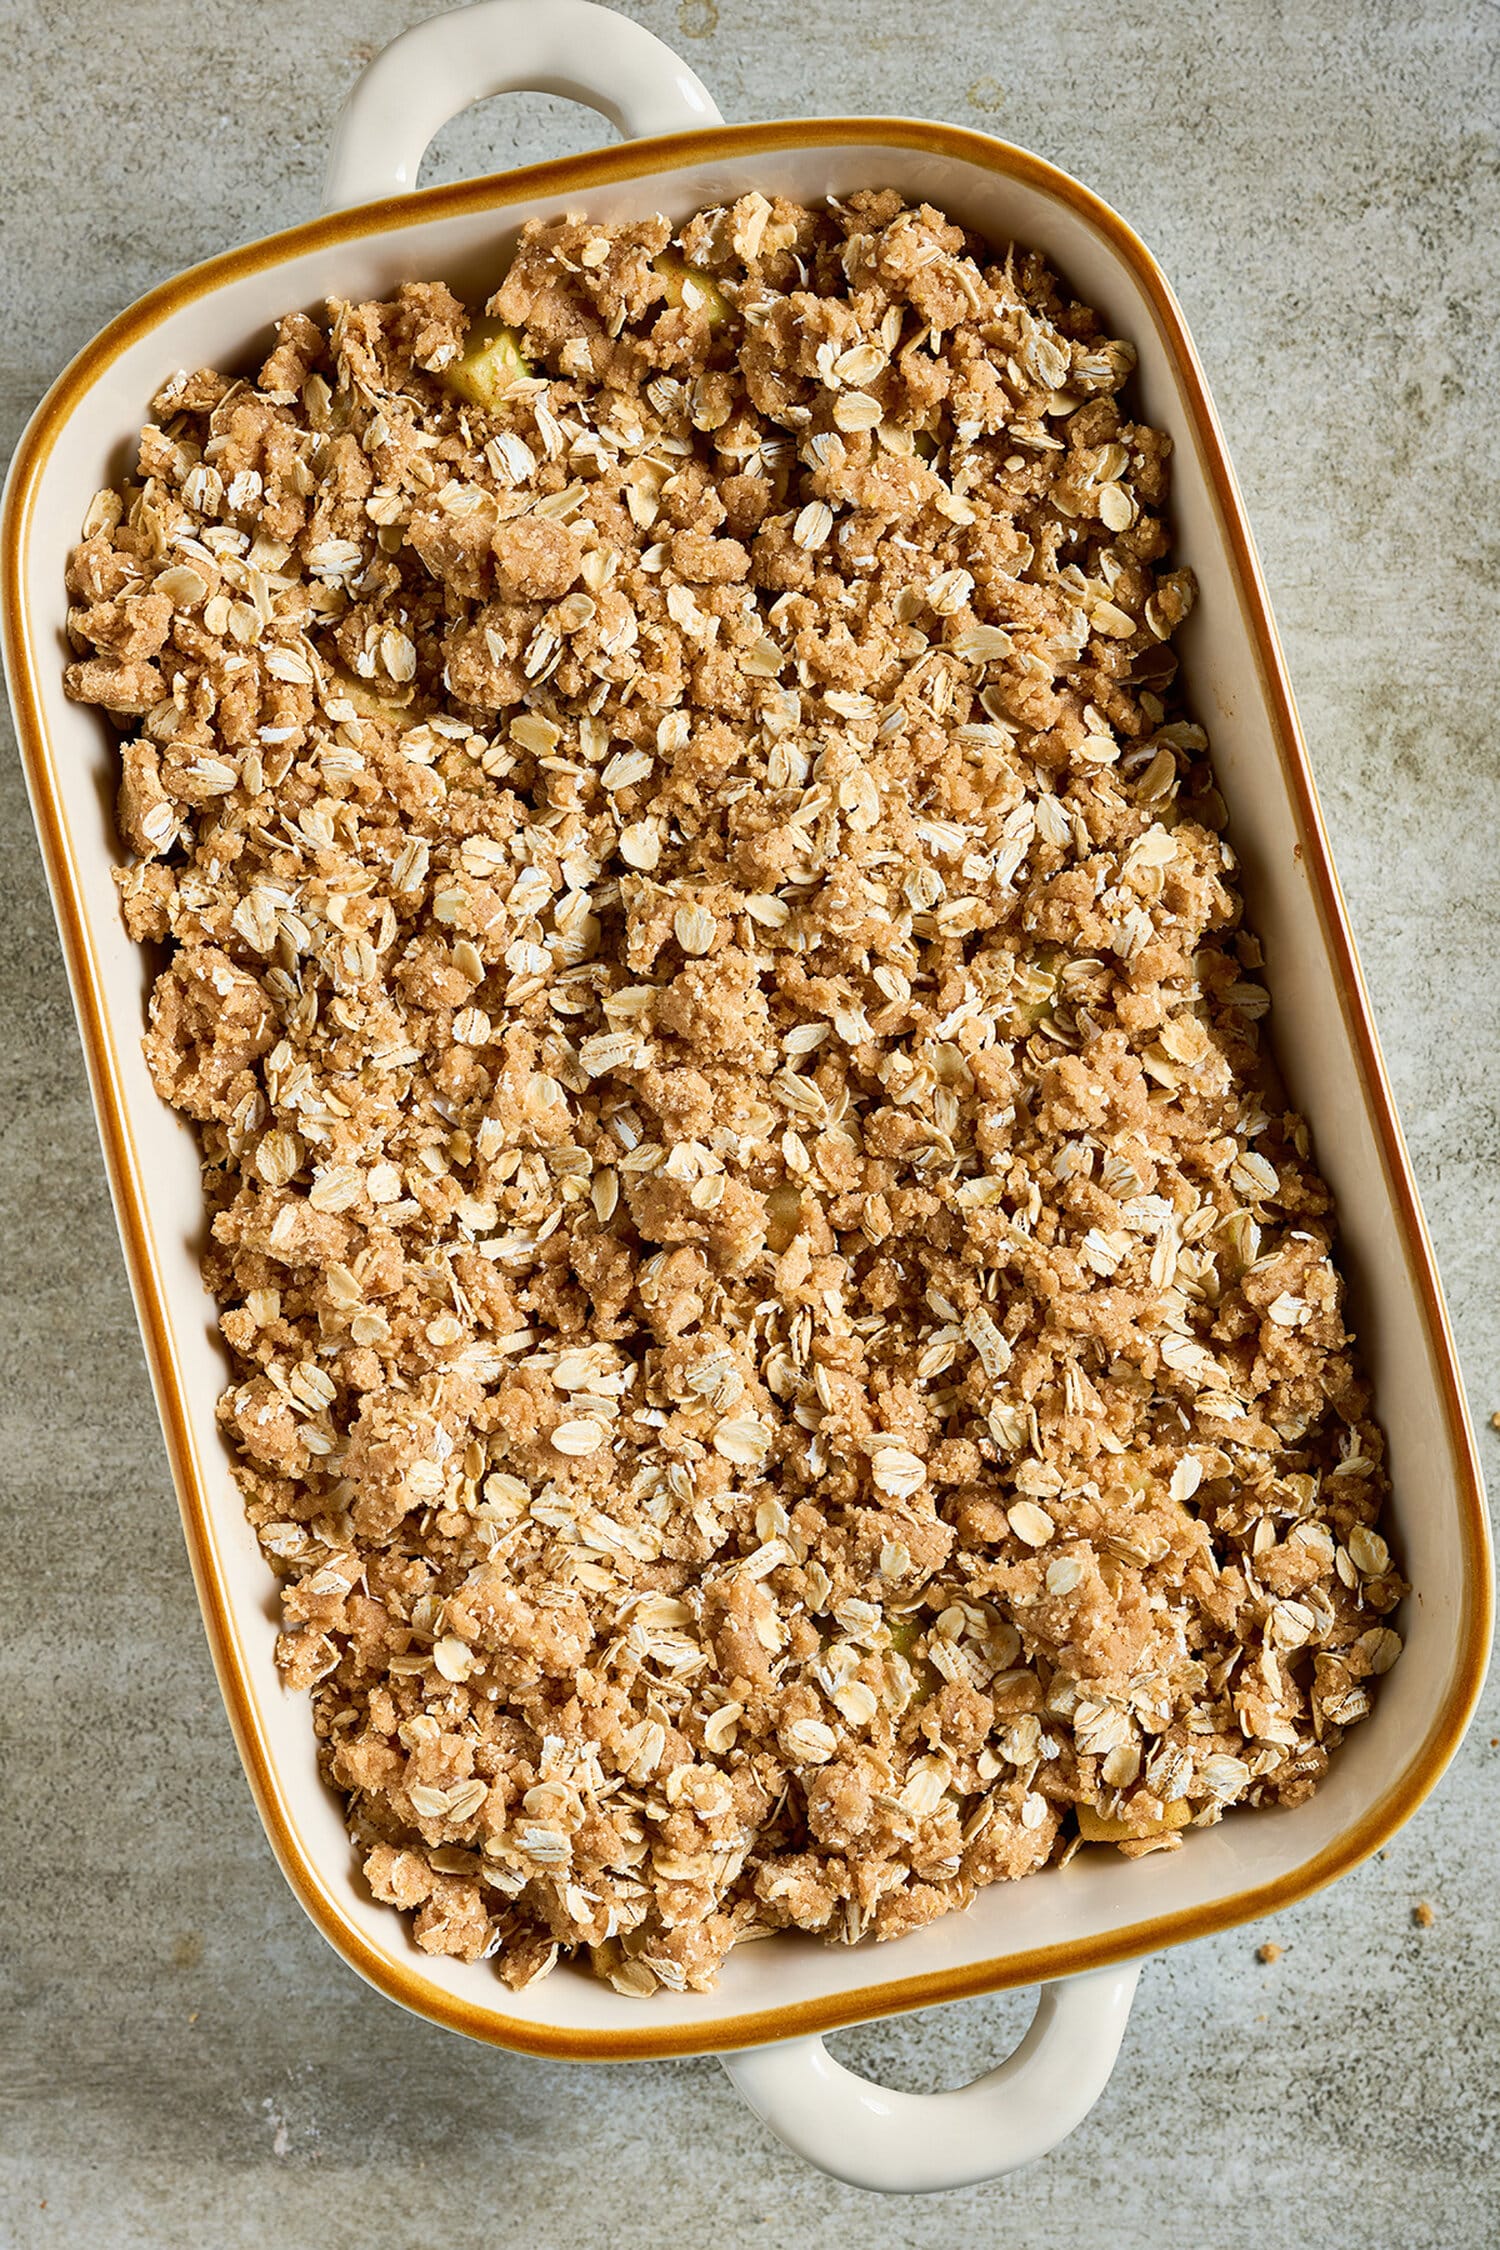
- Assemble: Scatter the crumb topping evenly over the apples.
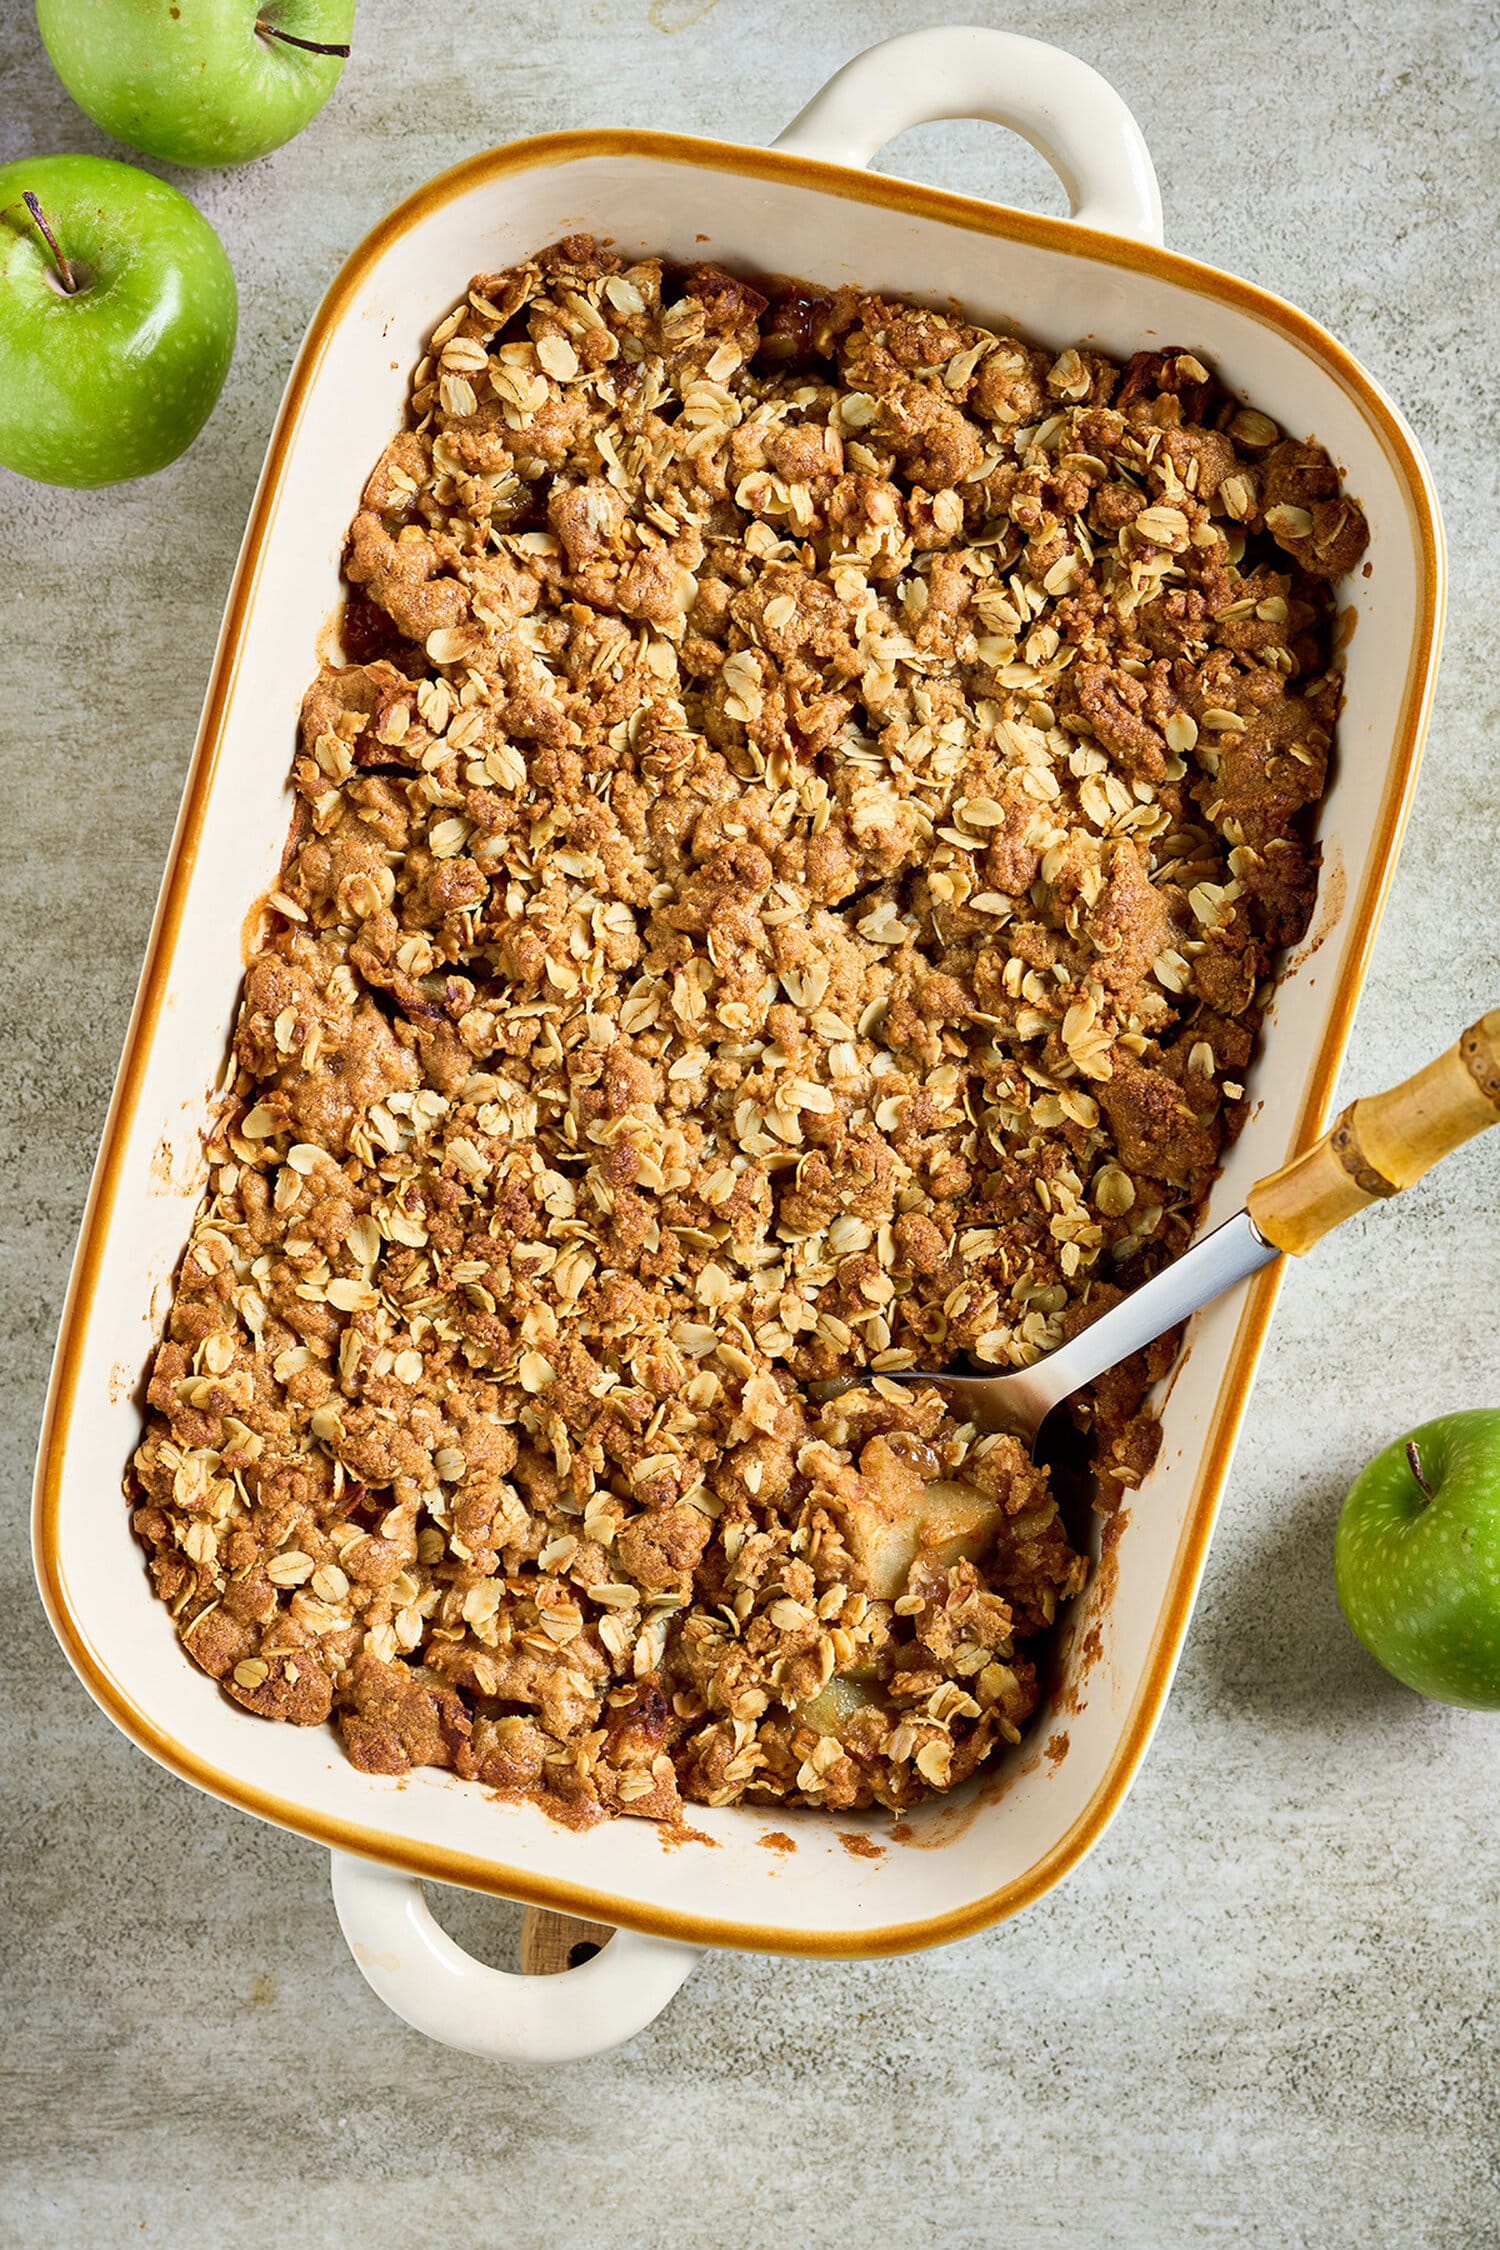
- Bake: Bake for about 45 minutes, or until the topping is golden brown, the juices are bubbling around the edges and the apples are tender when pierced with the tip of a knife.
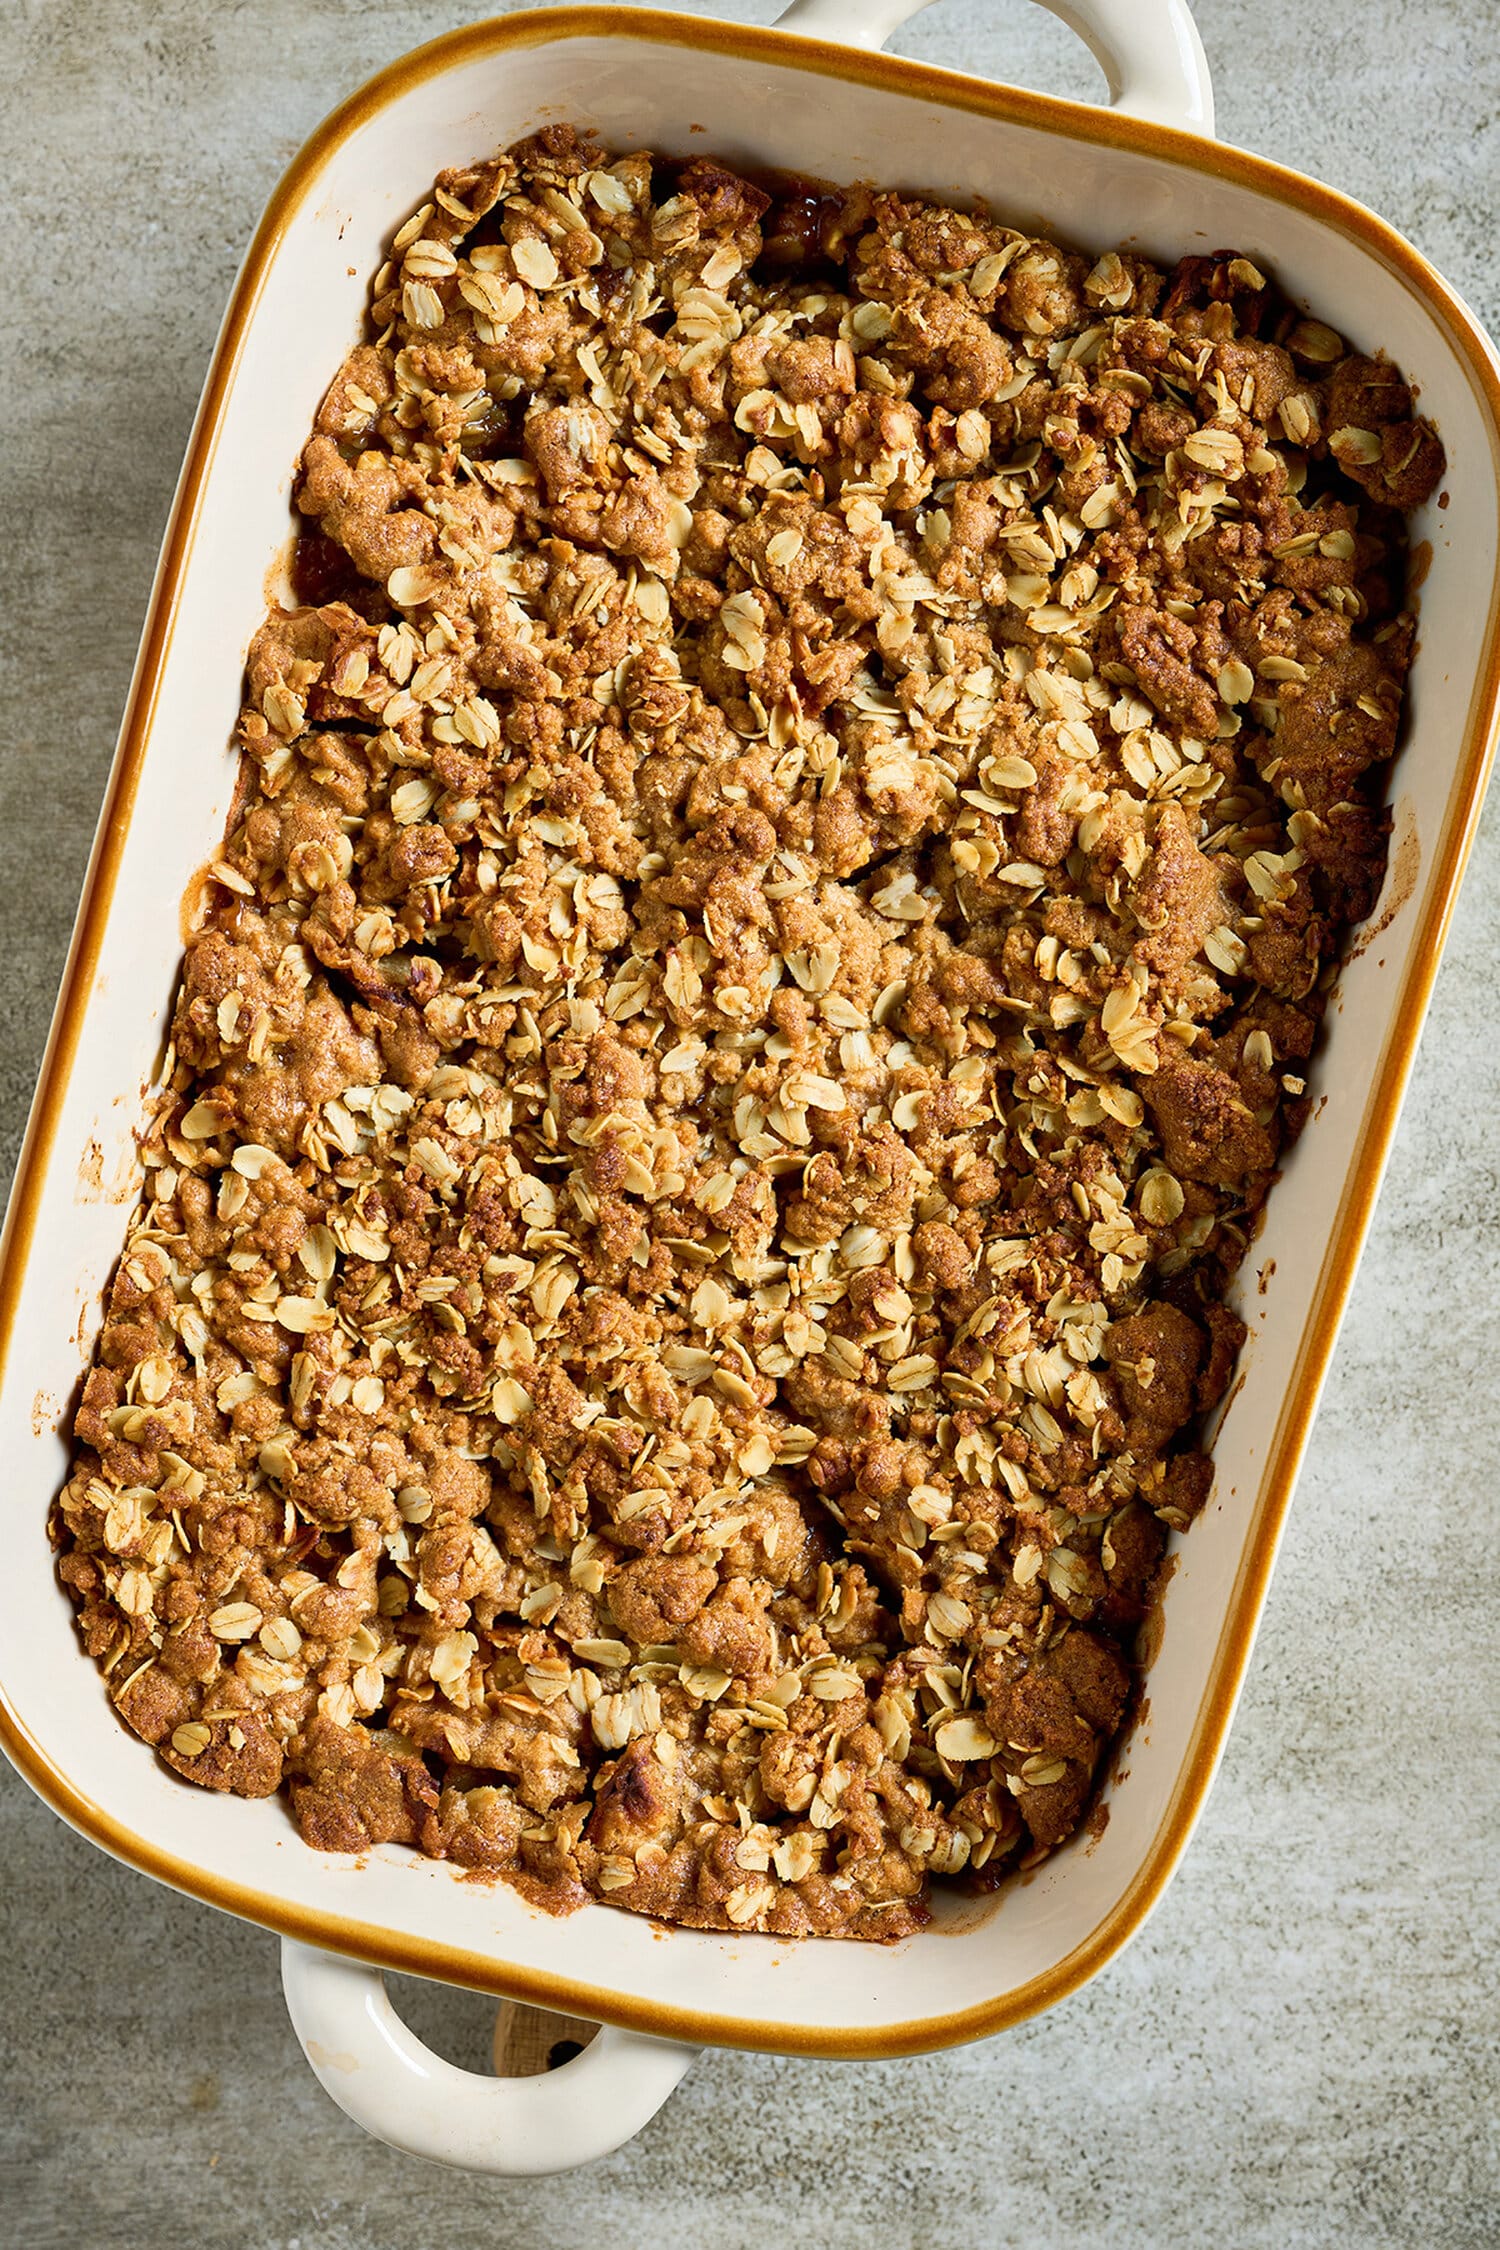
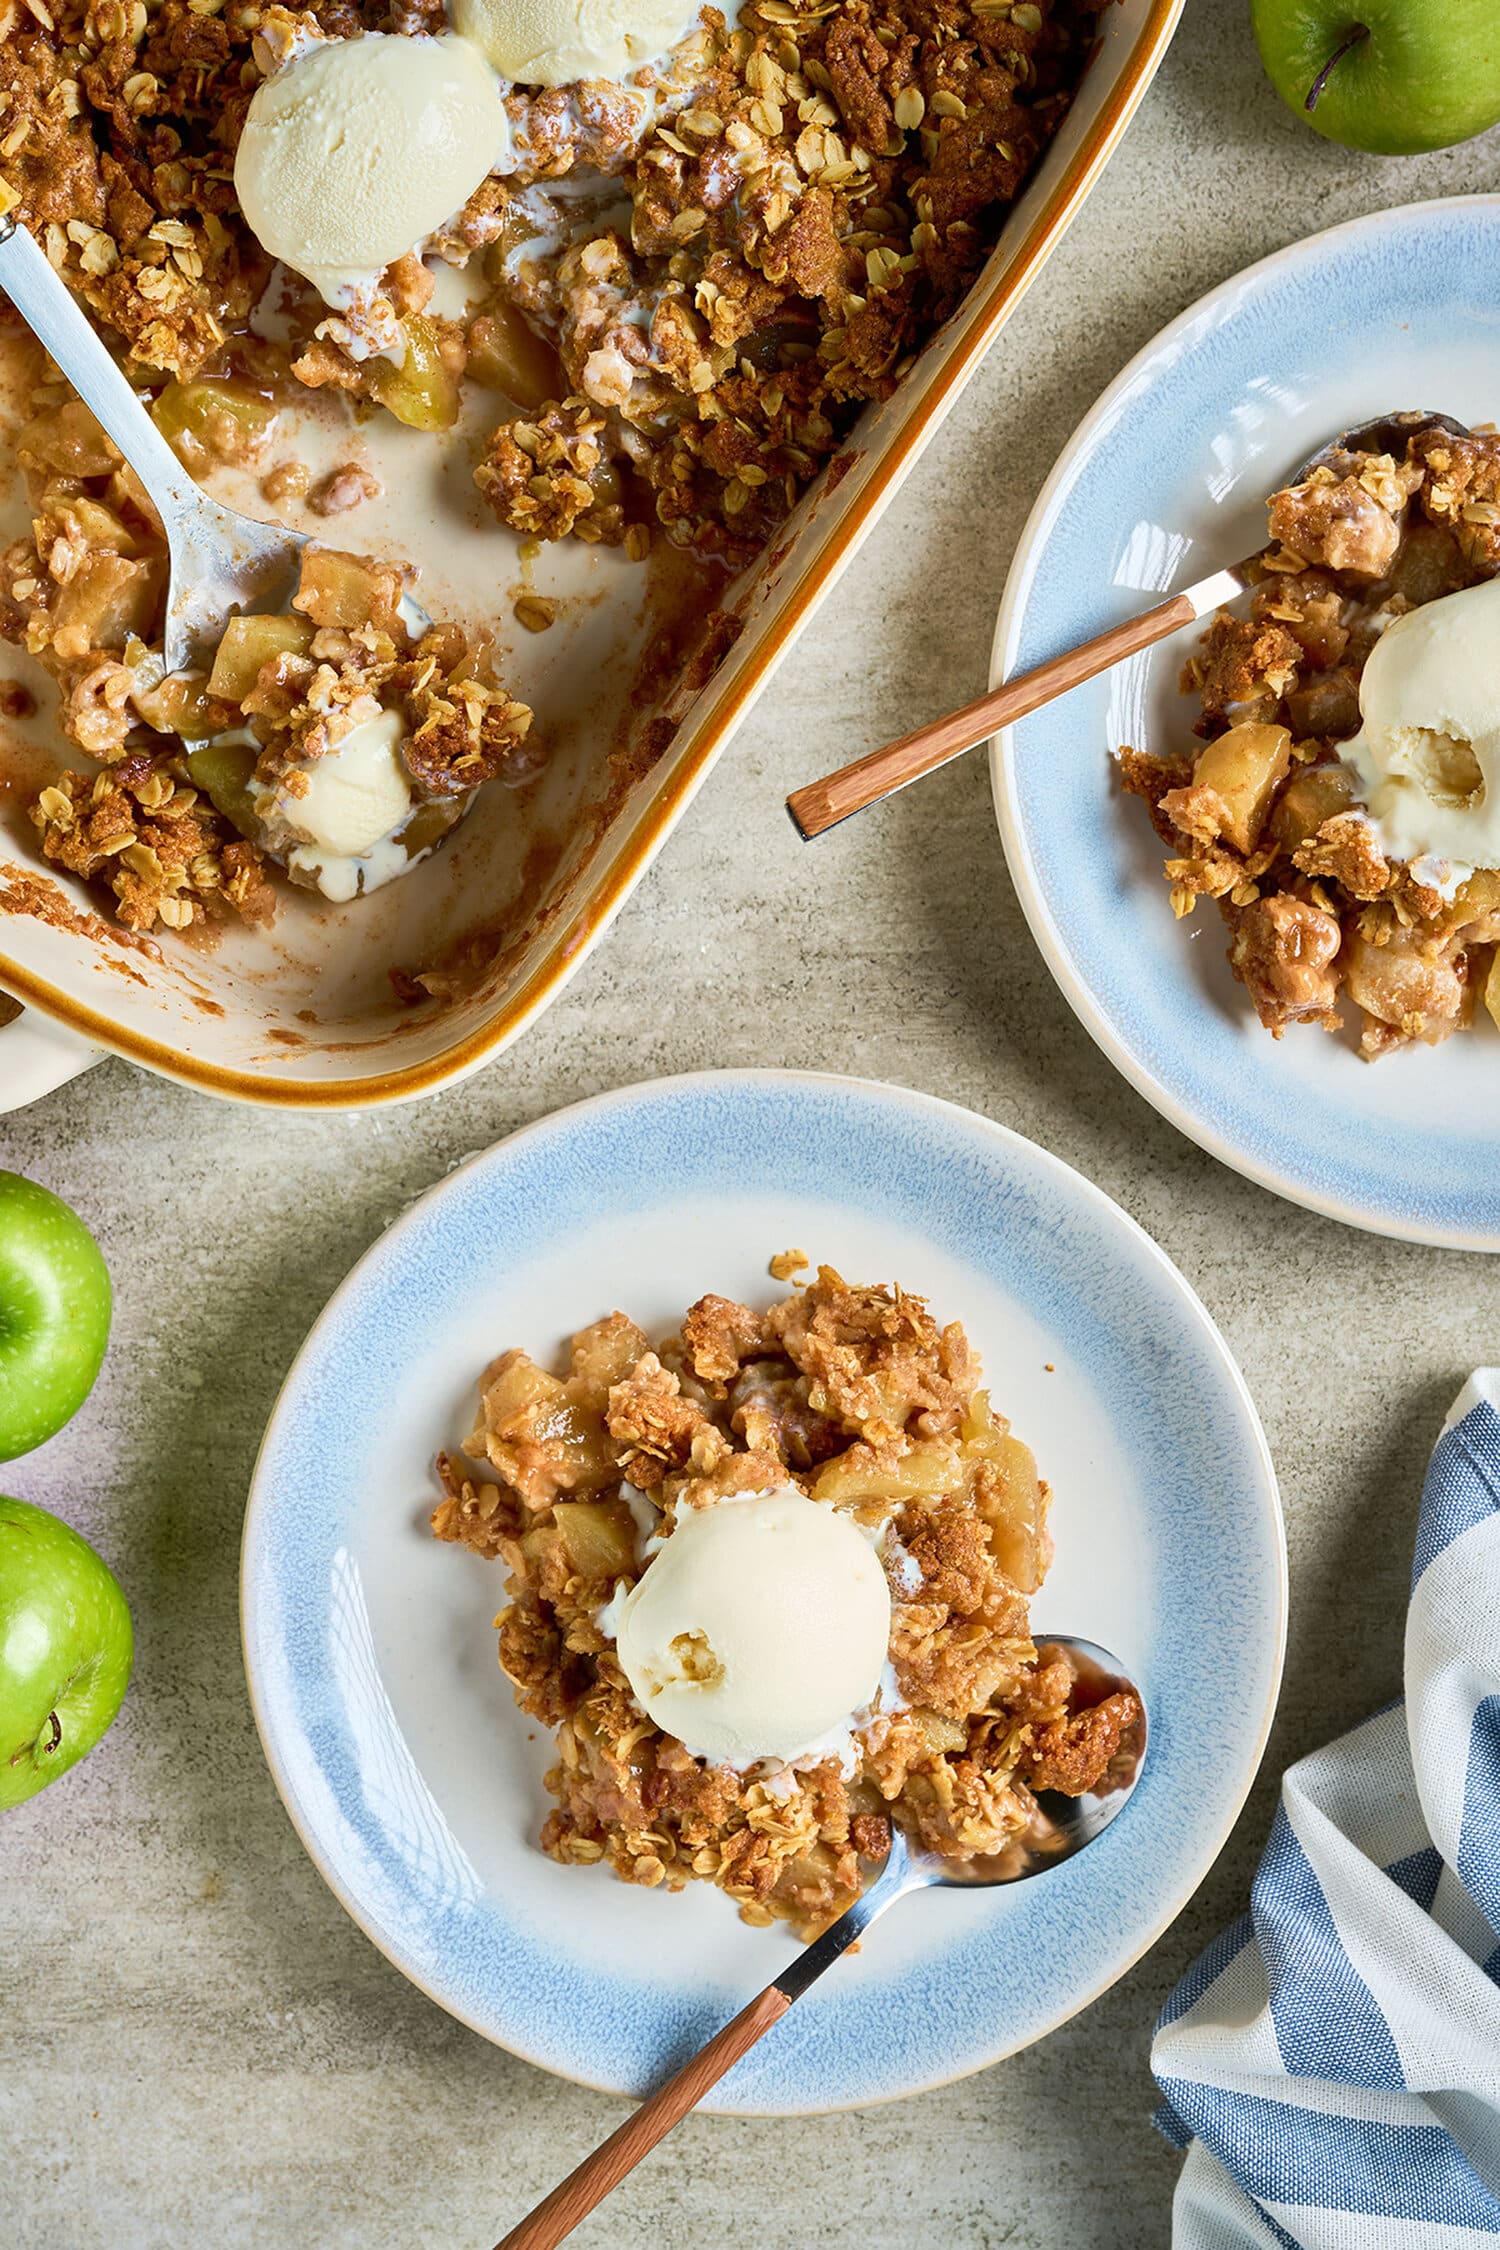
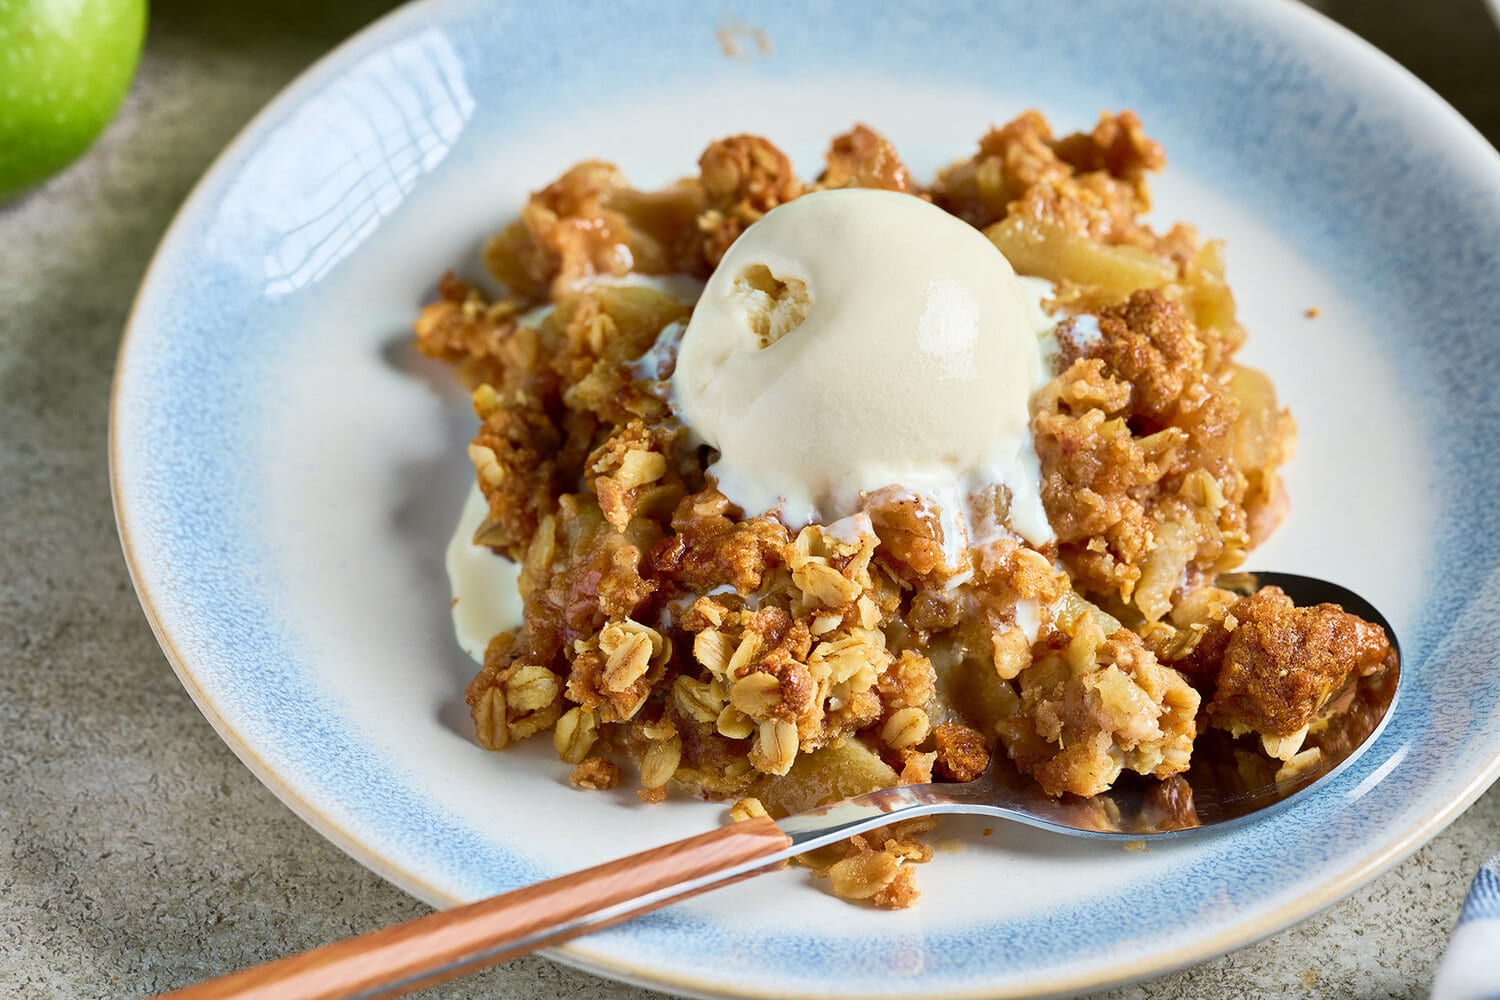
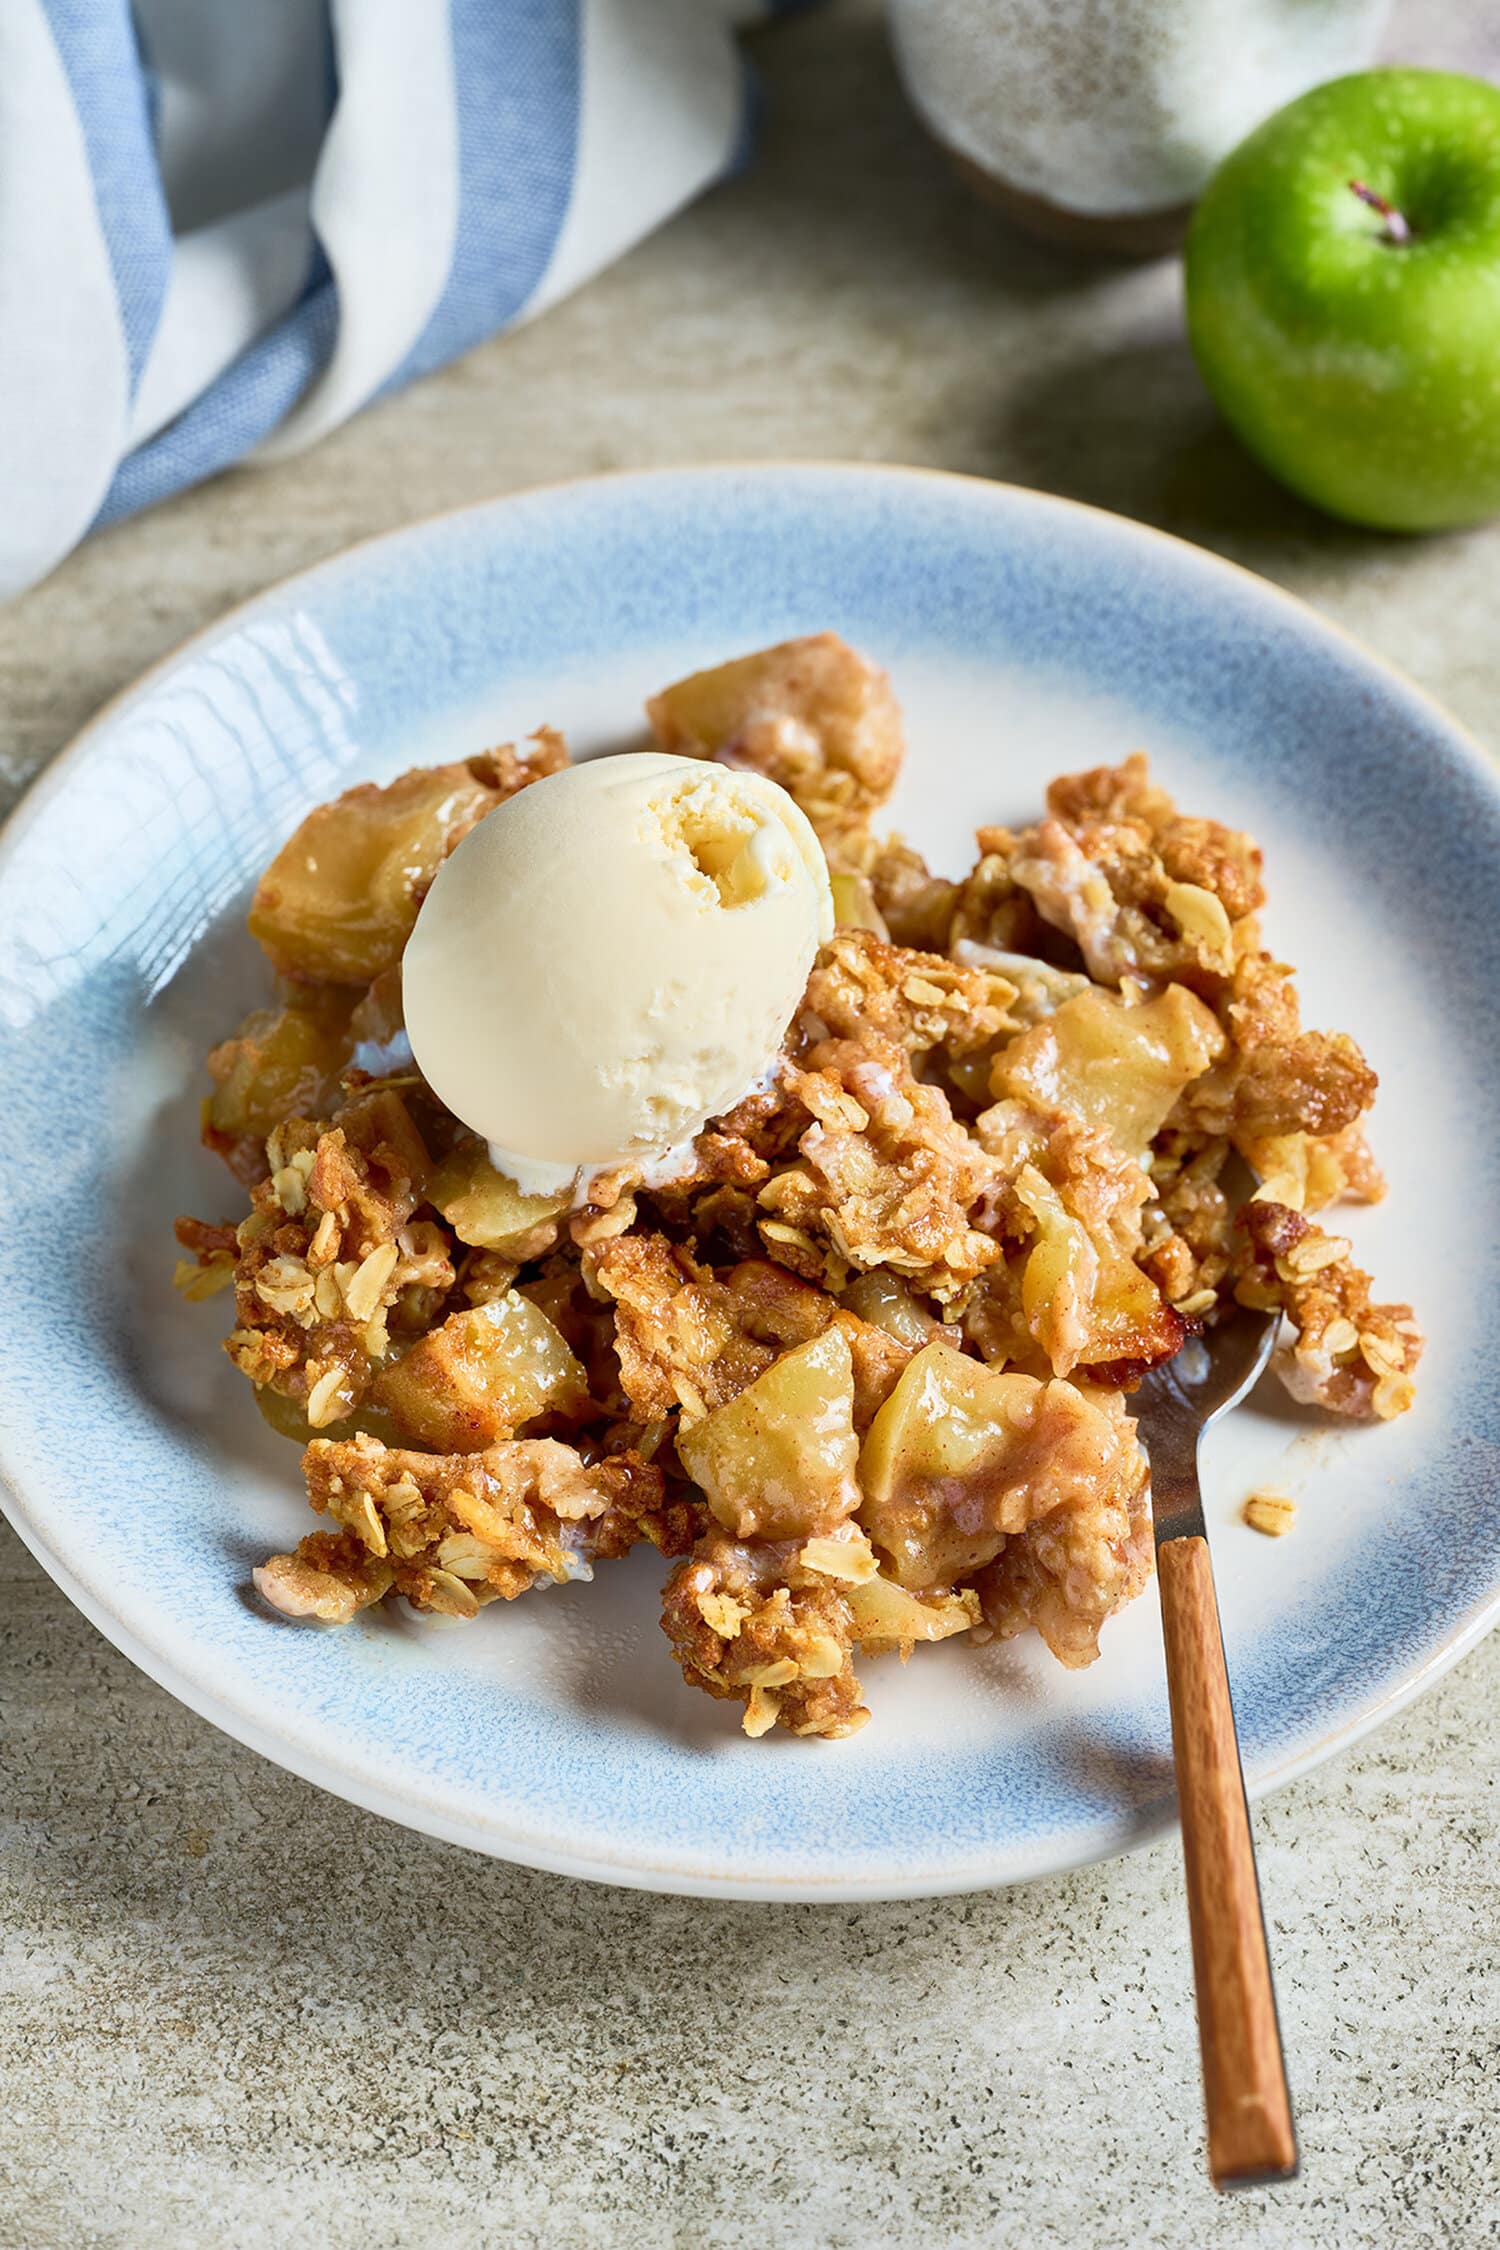
- Cool and serve: Let the apple crisp cool for at least 5 minutes before serving. If you want the juices to thicken and settle more, give it about 15 minutes. Serve warm, at room temperature or cold, with or without ice cream.
🔪 Chef Tips for the Best Apple Crisp
- Use firm apples. Apples that hold their shape during baking give you tender pieces of fruit instead of applesauce under the topping.
- Mix apple varieties. Combining a tart apple like Granny Smith with something sweeter like Honeycrisp or Pink Lady gives the filling a more interesting flavor.
- Cut the apples into similar-size pieces. About 1-inch chunks are large enough to keep some texture but small enough to become tender during the baking time.
- Keep the butter cold. Soft or melted butter won’t produce the same crumbly topping. Cold butter creates those irregular buttery pieces that turn golden and crisp in the oven.
- Don’t overwork the topping. You want crumbs and clumps of different sizes rather than a smooth mixture. Those uneven pieces give the topping its best texture.
- Look for bubbling fruit, not just a brown topping. A golden topping doesn’t necessarily mean the apples underneath are ready. The filling should be bubbling and the apples should be tender when pierced with a knife.
- Let it rest. Apple crisp is saucier immediately out of the oven. As it sits, the juices thicken and settle around the apples.
🔎 What Are the Best Apples for Apple Crisp?
For the best apple crisp, choose apples that have good flavor and enough structure to hold up during baking. My favorites include:
- Granny Smith
- Pink Lady
- Honeycrisp
- Braeburn
- Jazz
You don’t need to use only one variety. In fact, I usually prefer mixing them. A tart Granny Smith paired with a sweeter apple such as Honeycrisp or Pink Lady gives you a nice balance of sweetness, acidity and texture.
If the apples you already have aren’t on that list, you can still make apple crisp. Just keep in mind that softer apples tend to break down more as they bake.
✅ Make Ahead, Storage, Freezing and Reheating
- Make Ahead: Prepare the filling and topping up to one day ahead and refrigerate them separately. Assemble just before baking. You can also refrigerate the fully assembled crisp overnight; simply allow a little additional baking time because it will be cold.
- Storage: Allow the apple crisp to cool completely. Cover and refrigerate for up to 4 to 5 days.
- Reheating: Individual portions can be reheated in the microwave, although the topping will soften. For a crisper topping, reheat the apple crisp in a 350ºF oven until warmed through.
- Freeze Before Baking: Assemble the crisp, cover tightly and freeze for up to 3 months. Thaw overnight in the refrigerator and bake as directed. It may need a little additional baking time because it will still be cold.
- Freeze After Baking: Cool the apple crisp completely, cover tightly and freeze for up to 3 months. Thaw overnight in the refrigerator and reheat in a 350ºF oven for about 20 to 25 minutes. If the topping begins to brown too much, loosely tent it with aluminum foil.
💛 Conscious Bites
Your priorities, your recipe. Learn about Intentional Cooking.

Finances: Apple crisp turns a handful of inexpensive pantry staples into a generous dessert. Buying whichever good baking apples are on sale is an easy way to make it even more budget-friendly.

Environment: Apples don’t need to look perfect to end up in a crisp. Slightly bruised apples are fine once any damaged areas are trimmed away, making this a great recipe for using fruit that might otherwise be forgotten in the refrigerator.

Time & Convenience: Both the filling and topping can be prepared ahead, and leftovers reheat beautifully. It’s an easy homemade dessert that works for everything from a casual family dinner to a holiday feast.
👀 Take a look at these other dessert recipes:


🛒 My Favorite Kitchen Essentials
-

9×13 Ceramic Baking Dish
This deep baking pan is perfect for lasagnas, layered casseroles and mac and cheese. It’s an affordable piece that looks high-end, and the company is committed to sustainability and fair treatment of its workers (which I always appreciate).
-

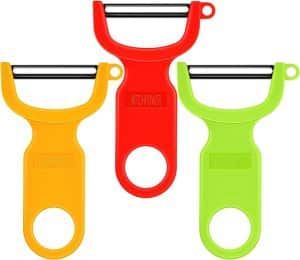
The Must-Have Swiss Vegetable Peeler by Kuhn Rikon
My must-have kitchen tool. The swiveling blade hugs a lumpy potato instead of fighting it, stripping skin in thin ribbons so almost nothing goes to waste. Light, fast and still sharp after years. It’s the best peeler I’ve ever used, and I don’t say that lightly.
-

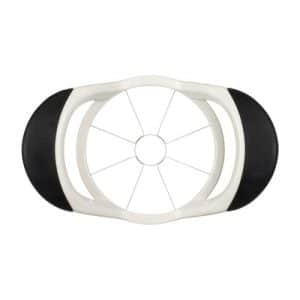
Apple Corer and Slicer
One push and the apple is cored and cut into even wedges, which is what you want for a crisp or pie where every piece should bake at the same rate. It’s much faster than a knife when you’re prepping eight apples, the non-slip grips give you leverage, and it goes in the dishwasher.
-
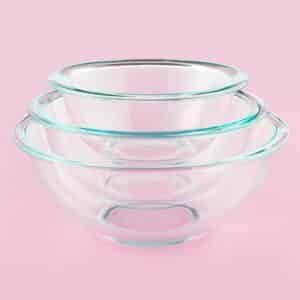
Glass Mixing Bowl Set in Three Useful Sizes
1-quart, 1.5, and 2.5 — the sizes most recipes actually call for, without spending much. Glass takes you from whisking to the microwave to the fridge, so fewer dishes pile up. They nest down small, don’t hold onion smell, and go in the dishwasher.
-

Measuring Cups and Spoons Set
Baking is chemistry, and eyeballed measurements are where most cakes and cookies go wrong. Thick stainless steel won’t crack, warp or hold onto butter like plastic, and the extra sizes like 1/8 teaspoon and 1/2 tablespoon mean no guessing at small amounts.
-
Ice Cream Scooper
A heavy, solid scoop with no moving parts to break, and the spade-shaped edge cuts through ice cream straight from the freezer instead of bending. You get clean, round scoops for apple crisp or pie, and it’s just as handy for portioning cookie dough.



Apple Crisp with Oat Topping

Ingredients
Apple Filling
- 8 medium apples, about 2½ pounds, peeled, cored and cut into 1-inch chunks
- 1 tablespoon lemon juice
- 2 tablespoons all-purpose flour
- 3 tablespoons firmly packed brown sugar, light or dark
- 1 teaspoon ground cinnamon
- ¼ teaspoon ground nutmeg
- ¼ teaspoon salt
- ½ teaspoon vanilla extract, pure
Oat Topping
- ¾ cup all-purpose flour
- ¾ cup firmly packed brown sugar, light or dark
- 1 teaspoon ground cinnamon
- ½ cup cold unsalted butter, 1 stick; 113 grams, cut into cubes, plus more for greasing the pan
- 1 cup old-fashioned oats
For Serving, Optional
- vanilla or dulce de leche ice cream
Instructions
- Prep: Preheat the oven to 350ºF (177ºC). Lightly grease a 9 x 13-inch baking dish with butter or cooking spray. Set aside.
- Make the apple filling: In a large bowl, combine the apples, lemon juice, flour, brown sugar, cinnamon, nutmeg, salt and vanilla extract. Toss until the apples are evenly coated.
- Transfer to the pan: Spread the apple mixture evenly in the prepared baking dish.
- Make the crumb topping: In a medium bowl, combine the flour, brown sugar and cinnamon. Add the cold cubed butter. Using a pastry cutter or fork, work the butter into the flour mixture with a gentle downward twisting motion until it resembles coarse crumbs.
- Add the oats: Stir in the rolled oats until evenly combined. I like to use my fingertips at this point to make sure the oats and buttery crumbs are well distributed.
- Assemble: Scatter the oat topping evenly over the apple filling.
- Bake: Bake for about 45 minutes, or until the topping is golden brown, the fruit juices are bubbling and the apples are tender when pierced with the tip of a knife.
- Cool: Remove from the oven and cool for at least 5 minutes before serving. For a thicker, more settled filling, allow it to rest for about 15 minutes.
- Serve: Serve warm, at room temperature or cold, plain or with vanilla or dulce de leche ice cream.
Chef’s Notes
Nutrition
🤔 Frequently Asked Questions
Do You Have to Peel Apples for Apple Crisp?
No, but I prefer peeled apples for this recipe. Apple peels stay firmer than the flesh as they bake, so peeling them gives the filling a softer, more consistent texture.
Why Is My Apple Crisp Watery?
First, make sure it has baked long enough. The juices should be visibly bubbling around the edges of the pan. That tells you the filling has become hot enough for the flour to do its job and thicken the liquid released by the apples.
Apple crisp will also look juicier straight from the oven. Letting it rest for 5 to 10 minutes gives those juices time to thicken. For a thicker dessert, rest for up to 15 mnutes.
Some apple varieties are naturally juicier than others, so occasionally a crisp may simply need a few additional minutes in the oven.
Can I Use Quick Oats Instead of Old-Fashioned Oats?
Technically you can, but old-fashioned rolled oats are my preference for this recipe. They give the topping more texture and those distinct oat pieces you expect from a classic apple crisp.
Quick oats are smaller and softer, so the topping won’t be quite as chunky. I don’t recommend using steel-cut oats.
What Is the Difference Between Apple Crisp and Apple Crumble?
In the United States, an apple crisp usually has a streusel-style topping that includes oats, while an apple crumble traditionally uses a flour, sugar and butter topping without oats.
Today, the terms are sometimes used interchangeably, but this recipe is very much an apple crisp thanks to its generous old-fashioned oat topping.
Can I Make Apple Crisp Ahead of Time?
Yes. You can prepare the apple filling and oat topping a day ahead and refrigerate them separately. Assemble the crisp when you’re ready to bake for the best topping texture.
You can also assemble the entire crisp, cover it and refrigerate it overnight. Because it will be going into the oven cold, it may need a few extra minutes of baking time.
Can I Make a Smaller Batch?
Absolutely. Halve the recipe and bake it in an 8 x 8 or 9 x 9-inch baking dish for approximately 30 to 35 minutes, or until the filling is bubbling, the apples are tender and the topping is golden brown.
This post was originally published in 2021 and has been completely updated with an improved recipe, new photography and additional cooking tips.




Leave a Reply