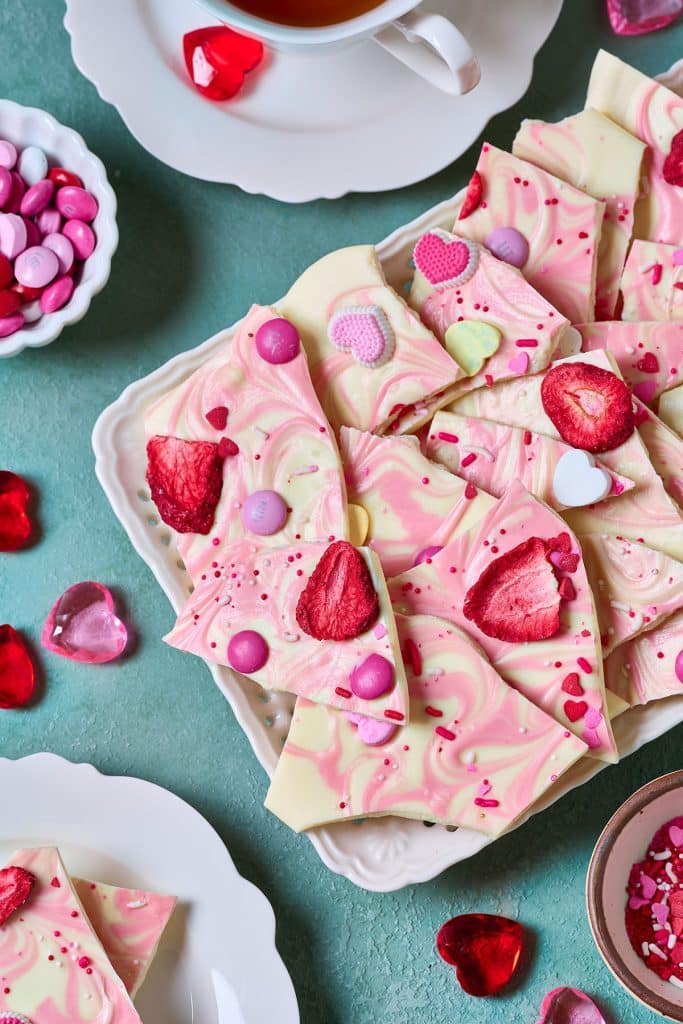
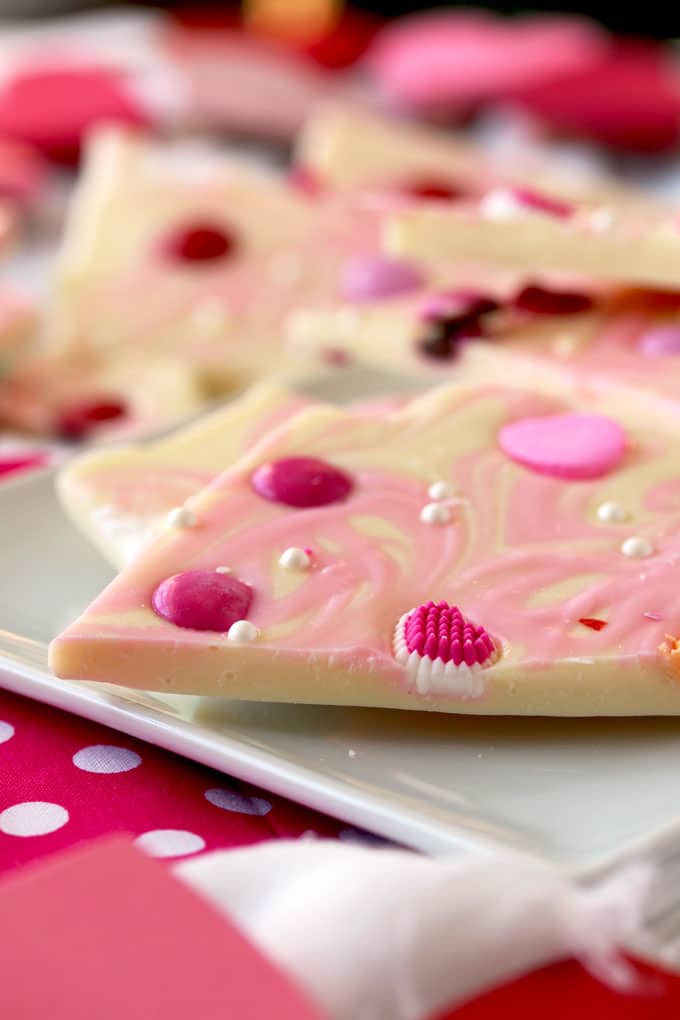
Incredibly creamy, sweet and decadent, this Valentine’s Day White Chocolate Bark recipe is the perfect Valentine’s Day dessert or edible gift that can be made in minutes! With only one main ingredient this white chocolate bark recipe can be customized with your favorite candies or freeze dried fruit.

White Chocolate Bark Recipe at a Glance
- Main Ingredient: White chocolate
- Recipe Type: No-bake Dessert
- Dietary Information: Vegetarian, gluten-free, vegan adaptable
- What Do You need to know: Using good quality white chocolate is essential in this (one-ingredient) recipe. Good quality doesn’t mean expensive!
- Best for: Dessert platters. Packaging in cellophane bags for gift giving (for teacher’s, kids, neighbors, etc)
I think I have mentioned before, when it comes to holiday treats, I am a last minute type person. Having a quick and easy dessert recipe that doesn’t need to be baked, can be made with just one basic ingredient and can be completely customized is definitely a must!
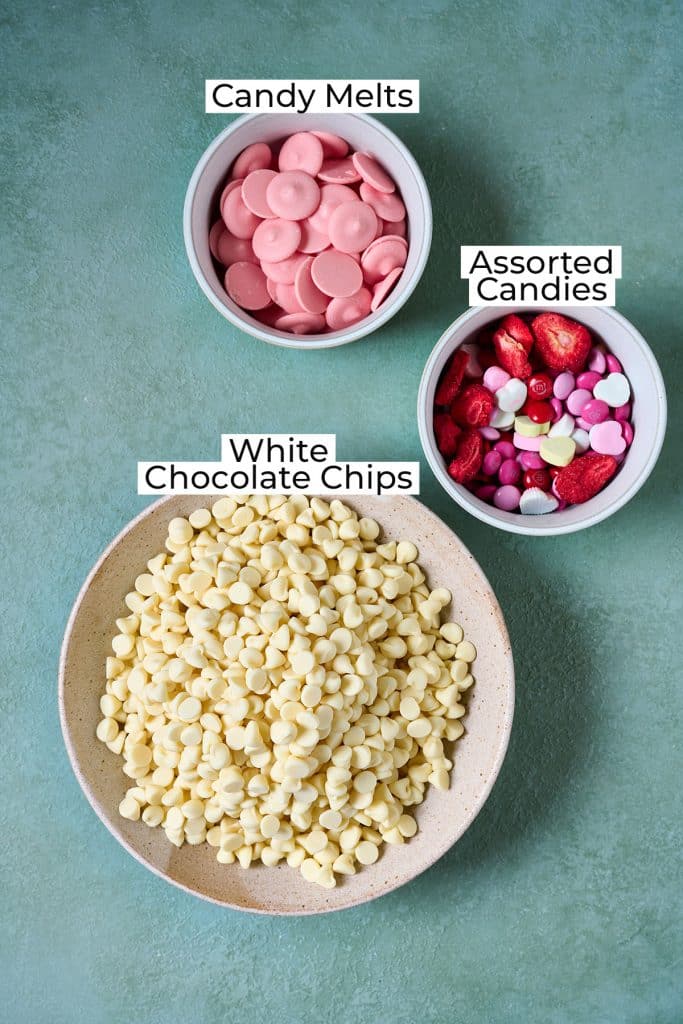
Ingredients and Substitutions
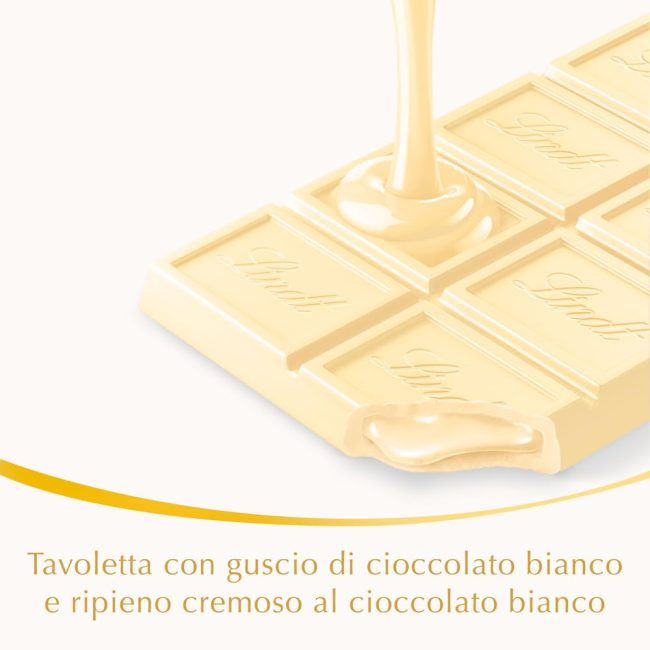
- White Chocolate: The star of the show. Using good quality white chocolate is a must. A lot of white chocolate in the market contains high amounts of sugar and are sweet but not tasty or creamy. White chocolate bars or chips can be used. I really love Ghirardelli’s white chocolate best with Lindt as a second option. Callebaut and Vhalrona are excellent options but they come with a hefty price.
- Pink Candy Melts (optional): For swirling and creating a pink and white marbled effect.
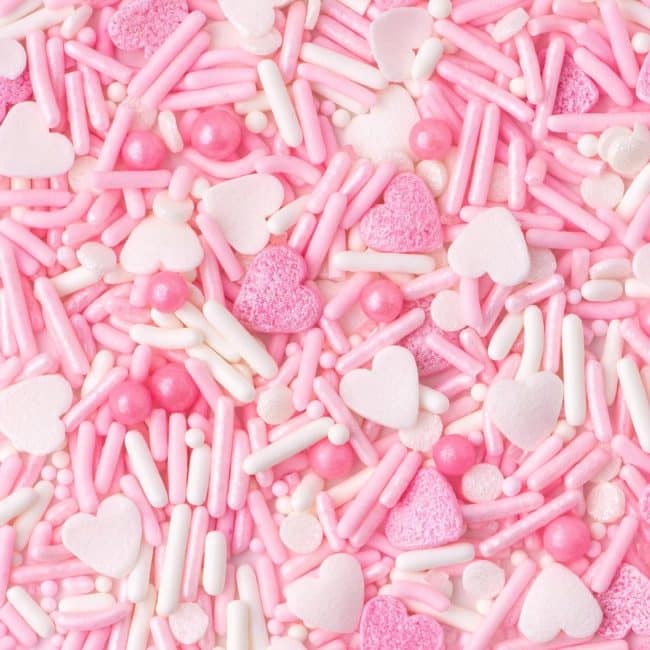
- Assorted Candies (optional): M&Ms, conversation hearts, sprinkles (such as non-pareils in red, pink and white, hearts, little edible pearls, sanding sugar or any valentine’s day mix sprinkles).
- Freeze-Dried Fruits: Strawberries are definitely my favorite!
- Substitutions: If you prefer using milk, semisweet or dark chocolate instead of white chocolate, I suggest you substitute the pink candy melts with white candy melts or skip them all together for a better contrasting look
How to Make White Chocolate Bark for Valentine’s Day
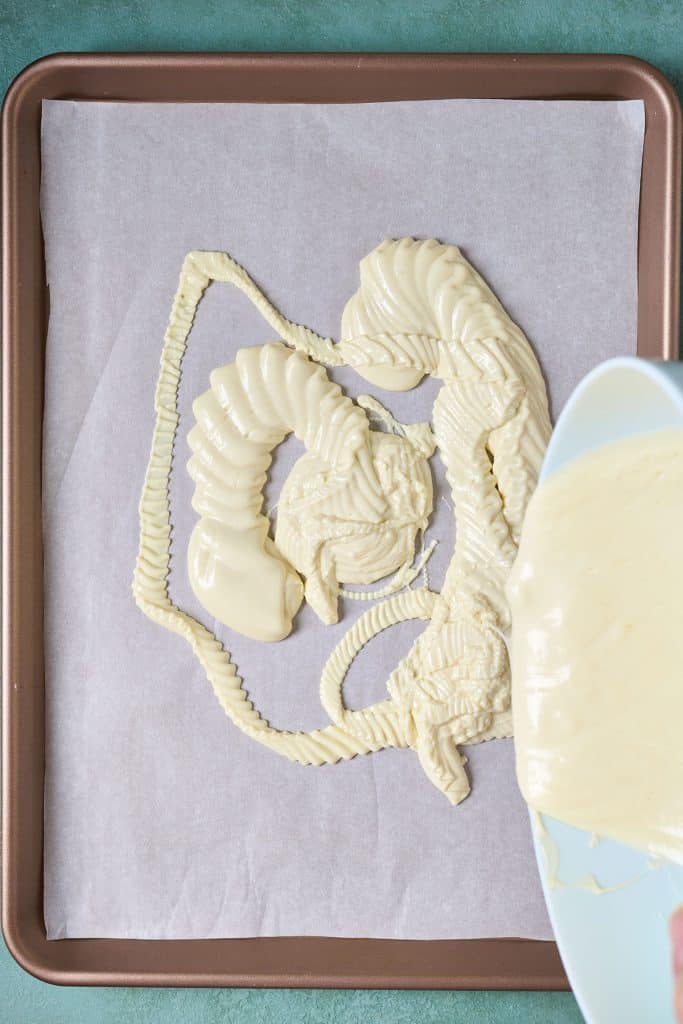
- Melt: In the microwave, melt the white chocolate in a bowl in small 30 seconds intervals, stirring after each interval, until melted and smooth. In a separate bowl, melt the pink candy melts in the same manner until melted and smooth.
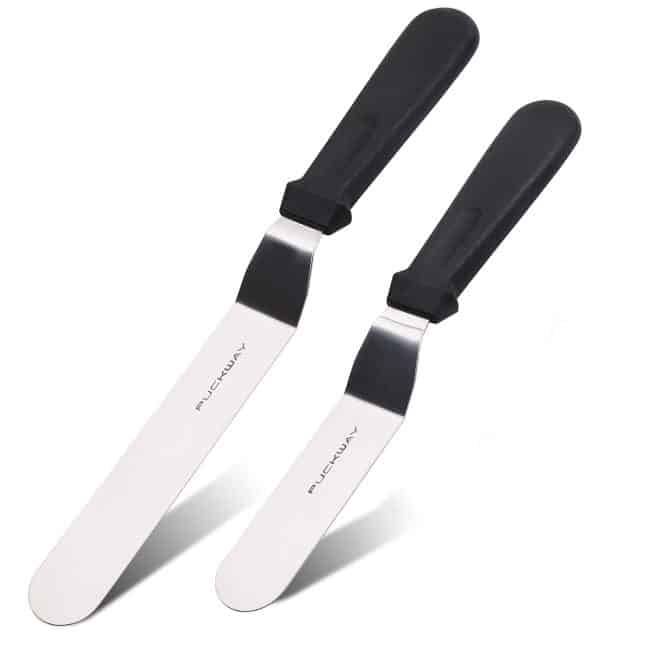
- Spread: Pour the melted white chocolate onto a parchment paper lined baking sheet and with the help of an offset spatula spread it evenly. It doesn’t need to be perfect. You will add things on top.
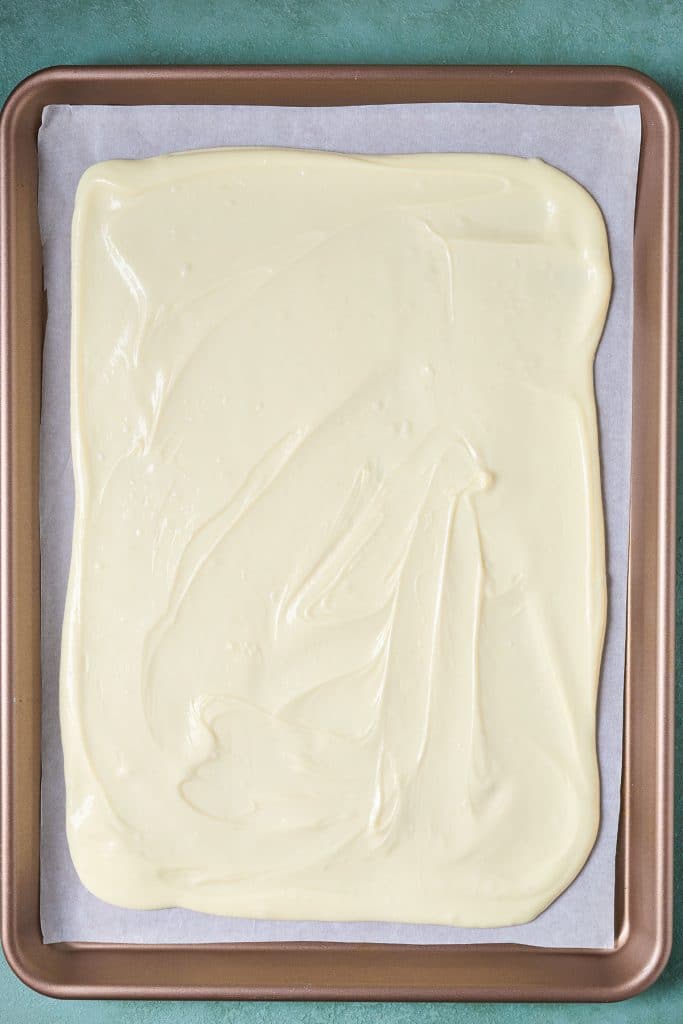
- Marble: Before the white chocolate layer sets, drizzle the melted pink candy melts randomly across the surface of the white chocolate then drag it through with a toothpick or skewer to create a marbled look.
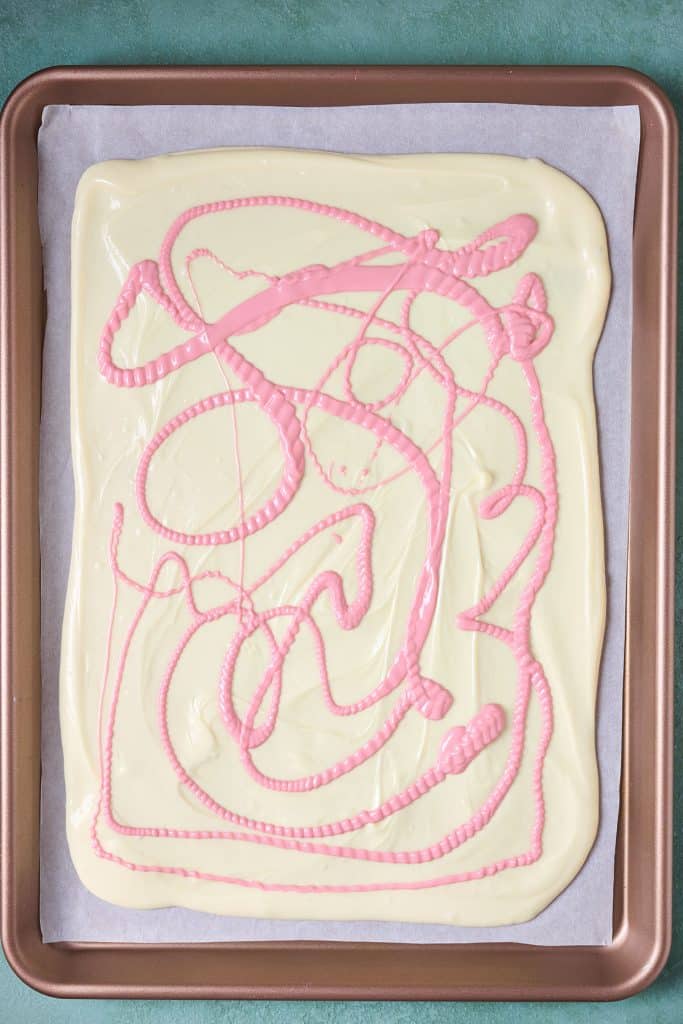
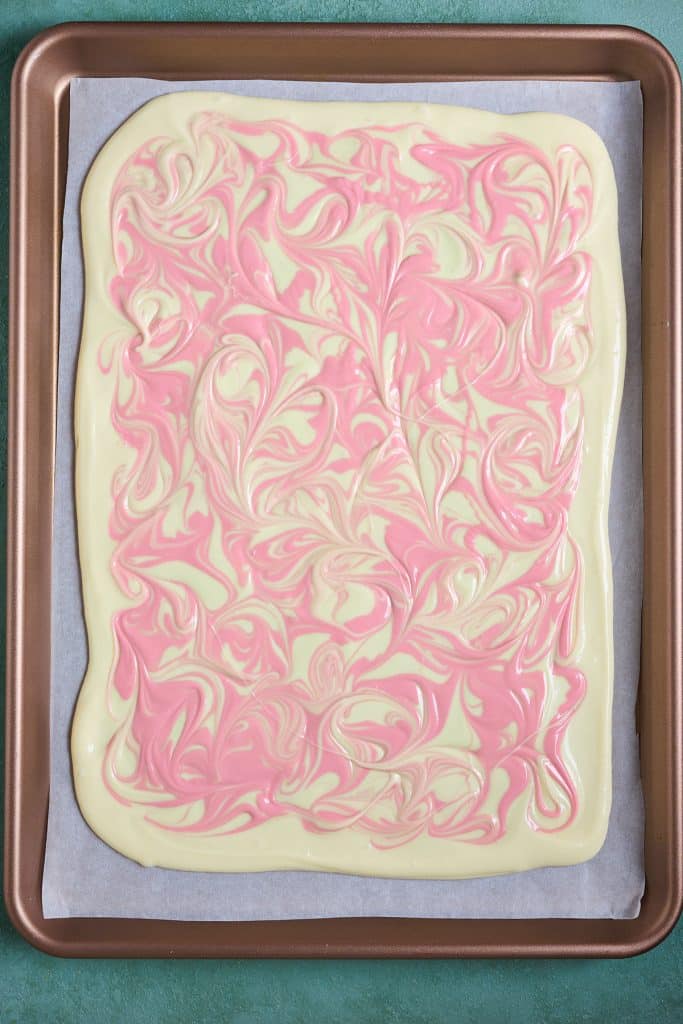
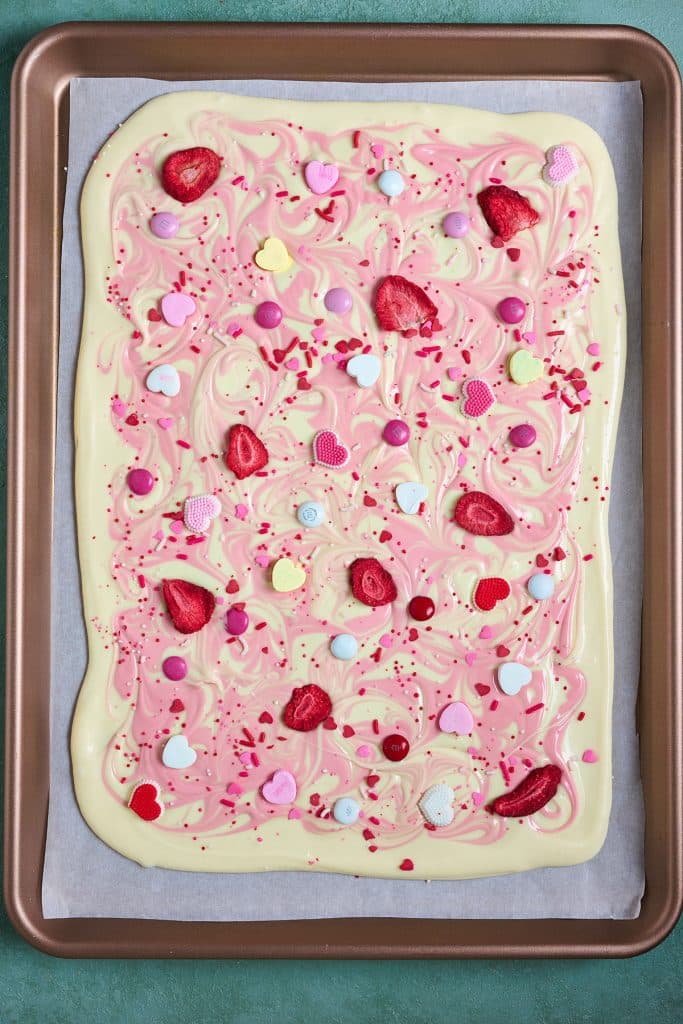
- Decorate: While the chocolate is still warm, sprinkle candies, sprinkles and or dried fruit
- Allow to Set: Let it set at room temperature until completely hardened, then break it up into pieces and serve or pack into small gift bags.

How To Melt Chocolate in the Microwave
- The chocolate should be cut into smaller pieces. For this recipe I use chocolate chips and small candy melts so the size is perfect already!
- Place the chocolate into a microwave-safe glass bowl.
- Heat the chocolate in 30 second intervals, stirring after each interval. At the beginning it will feel like the chocolate is not really melting and you may have a hard time stirring. No worries! It will get soft, I promise.
- Continue until the chocolate is completely melted and smooth.
Tips for Success
- An offset spatula helps spread the melted chocolate easily. You can also use the back of a spoon.
- Working fast when spreading the chocolate is important as chocolate sets quickly.
- Tempering the white chocolate for this particular recipe, is an extra step that I don’t feel is necessary to achieve great results. If preferred, temper the chocolate for a harder bark.
- This recipe can be easily doubled (or tripled).
- Good quality white chocolate is creamy and tastes wonderful. Ghirardelli’s and Lindt white chocolate are sold in most grocery stores. Online, I suggest buying Milkboy or Callebaut.
- I didn’t need to refrigerate the white chocolate at all. It actually set very quickly.
Frequently Asked Questions
Is Almond Bark Just White Chocolate?
No. Almond bark is not white chocolate as it doesn’t contain any cocoa butter. Almond bark is a chocolate-like confection made with vegetable fats, added flavors and coloring.
Are White Melting Wafers the Same as White Chocolate?
No. melting wafers are not chocolate as they don’t contain cocoa butter.
My Chocolate Hardened Before I Added the Candies. Now What?
When working with chocolate sometimes you need to be quick as the chocolate may set and get dry. This is not always easy to do especially if little ones are helping. If you are wondering how to adhere the candies at this point – no worries! Keep reading!
- Turn on the broiler.
- Place the oven rack in the lower middle of the oven.
- Place the baking sheet with in the oven for no more than 45 seconds to a minute at the time. Just keep checking to make sure the chocolate is melting nicely. It won’t take too long. Just keep an eye on it.
Do I Need to Temper the Chocolate for This Bark?
To keep this recipe super simple and foolproof, I don’t temper the white chocolate. Tempering is an extra step which results in a harder chocolate bark with a lot of snap! You can temper the chocolate if preferred.
Storing
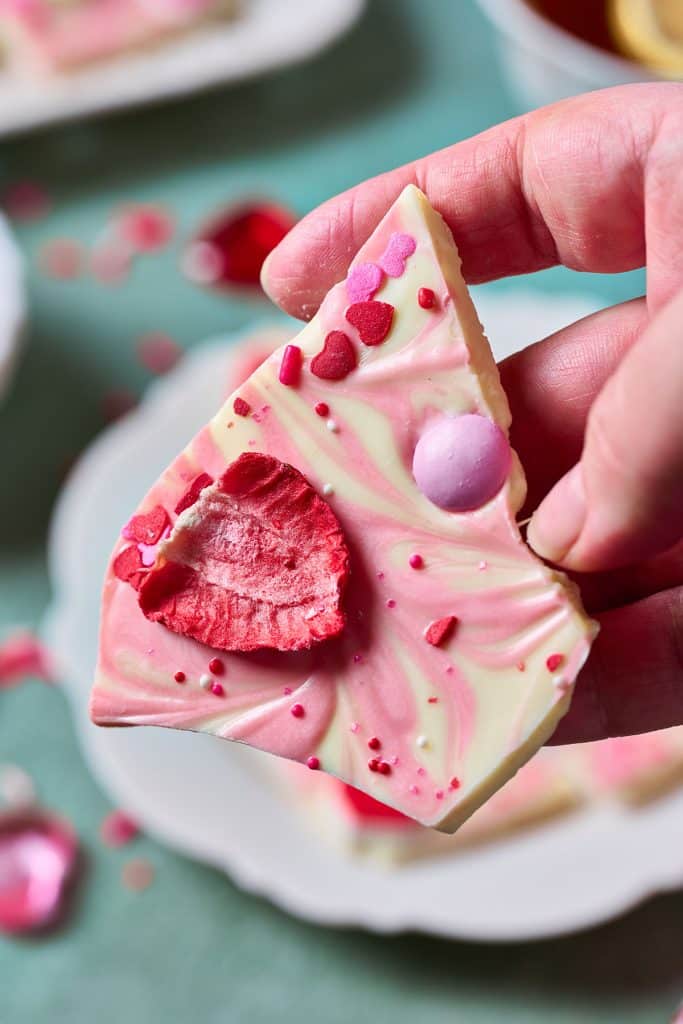
Once the chocolate has set completely and broken into pieces, store in an airtight container in a dry place, cool place (less than 70ºF.). The bark will keep for about 2 weeks and doesn’t need to be refrigerated.
I prefer not to refrigerate chocolate bark to prevent condensation due to moisture. If you refrigerate it, make sure it’s packed in an airtight container.
Email me this recipe for later!

White Chocolate Bark
Ingredients
- 22 – 24 ounces white chocolate chips or chocolate bars (some bags contain 11 ounces each, just use 2 bags)
- 5 ounces candy melts (pink or red)
- 3/4 cup assorted candies (m&m, sprinkles, sweethearts, valentine’s candy, etc)
Equipment
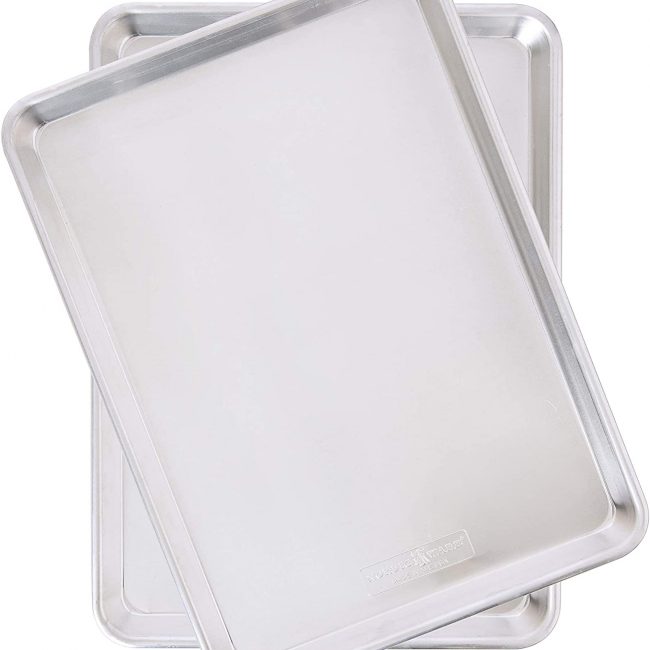
- Sheet Pan/Baking Pan
- Parchment Paper
- Medium microwave-safe bowl
- Small microwave-safe bowl
- Spatula
- Toothpick or Skewer
Instructions
- Line a baking sheet with parchment paper and set aside.
- Microwave the white chocolate in a microwave-safe bowl. If you use chocolate bars, cut the chocolate into small, even pieces so it melts easily. Melt the white chocolate in the microwave at 60% power, in 20 to 30-second intervals, stirring with a silicone spatula or spoon after each increment. Do this until the white chocolate is completely melted and smooth. White chocolate overheats easily so melting it in small intervals is a must.
- If using pink candy melts or wafers, place them in a microwave-safe bowl. Microwave at 60% power, in 20 or 30-second intervals, stirring with a silicone spatula or spoon after each increment. Melt until smooth.
- Pour the melted chocolate onto the prepared baking sheet pan and with the help of an offset spatula, spread into a thin, even layer.
- Drizzle the melted pink candy melts randomly across the surface of the white chocolate then drag it through with a toothpick or skewer to create a marbled look.
- While the chocolate still wet, sprinkle the candies on top.
- Allow to hardened at room temperature for 20-30 minutes or until completely set.
- Break or cut into pieces and serve or pack into bags.
Equipment
Recipe Notes
- White Chocolate: Buying good quality chocolate is a must and will make a difference taste wise.
- Melting Process: White chocolate overheats easily so melting it in small increments, and stirring after each interval is a must.
- Troubleshooting: If your white chocolate hardens, turn on the broiler and place the baking sheet with the chocolate layer under the broiler (about 6-8 inches below the heat source).
- Nutrition facts: The information provided is an approximate as different candies and chocolate have different amount of calories, etc.
Nutrition




Leave a Reply