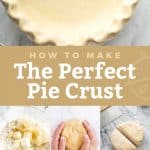
Learn how to make flaky and buttery homemade pie crust that turns out perfect every single time! This easy pie crust recipe is the only pie dough recipe you will ever need to make the best pies!
You don’t want to miss some of my favorite holiday pie recipes Dutch Apple Pie and Homemade Pumpkin Pie!
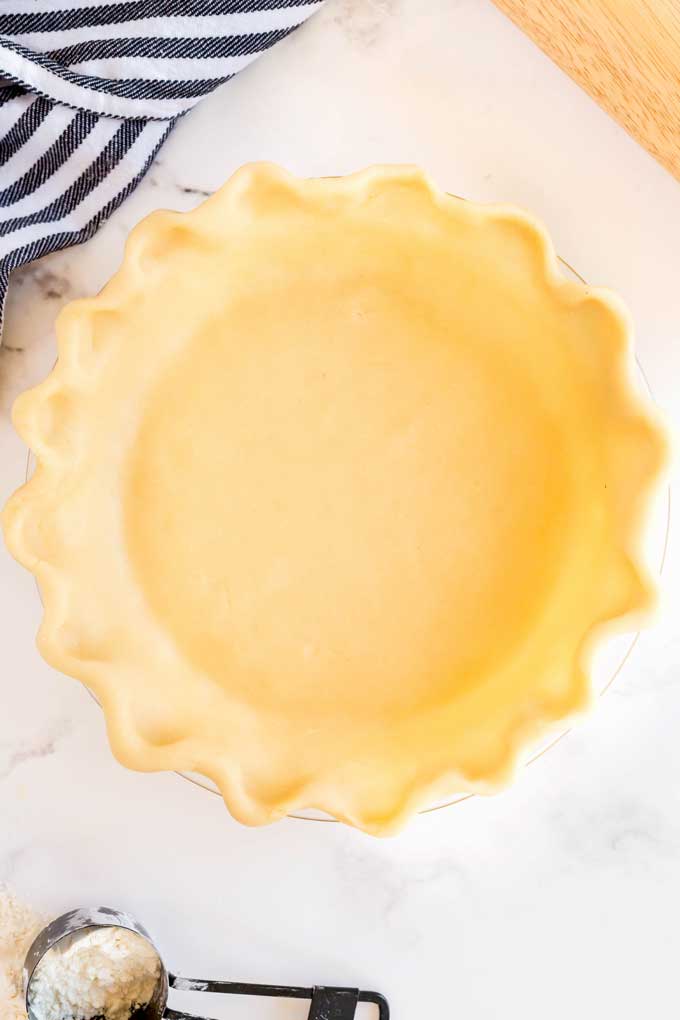
Making pie crust from scratch used to intimidate me. That’s until I made this pie crust recipe and realized that all my fears were unfounded.
Made with a handful of simple ingredients and with just a few easy steps, you can absolutely make the best pie crust recipe at home. This perfect pie crust is the base for all your favorite pies. From fruity pies like apple pie, blueberry and strawberry pies, to decadent creamy pies like coconut cream pie.

Homemade Pie Crust
If you are wondering, out of thousands of recipes for pie pastry crust, why should I make this pie crust? The answer is simple. Besides the fact that this recipe produces a tender, flaky buttery crust, this is a foolproof beginner’s friendly recipe that is easy to roll out and it’s quickly made with the help of a food processor. Bam!
Why You Will Love This Recipe?
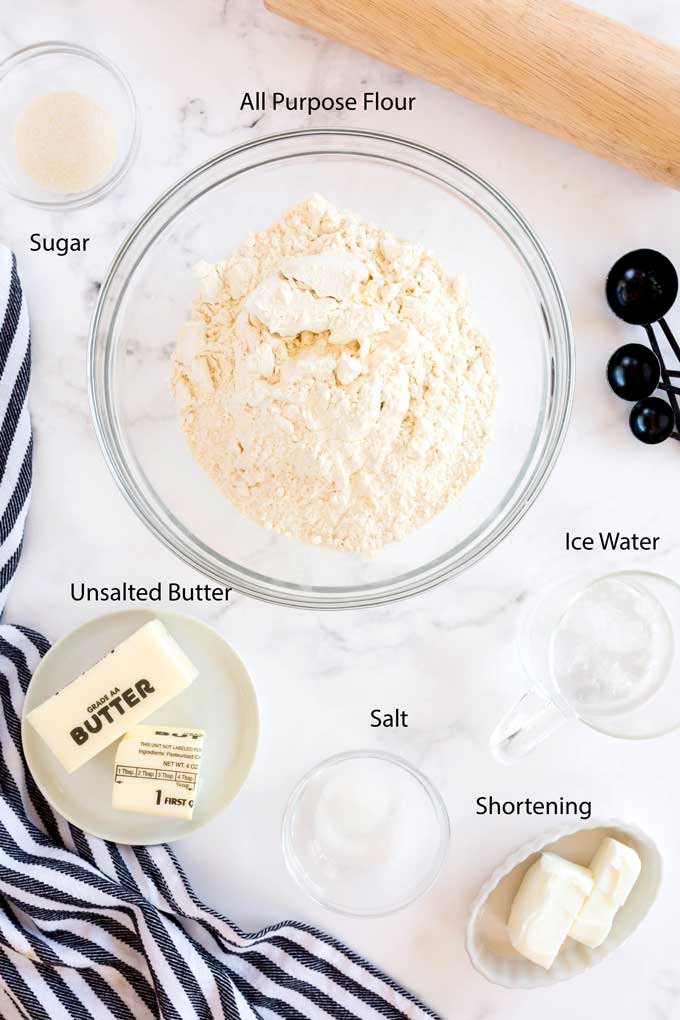
- This pie shell is made with 6 simple pantry ingredients. All purpose flour, unsalted butter, shortening, sugar, salt and ice water. For a glistening golden crust, you can brush the dough with a quick 2 ingredient egg wash if you’d like.
- I prefer making pie dough in the food processor. It’s quick, easy and works perfectly every single time. Of course, you can make this pie crust by hand as well.
- This easy pastry recipe makes enough dough for one 10-inch double pie crust or two 10-inch single pie crust.
Tools For Making Pie Crust
The equipment needed to make flaky homemade pie crust is pretty basic, yet necessary. Here’s what you will need:
- Food Processor or pastry cutter if making the pie dough by hand.
- Bench scraper or metal spatula.
- Measuring cups, measuring spoons, liquid measuring cups
- Plastic wrap
- Optional: Kitchen Shears, pastry ruler.
- For Blind Baking Pie you will need: Pie weights, parchment paper.
All Butter Crust Vs Shortening Crust
The debate of butter vs shortening has been going on for years. Shortening makes the crust’s texture melt-in-your-mouth tender and super flaky, while butter has better flavor and makes the crust extra tasty. Since both sides have valid points, why not use both? A combination of butter and Crisco shortening makes this a tasty flaky pie crust recipe!
Using Cold Ingredients
It is important to keep the fats in the dough very cold so they don’t melt before baking. The small pockets of fat, allow the dough to separate into layers that create the flakiness in the pastry.
To be honest, I keep all the ingredients cold. I usually measure everything and place all the ingredients in the fridge! (except the water, which I measure the last minute). I even chill the food processor’s blade. Am I going overboard? Perhaps, but I always end up with a perfect crust.
How To Make Pie Crust
Full detailed printable recipe below. Let me show you how to make pie crust from scratch, both in a food processor or by hand.
Making Pie Crust In The Food Processor
- Cold Butter: First, chill the butter while you mix the other ingredients. If you can, make sure your shortening is cold as well. I usually keep Crisco shortening in the fridge. Cold ingredients produce flaky pastry.
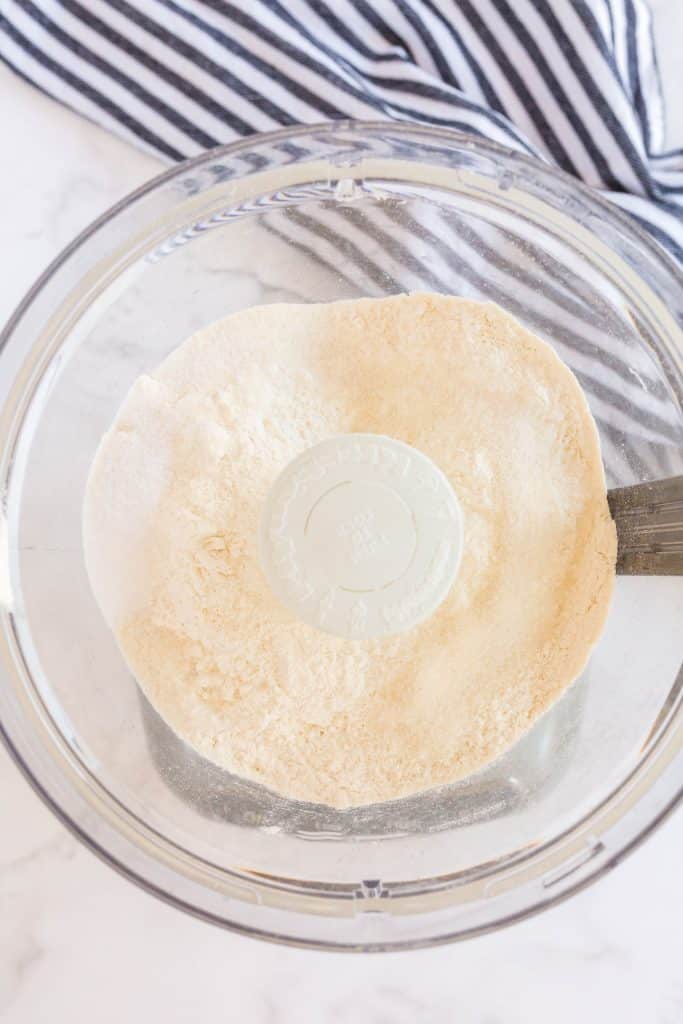
- Combine Dry Ingredients: Place the flour, salt, and sugar in the bowl of a food processor fitted with a steel blade and give it a few pulses to mix.
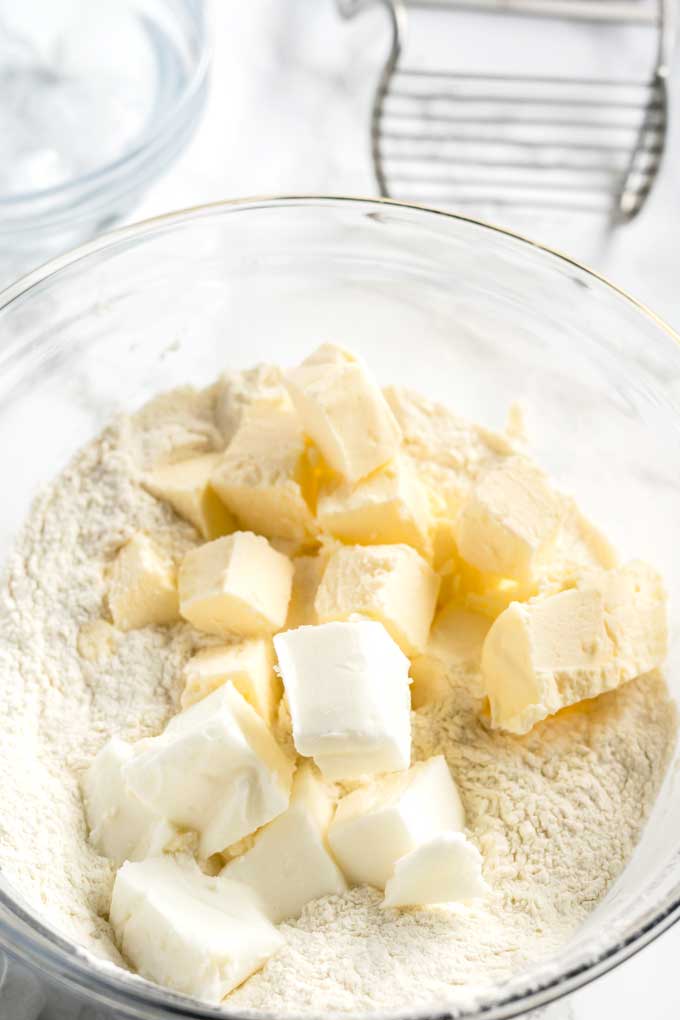
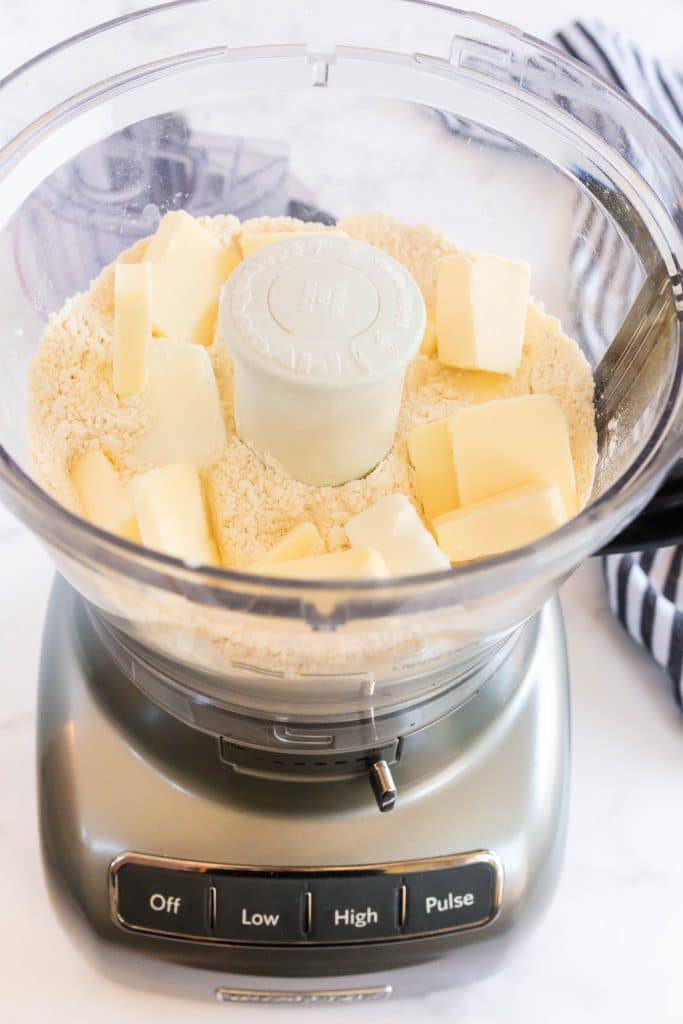
- Cutting In The Fat: Add the cold butter and shortening to the food processor and pulse a few times until the the fats are the size of peas.
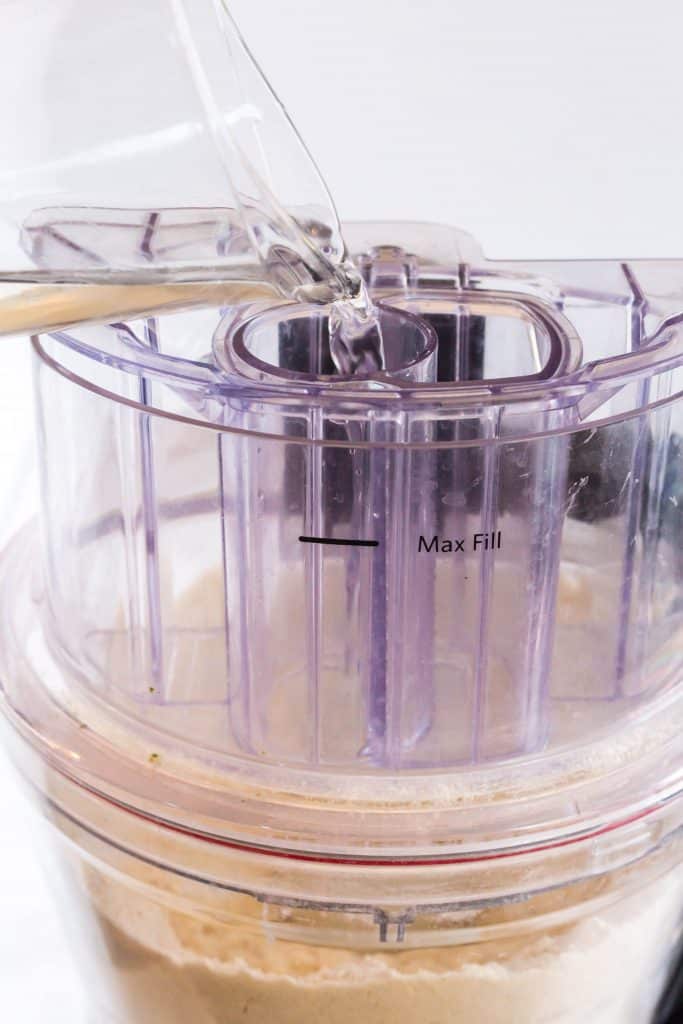
- Add Liquid: With the food processor running, pour ice water down the feed tube. Stop and pulse until the dough comes together and starts forming a ball.
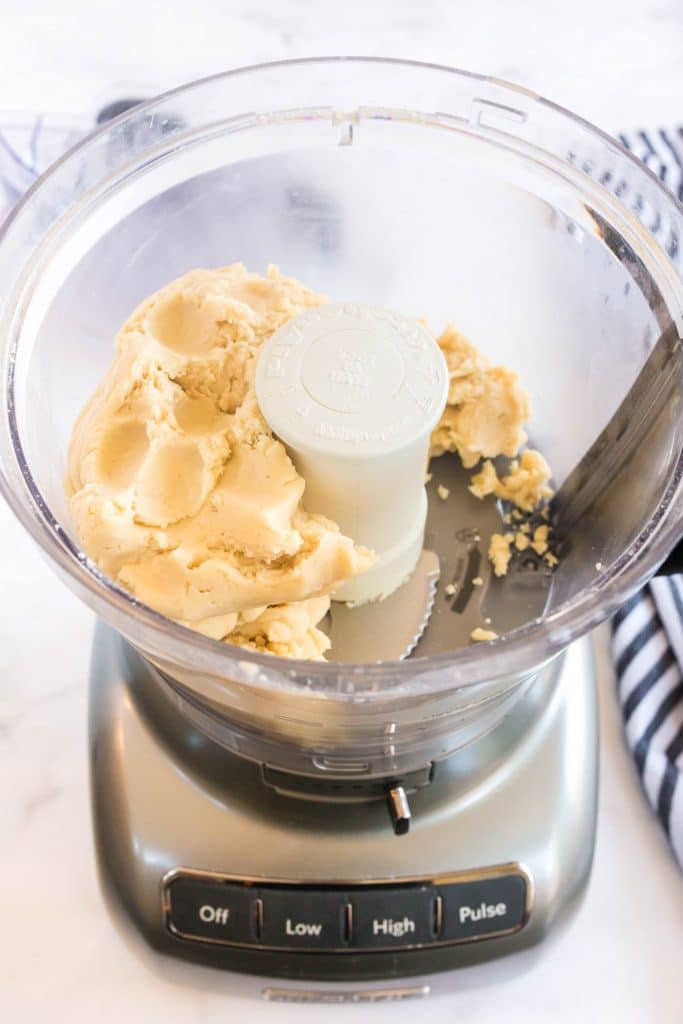
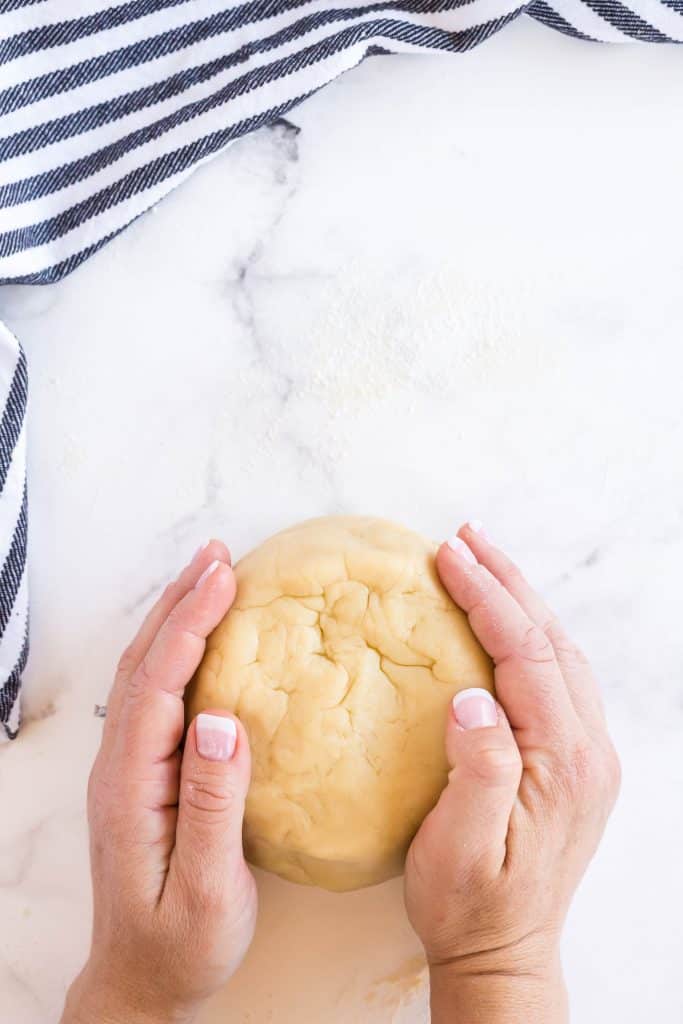
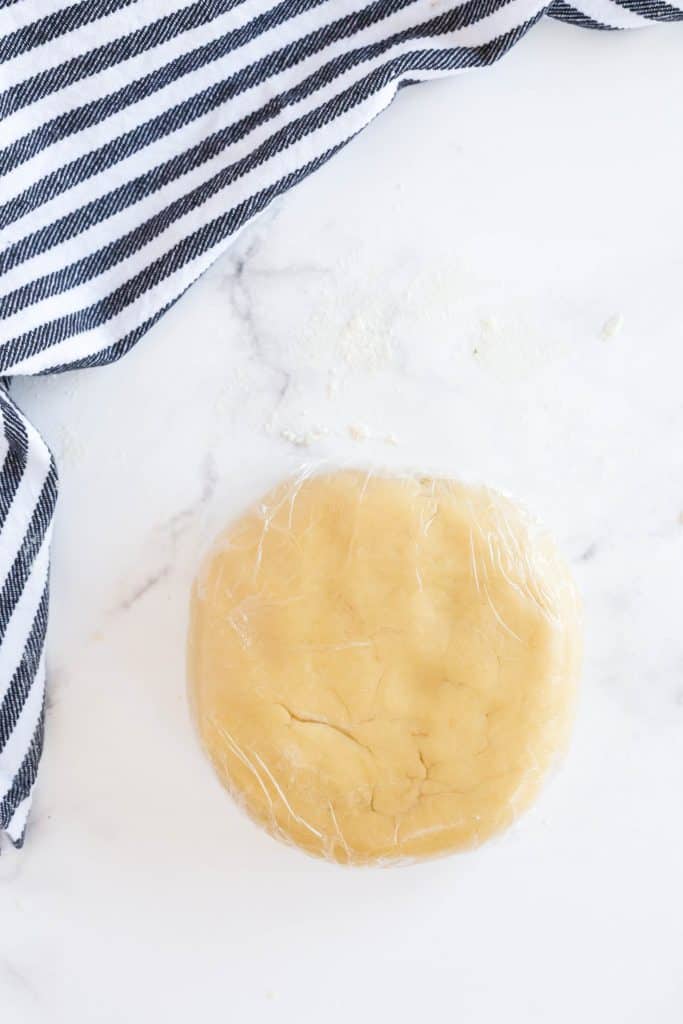
- Gather the Dough: Dump the dough on a floured surface and roll into a ball. The dough should not feel overly sticky. Wrap in plastic wrap and refrigerate for 30 minutes. The dough needs time to get cold before baking. At this point, you can freeze the dough for later use.
Making Pie Crust By Hand
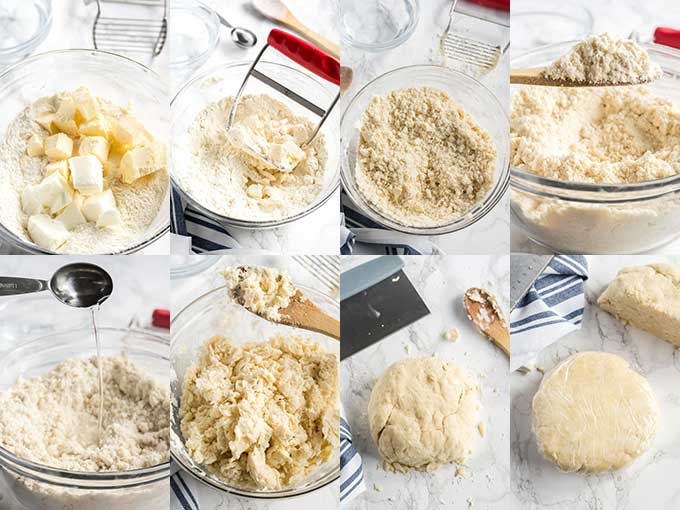
- Cold Butter: First, chill the butter while you mix the other ingredients. Your shortening should be cold as well.
- Combine Dry Ingredients: In a large mixing bowl, mix the dry ingredients.
- Cutting In The Fat: With a pastry cutter or with two forks, cut the fats into smaller pieces. From time to time, lift the flour from the bottom of the bowl and pour it over the fats. Keep cutting until the fat looks like the size of peas. This method takes a bit of work and the result is a mixture less uniform than if using a food processor however, this is the method all grandmas have used throughout history without any issues.
- Add Liquid: Add the water a couple of tablespoons at a time until the dough starts to come together. With the help of a wooden spoon (spatula or a fork works too), stir making sure you incorporate the flour at the bottom of the bowl as well. When the dough starts to form large clumps, stop adding water. You may not need the whole amount of water listed in the recipe card.
- Gather the Dough: Dump the dough onto a lightly floured surface and bring the dough together as if forming a snow ball. The dough should not be too sticky. Form a disk and wrap it with plastic wrap. Refrigerate for 30 minutes. At this point, you can freeze the dough for later use.
What Does Cutting In The Fat Means?
Have you ever watched the show Schitt’s Creek? In one of the episodes, mother and son, Moira and David Rose, are making enchiladas. Keep in mind they are both clueless about cooking. They get to a point where the recipe says “fold in the cheese” – they started arguing because they didn’t know what that meant. They are both funny so this is one of the most memorable moments of this show. “Cutting in the fat” reminded me of Moira and David. Since half my family didn’t know what that meant, I thought I should clarify it here.
Cutting in the fat means to chop up the butter and shortening into smaller pieces so they get distributed evenly when mixed with the dry ingredients.
How To Roll Out Pie Crust
Rolling Out The Dough
After the homemade pie crust dough has chilled, it’s time to make pie!
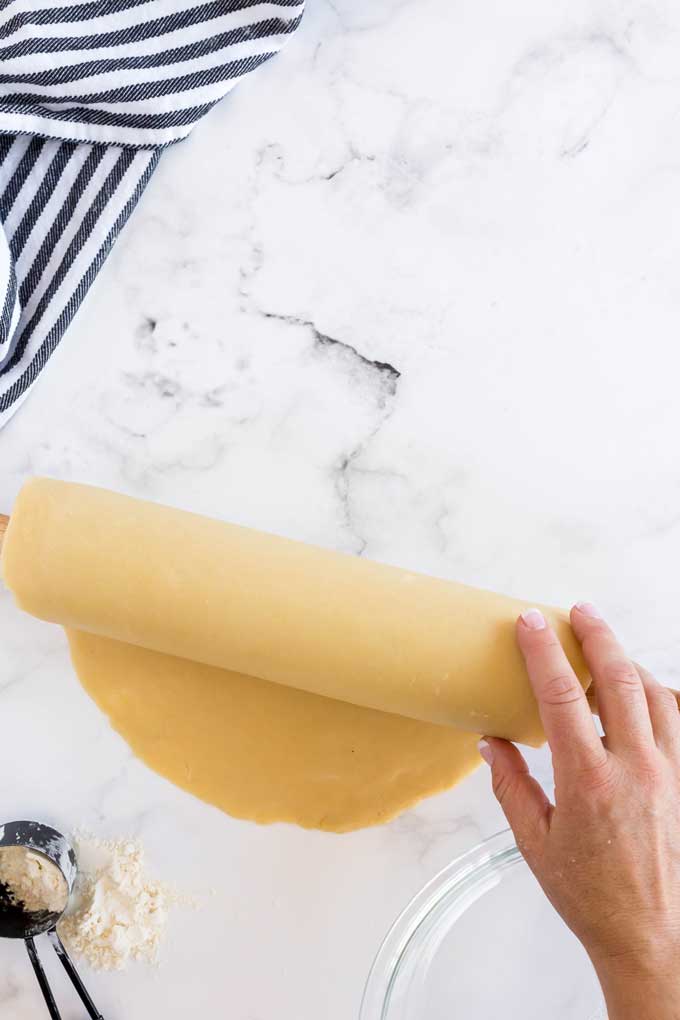
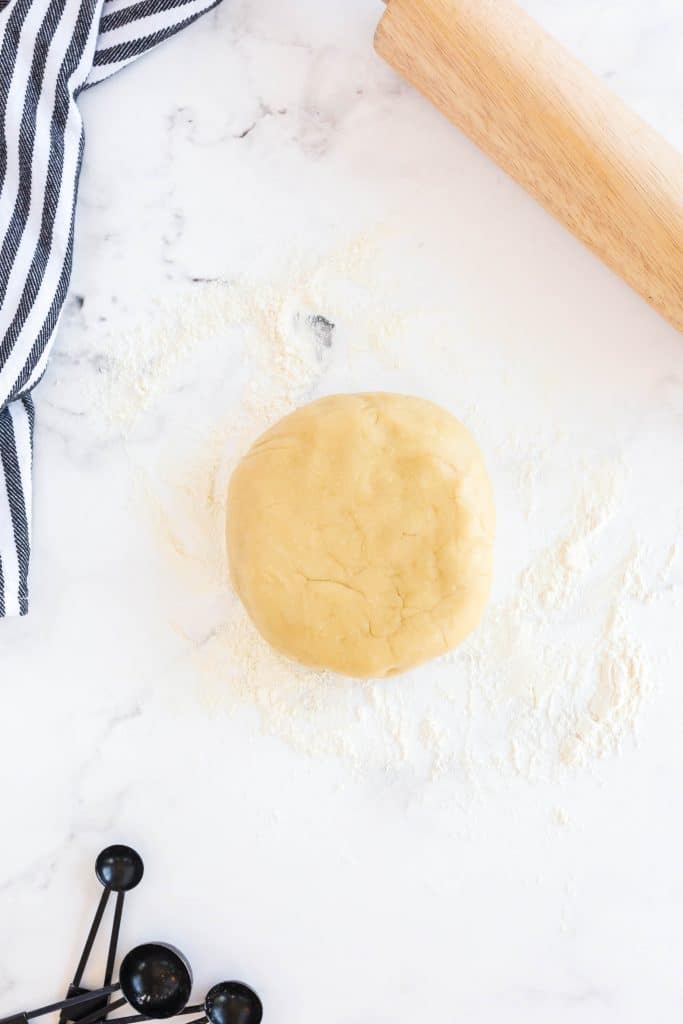
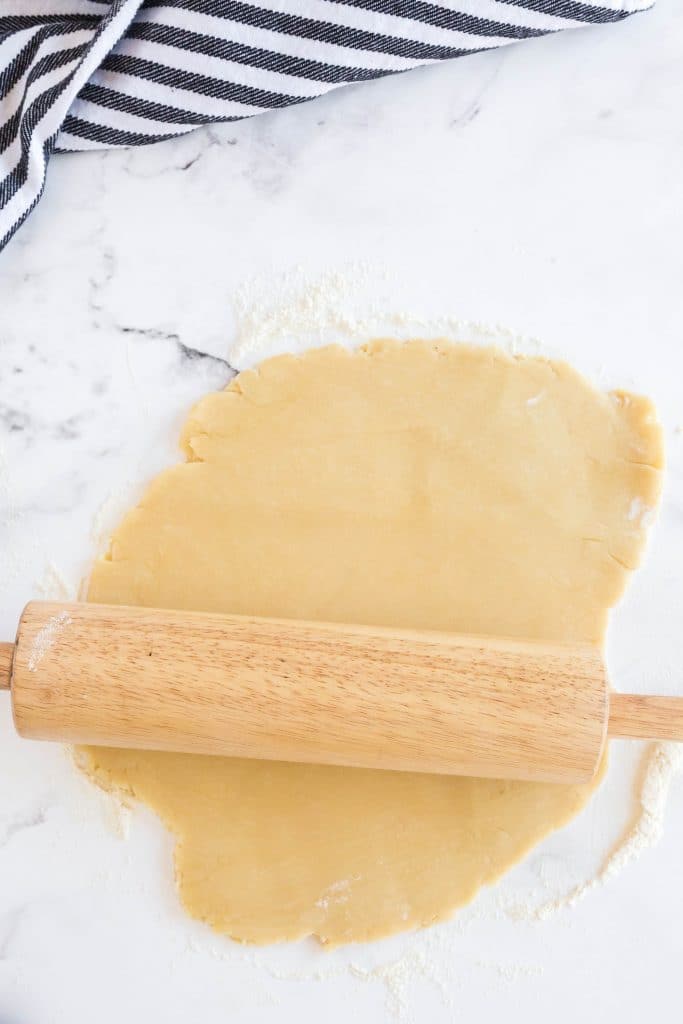
- To roll out the dough, flour both your surface and rolling pin. Sprinkle some flour over the dough also. Start by pressing the rolling pin from the center and work your way outwards in all directions. This is not the time to release stress and get rid of your frustrations by putting too much pressure on the dough. Be gentle.
- After a few strokes, lift the dough with a bench scraper or spatula just to make sure the dough is not stuck to the surface. Sprinkle additional flour on the surface, if needed. Roll out the dough, slightly turning the dough about a quarter turn after a few rolls.
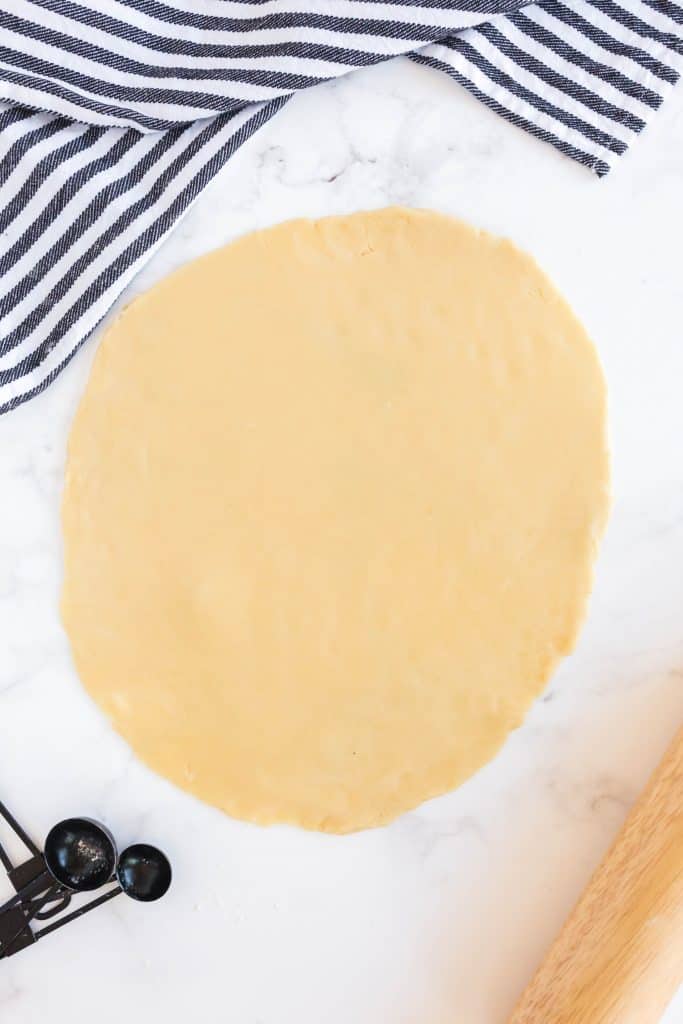
- Roll the dough to fit a 9-inch or 10-inch pie plate. You want the circle of dough to be thin and a bit bigger than the pie plate.
The recipe below makes enough dough for two 10-inch single crust pies or one 10-inch double crust pie.
Transferring The Pie Crust To A Pie Plate
- With a bench scraper or thin spatula, loosen the dough from the working surface, starting with the edges and working your way towards the middle.
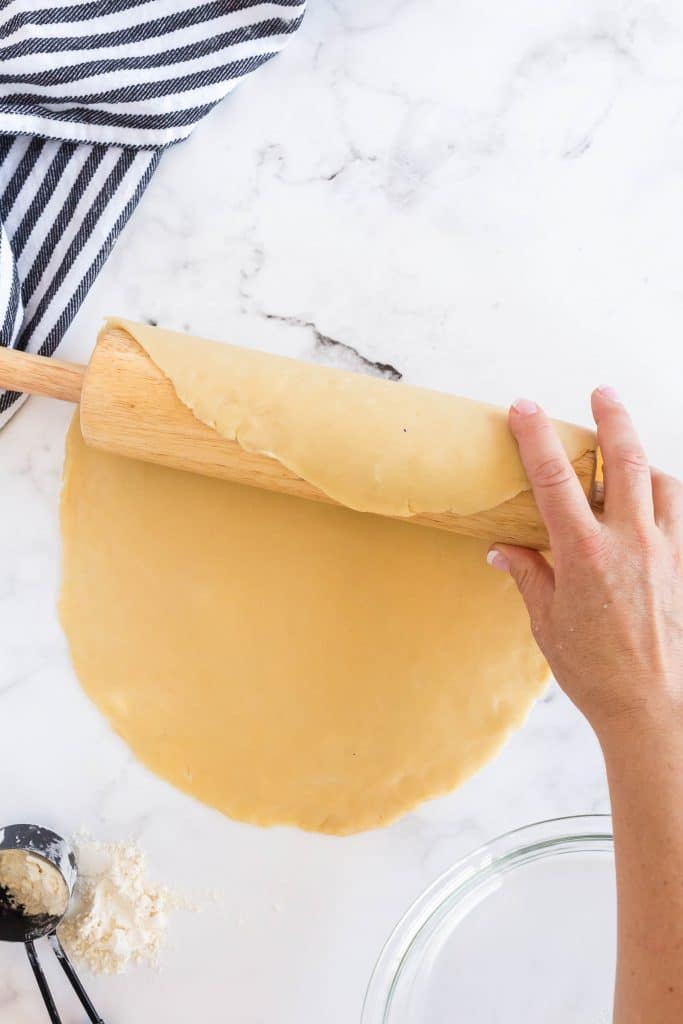
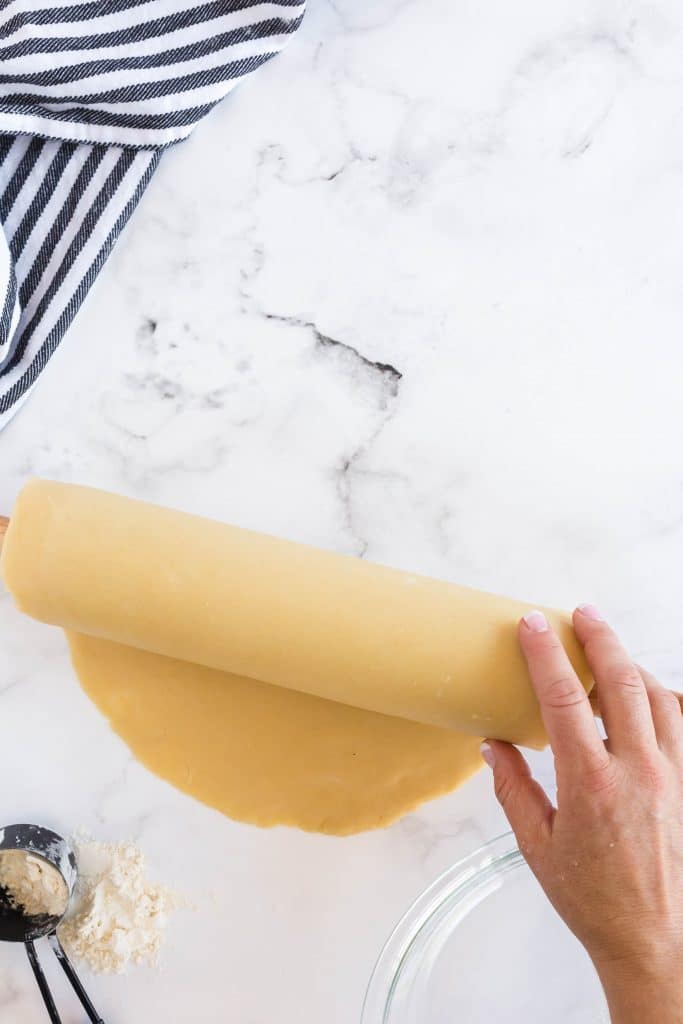
- Once the dough has completely released from the surface, place your rolling pin on one edge and start rolling the dough onto the rolling pin barrel.
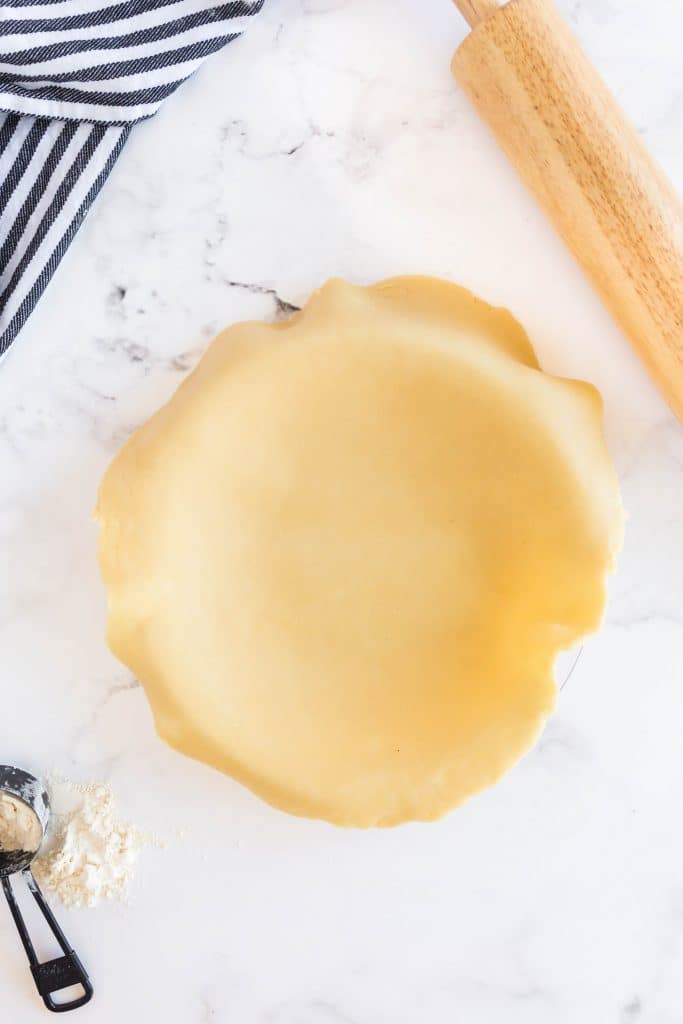
- Lift the dough a bit and slide the pie dish under the dough. Unroll the dough onto the pie plate. Adjust the dough to fit so you have the same amount of overhang dough all around. Don’t stretch the dough to prevent shrinkage while baking.
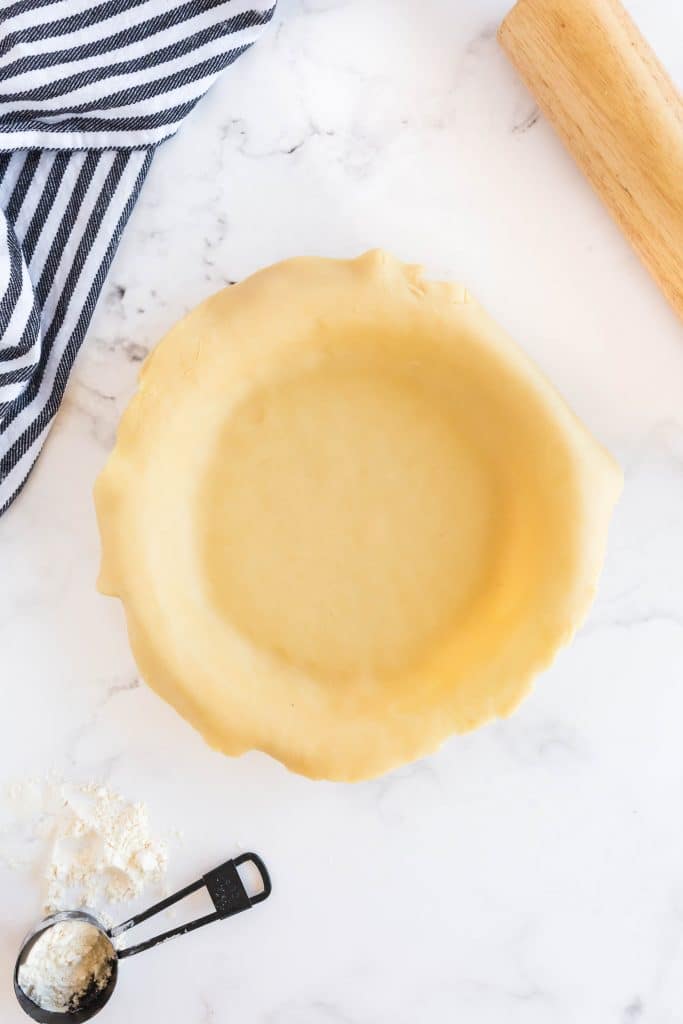
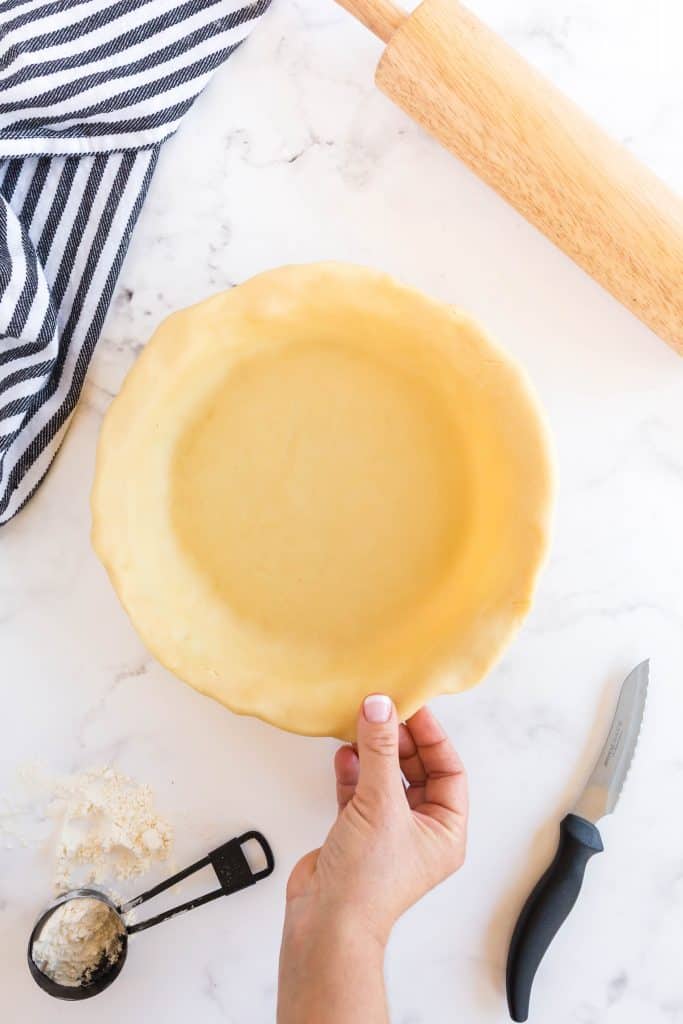
- Cut any excess dough off with kitchen shears or a small knife. Leave about about 1-inch of overhang in case you would like to tuck the edges as shown below.
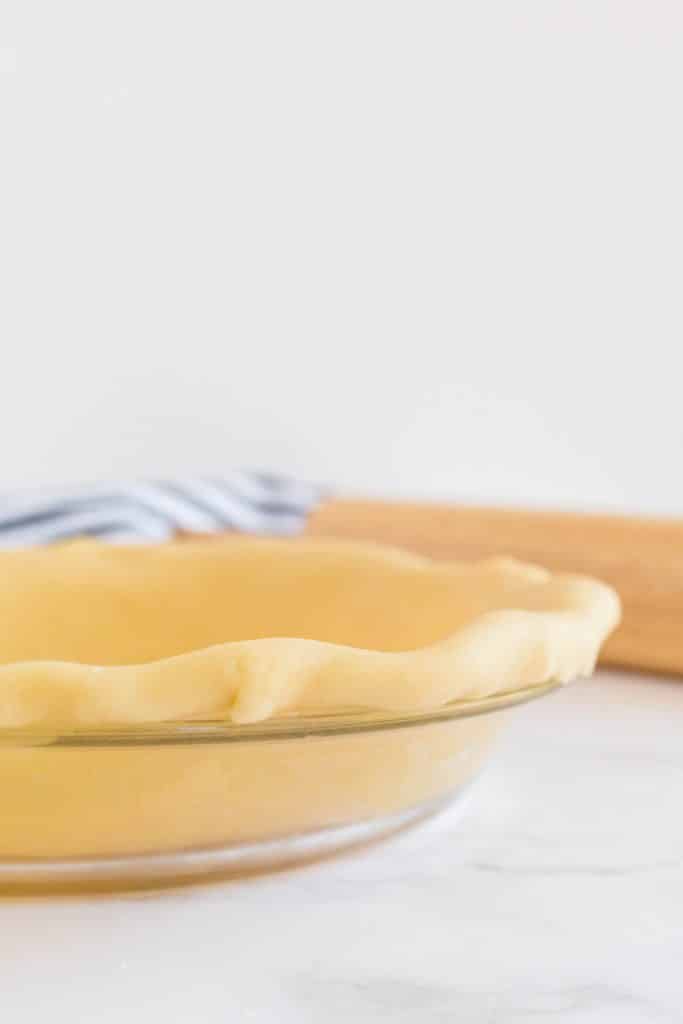
How To Crimp Pie Crust
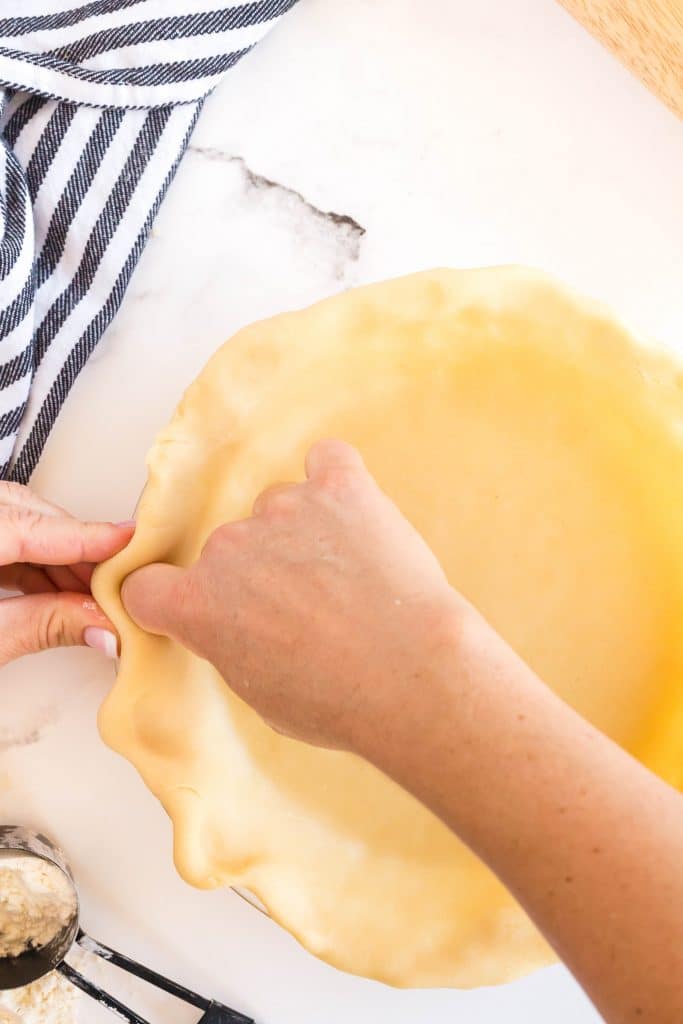
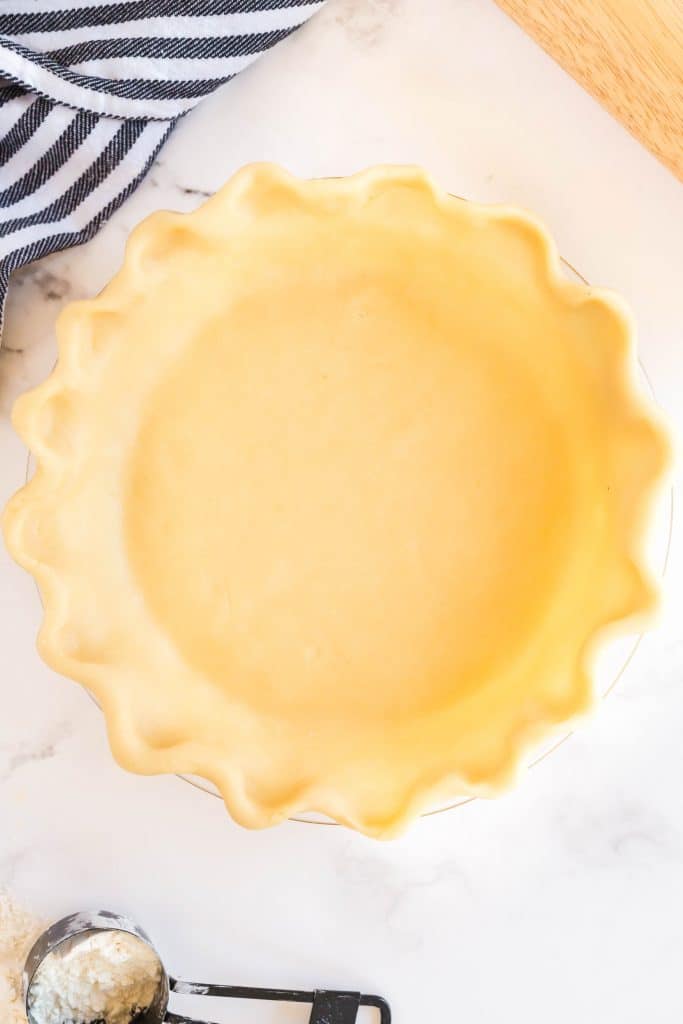
Crimping the edges of a pie crust not only makes a pie look pretty, it also creates a small barrier on single pie crusts that prevent the filling from overflowing while baking.
- Take the overhand pastry edges and roll it under itself.
- With one hand, make a “u” with two of your fingers and hold it against the outside of the crust. With your other hand’s index finger push between the “u” and make an indent. Repeat all around the pie to form a beautiful crimped pie crust.
- You can brush the crust with a simple egg wash if you would like to give the pie a nice golden brown finish.
How To Blind Bake Pie Crust
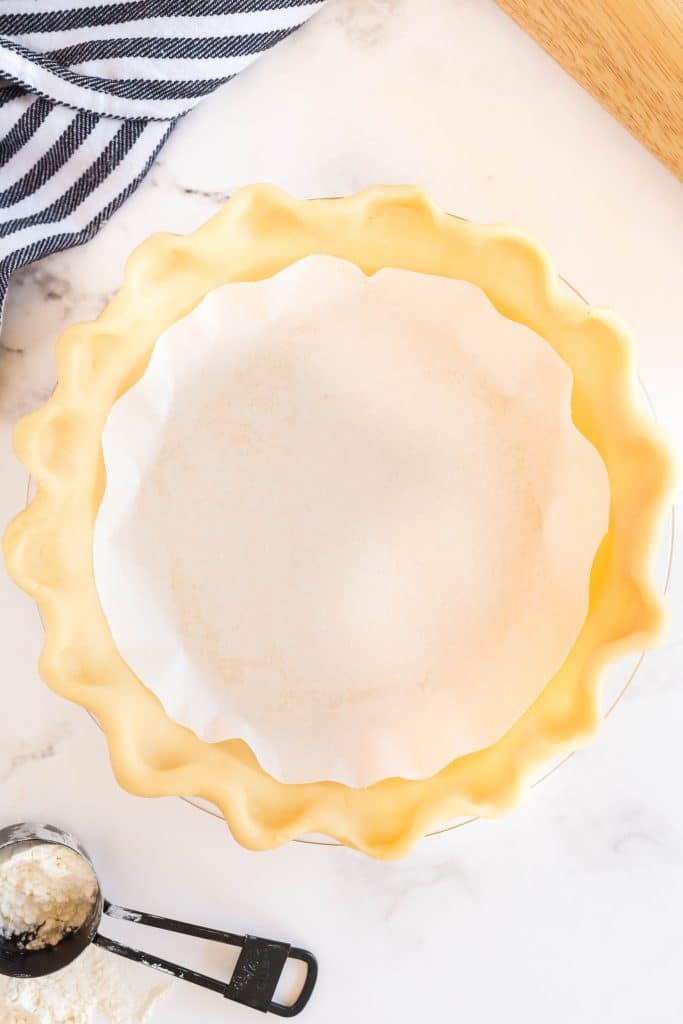
Some pies ask you to blind bake or pre-bake the crust before filling it. Pies filled with creamy custards like Coconut Cream Pie, Banana Cream Pie, Chocolate Cream, Pumpkin Pie and Mississippi Mud Pie usually include instructions for blind baking. Quiche and some fruit pies also require for the crust to be pre-baked.
- Preheat the oven.
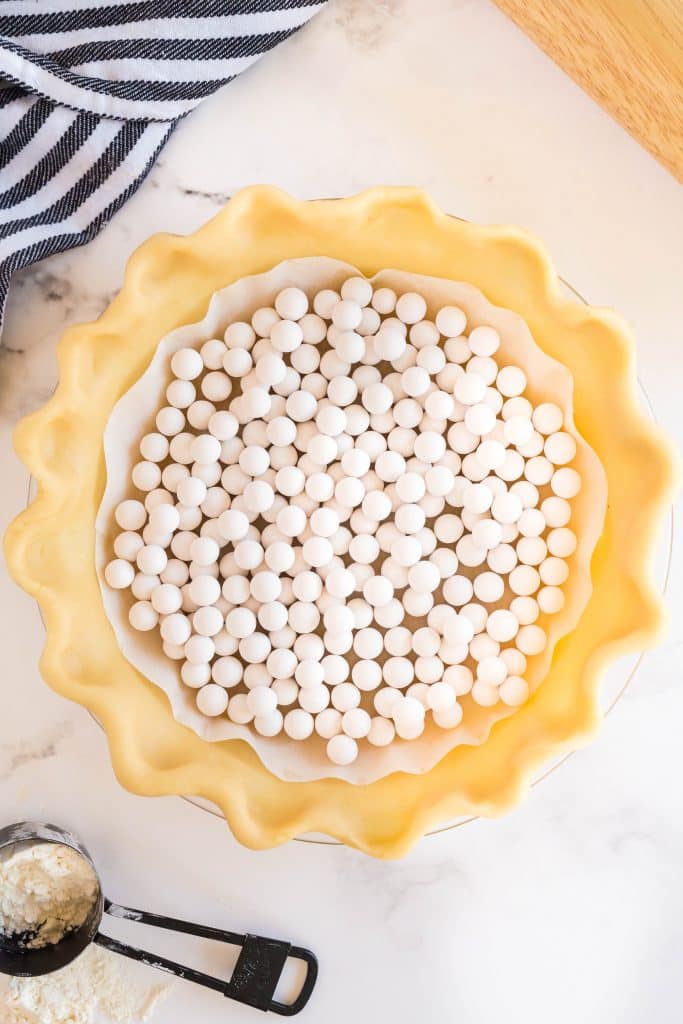
- Line the crust with parchment paper.
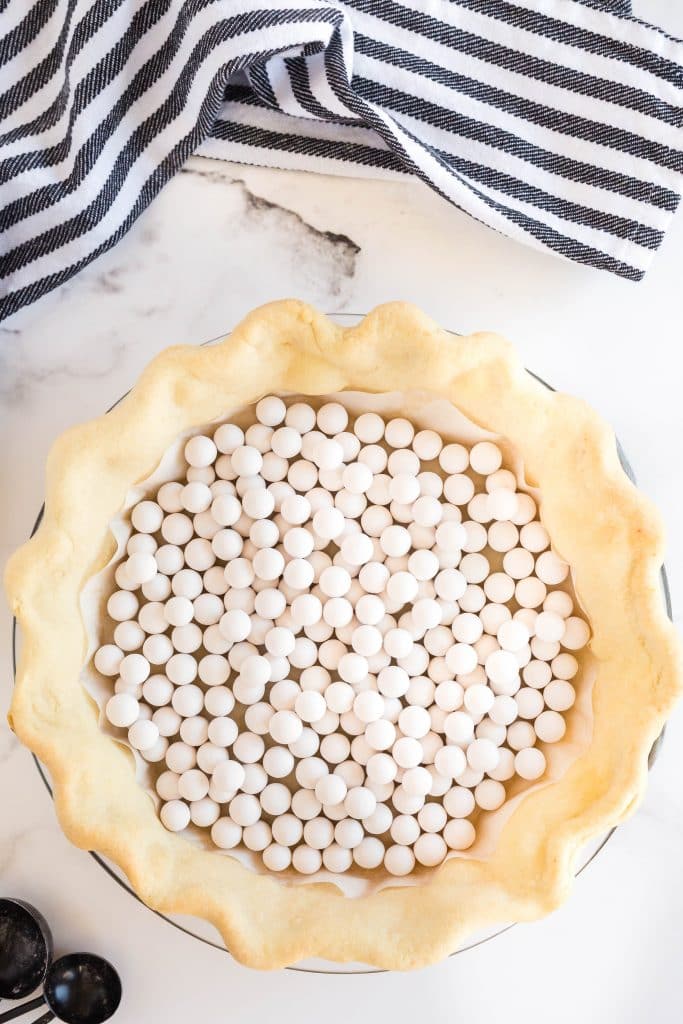
- Fill the pie with pie weights or dried beans.
- Bake until the crust edges begin to brown. Then, carefully remove from the oven.
- Remove the pie weights or beans.
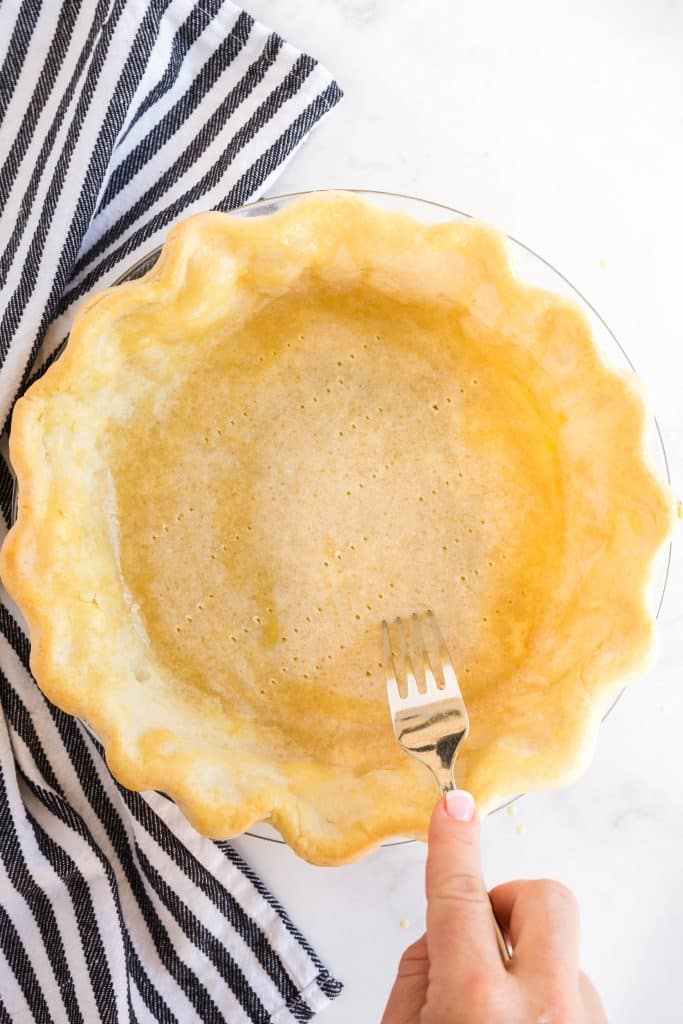
- Brush the crust with the egg wash and prick the bottom of the crust all over with the tines of a fork. Bake for another 5 to 8 minutes.
Why Should I Make Pie Crust In The Food Processor?
Consistency, easy to roll and overall flakiness! When using the food processor, your dough ends up with the perfect ratio of flour/fat and dry flour mixture. No big and small chunks of fat mixed in randomly in the dough, which prevents you from having a consistently flaky crust. Because of this perfect ratio of flour and fat, you don’t need to guess the amount of water needed. It’s always the same amount.
Making pie dough by hand is an art. It takes practice to know exactly how much you should be cutting in the flour for perfect results. This recipe is foolproof and works time after time.
Homemade Pie Crust Recipe Tips
- Keep your ingredients cold! Cold fats are important as well as ice water.
- Don’t overwork the dough to prevent a tough crust.
- Don’t skip the dough resting/chilling time.
- Measure the ingredients accurately. It is best to measure flour with the spoon and level method.
- Don’t stretch the dough. When rolling out and transferring the dough into a pie plate, avoid pulling or stretching the dough.
- Homemade pie crust can be made ahead of time. You can keep the pie dough in the refrigerator, tightly wrapped in plastic wrap for 3-4 days. You can freeze pie dough for up to 3 months. It is best to place the wrapped dough in a freezer bag or in an airtight container.
Take A Look At These Other Dessert Recipes:
Email me this recipe for later!

Perfect Homemade Pie Crust
Ingredients
- 12 tablespoons (1 1/2 sticks) very cold unsalted butter
- 3 cups all purpose flour
- 1 tablespoon sugar
- 1 teaspoon Kosher salt or sea salt
- 1/3 cup very cold vegetable shortening (I store mine in the fridge so it’s cold)
- 1/2 cup ice water
Optional: Egg wash
- 1 egg beaten with 1 tablespoon of milk
Instructions
- Cut the COLD butter into ½-inch dice and return it to the refrigerator while you prepare the flour mixture.
- Place the flour, salt, and sugar in the bowl of a food processor fitted with a steel blade and give it a few pulses to mix.
- Add the cold diced butter and the shortening and pulse about 8 to 10 times. The butter should be the size of peas. With the machine running, pour the ice water down the feed tube and pulse until the dough begins to form a ball.
- Dump the dough on a floured board and roll into a ball. Wrap in plastic wrap and refrigerate for 30 minutes.
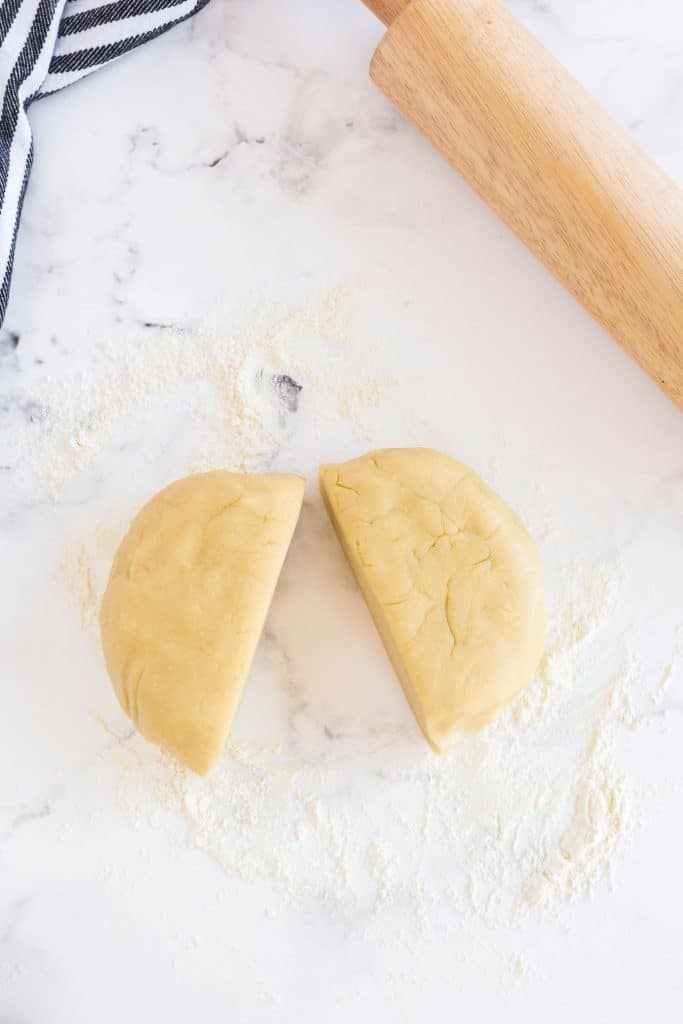
- After the dough is chilled, cut the dough in half.
- On a floured surface, roll each dough piece into a circle rolling from the center of the dough towards the edge, turning and flouring the dough as needed to make sure It doesn’t stick to the board.
- Carefully ease one pie crust into a pie plate, making sure not to stretch the dough at all, or it will shrink as the pie bakes.
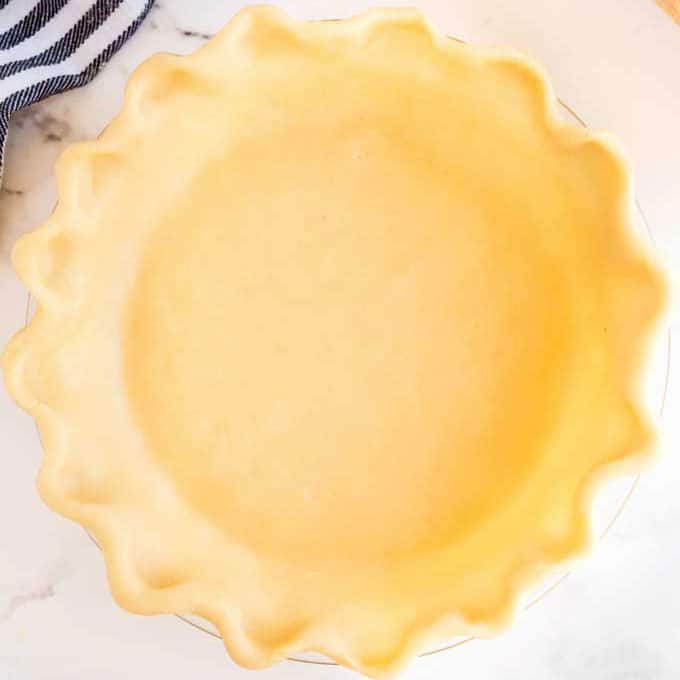
- With a sharp knife, cut the excess dough off at the edge of the pie plate. Fold the edge under and crimp the edge with either your fingers or the tines of a fork. Repeat with the other crust.
TO BLIND BAKE:
- Preheat the oven to 425 degrees F
- Line the crust with parchment paper. Fill the paper three-quarters full with dry beans or pie weights and bake the crust for 15 minutes, until the edges start to brown. Remove the beans and paper (save the beans for another time). Brush the crust with the egg wash and prick the bottom of the crust all over with the tines of a fork. Bake for another 5 – 8 minutes.
Recipe Notes
- Keep your ingredients cold! Cold fats are important as well as ice water.
- Don’t overwork the dough to prevent a tough crust.
- Don’t skip the dough resting/chilling time.
- Don’t stretch the dough when transferring it to a pie plate
- This recipe makes two (10-inch) single crust pie or one (10-inch) double crust pie.



Leave a Reply