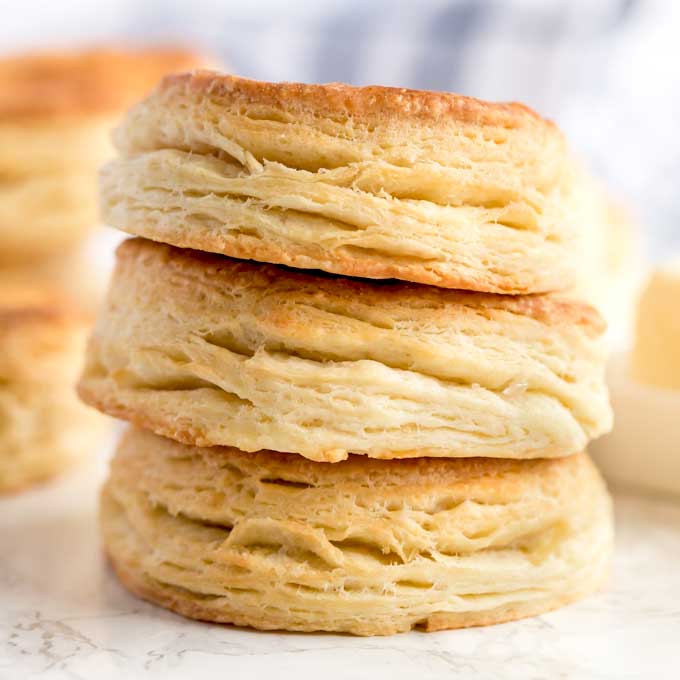
Buttermilk biscuits made from scratch are buttery, tender, flaky and incredibly delicious! These easy to make homemade biscuits are ready in about 30 minutes!
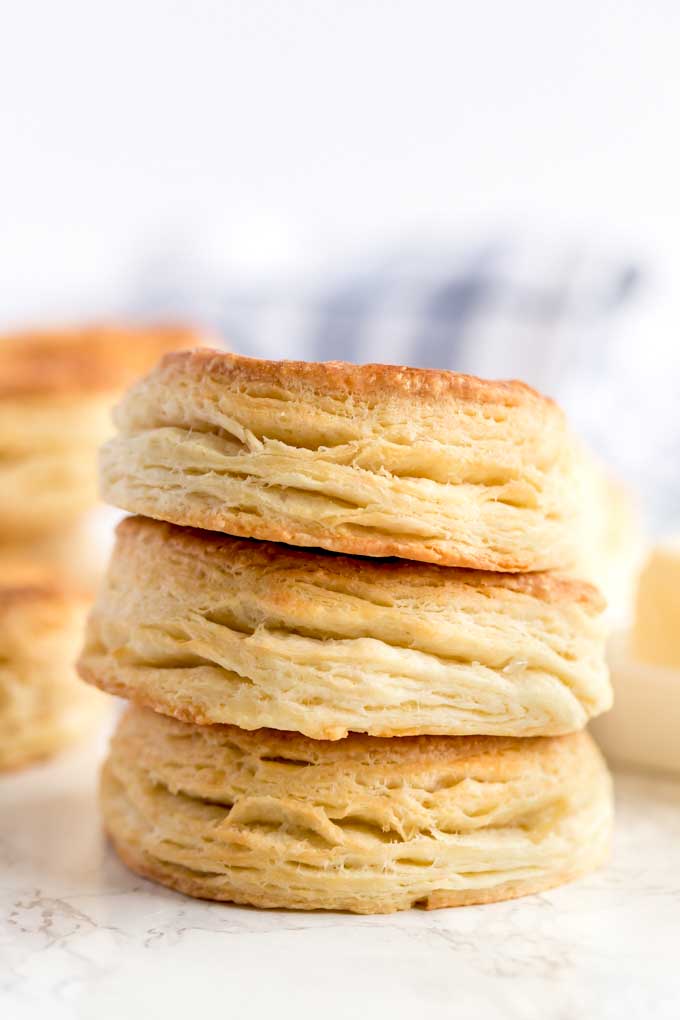
Confession: I did not grow up eating buttermilk biscuits. I didn’t even know what a biscuit was until I met my (now) husband. We were going on a road trip and he stopped at McDonald’s (of all places) and decided to get a breakfast biscuit. After a bite, I was sold! I ordered 3 tasty and flaky biscuits to go!
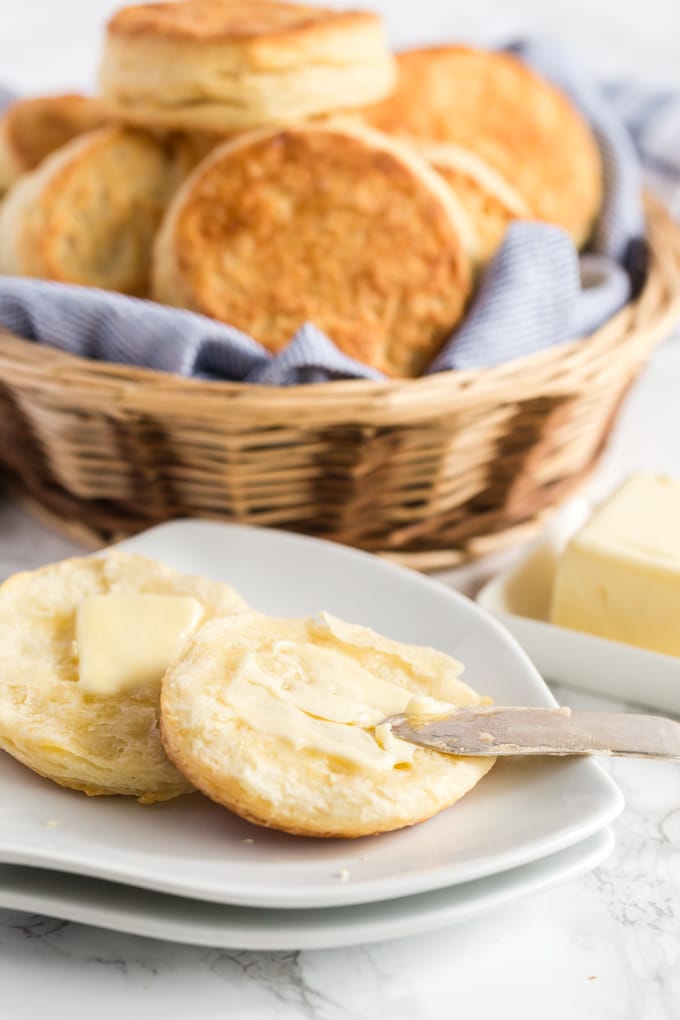
There is nothing quite like warm homemade biscuits straight out of the oven. You can slather them with butter, top them with jam or drizzle them with honey. They are also perfect served with comfort food dishes like Chicken A La King, pot pie, beef stew and of course gravy.
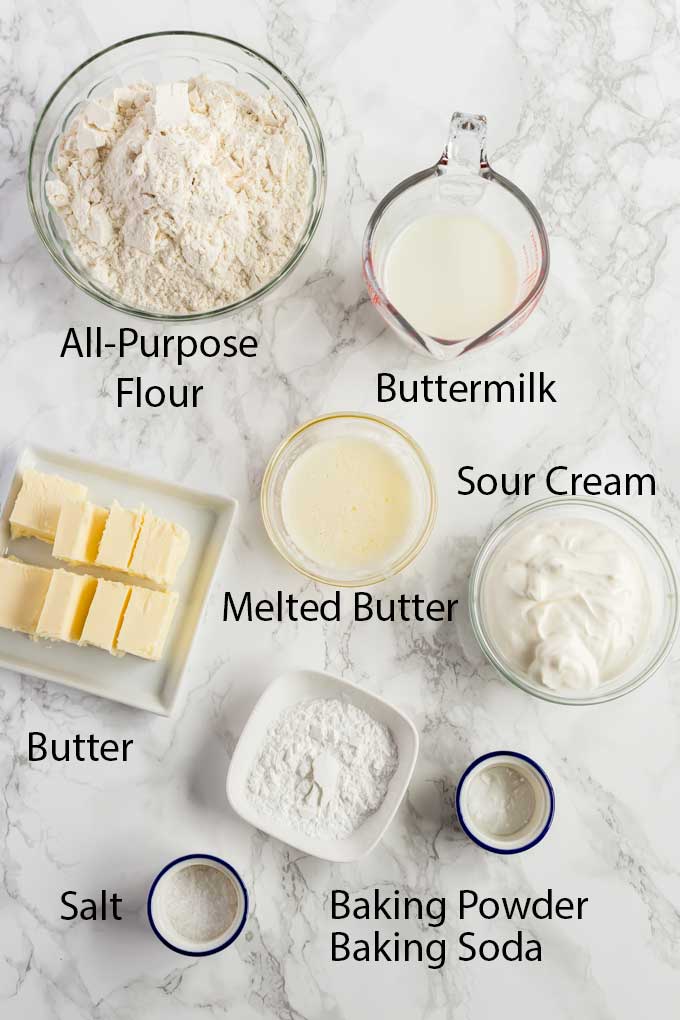
Buttermilk Biscuits Ingredients
- All-Purpose Flour
- Cold Buttermilk
- Sour Cream
- Cold Butter
- Baking Soda
- Baking Powder
- Salt
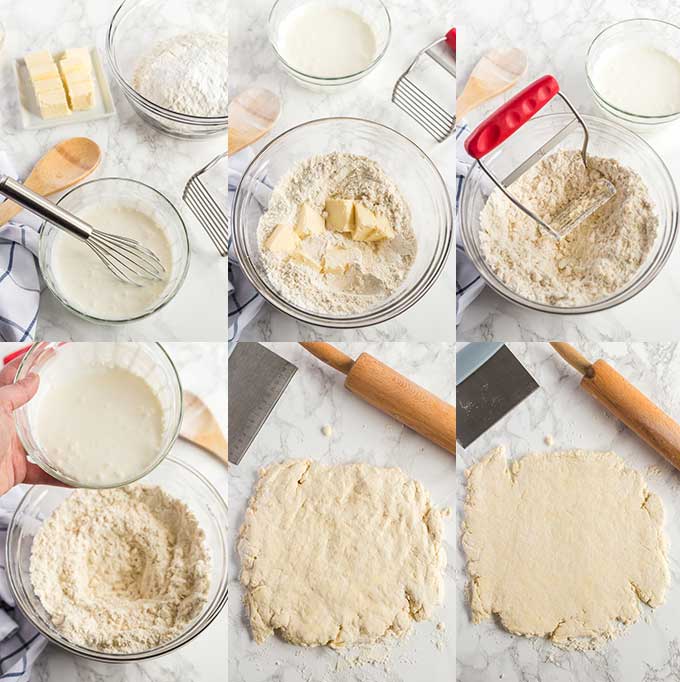
How To Make Homemade Biscuits
- First, preheat the oven to 425 degrees Fahrenheit.
- In a small bowl, combine the sour cream and the buttermilk.
- In a large bowl, combine the dry ingredients. Scatter the cold butter on top.
- With a pastry cutter, cut the butter into the flour mix until the mixture resembles coarse crumbs.
- It’s time to add the buttermilk mixture into the dry ingredients. Mix until just combined. You don’t want to overwork the dough.
- Turn the dough out onto a lightly floured surface and knead until it comes together. Gently mold into a rectangle or square.
- With a rolling pin, roll out the dough into a square of about 12 inches.
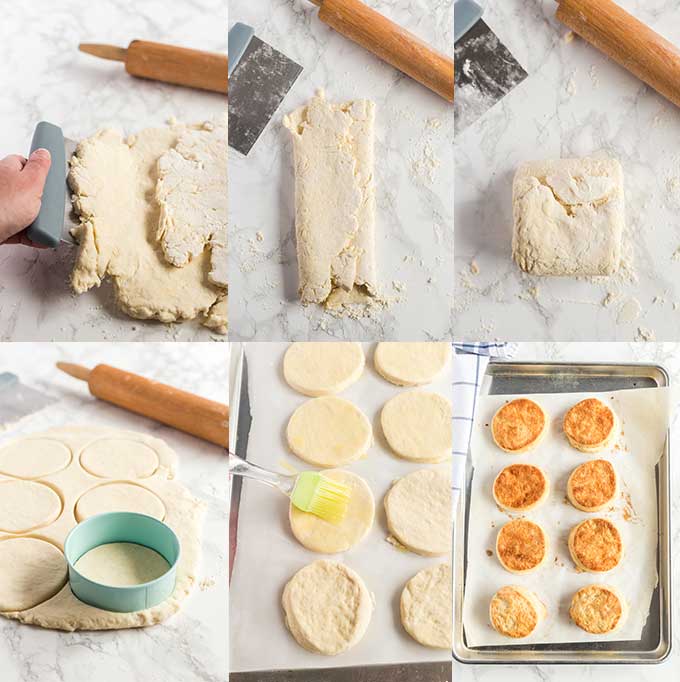
- With the help of a bench scraper, fold the dough into thirds. Starting with the left side, fold one third of the dough over the center. Then continue with the right side.
- You will now have a long looking strip of dough. Fold the top third of the dough down the center, then do the bottom. You will end up with a chubby square. If you are like me, a visual learner, just take a look at the step by step photos below.
- Press the square down and roll it out with a rolling pin.
- With a biscuit or cookie cutter, cut the dough into circles. Cut each biscuit in a single straight-down cut and without twisting the cutter. Twisting the cutter will seal the edges preventing the layers from puffing and rising.
- If time permits, refrigerate the dough for 20 minutes before baking, otherwise brush with melted butter and bake in the preheated oven.
What Does Buttermilk Do For Biscuits?
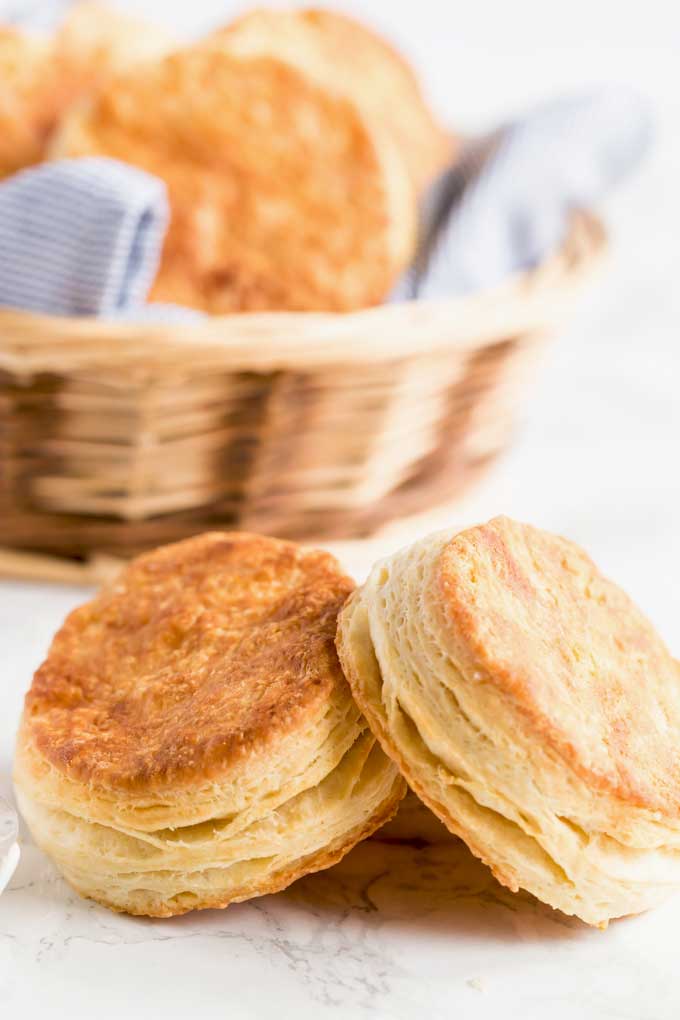
Besides the nice tangy taste, buttermilk keeps the dough moist and tender while also helping the structure of the dough. This simply means that mixed with other leavening agents, buttermilk helps the dough rise tall.
Why Are My Biscuits Hard or Cracked?
Over mixing and overworking the dough produces tough biscuits. The other reason is an oven that is not hot enough. Biscuits are baked at 425 degrees.
Can Buttermilk be Frozen For Later Use?
I used to try to stay away from recipes that called for buttermilk. I always used about a cup or less and always ended up tossing the rest after many, many days of having the buttermilk carton sitting in my fridge. The good news is, YES you can freeze buttermilk, I like to portion it out so when ready, I can remove smaller portions from the freezer. A large ice cube tray works well.
Do I Have To Rest The Biscuits Before Baking?
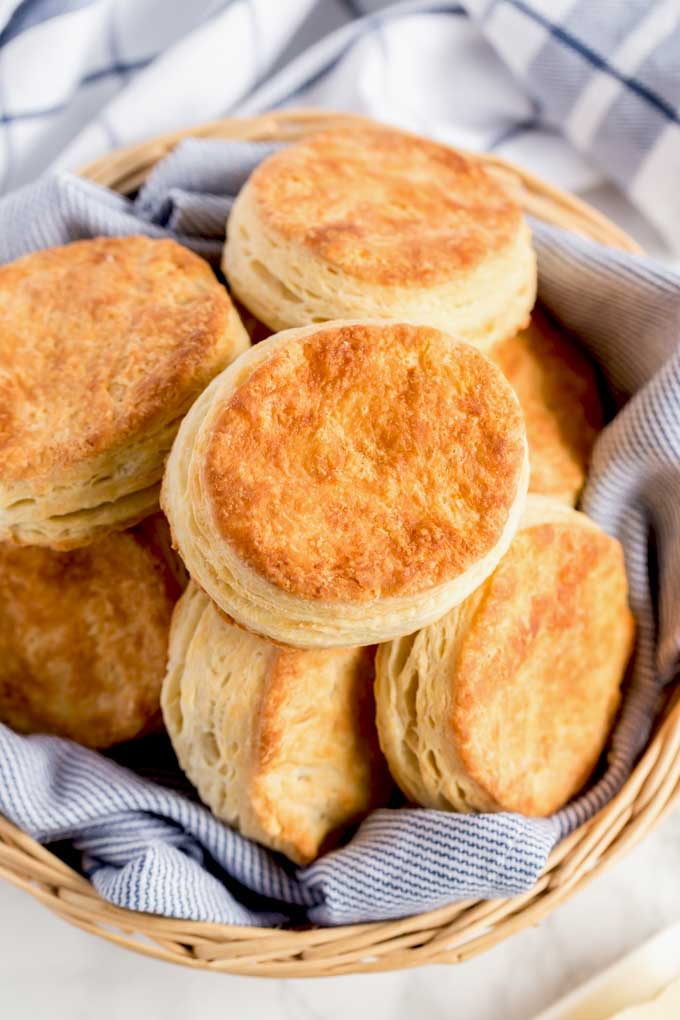
No. This is an optional step. If time permits, allow the cut biscuits to chill in the fridge before baking them. As you handle the dough, the butter in the dough gets a bit soft, chilling them always seem to produce biscuits that are a tiny bit taller, however the difference is not huge so sometimes I skip this step and go straight to baking.
Can Buttermilk Biscuits Be Made Ahead?
Yes! Baked biscuits can be refrigerated for a couple of days and can also be frozen for up to 3 months. Thaw out in the refrigerator and warm up to your taste.
The Secret To Perfect Flaky Biscuits
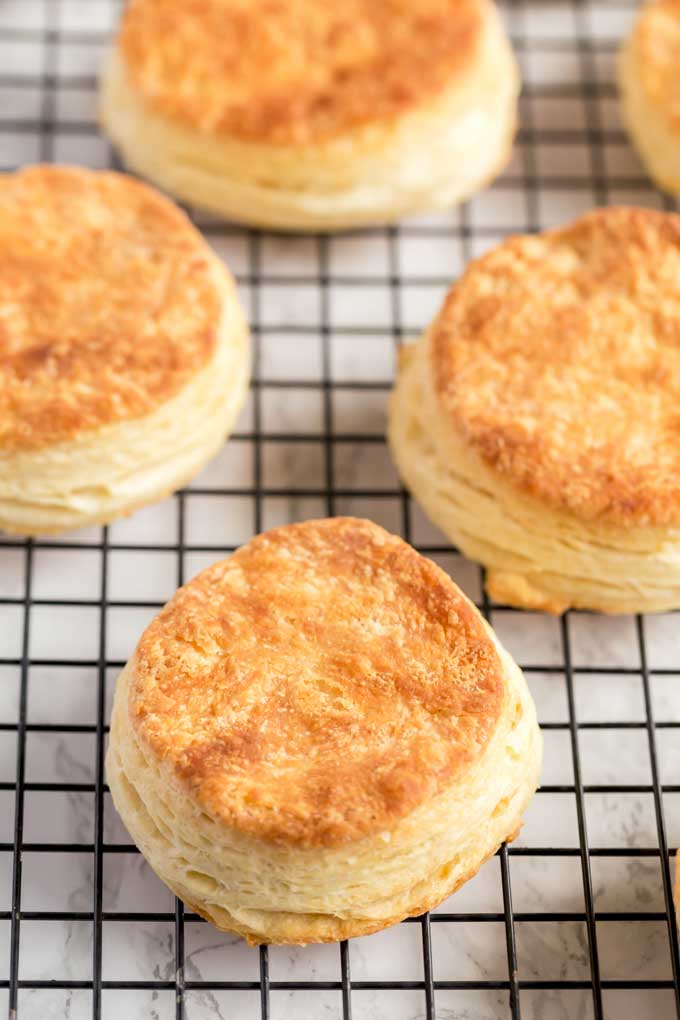
Making biscuits is actually very easy. Whether you are making southern biscuits, sweet honey biscuits or buttermilk biscuits, here are some secrets for the absolute best biscuits:
- Make sure your ingredients are cold. If you have time, freeze the flour for up to 45 minutes before mixing the dough ingredients.
- The butter and the buttermilk need to be very cold.
- Don’t over mix the dough to prevent tough biscuits. When making biscuit dough, mix the ingredients gently and only until just combined.
- When cutting your biscuits, don’t twist the biscuit cutter. This seals the edges preventing the layers from raising.
Homemade Biscuits Recipe Tips
- To get homemade biscuits with many fluffy layers, fold the dough into thirds and then again into thirds (it will end up looking like a chubby square.).
- The recipe includes 20 minutes of “resting time” after cutting the biscuits. This is an optional step. During this inactive time, I chill the already cut biscuits in the refrigerator. Since the dough has been handled, the butter is not as cold as it could be. Cold butter allows the layers to puff up.
I have made this recipe without any resting time (because I can be impatient) and the biscuits rise nicely however, they always seem a bit taller when the dough is chilled. - Make sure your oven is pre-heated to 425!
Other Bread Recipes You May Like:

Buttermilk Biscuits
Ingredients
- 1/2 cup buttermilk
- 1/2 cup sour cream
- 2 cups all-purpose flour, plus additional for dusting
- 1 tablespoon baking powder
- 1/4 teaspoon baking soda
- 1 1/2 teaspoons salt
- 8 tablespoons cold unsalted butter, cut into 1/4-inch cubes 1 stick (for dough)
- 2 tablespoons unsalted butter, melted (for brushing the biscuits)
Instructions
- Preheat the oven to 425° F and line a baking sheet with parchment paper.
- In a small bowl, whisk together the buttermilk and the sour cream. Set aside.
- Place the flour, baking powder, baking soda, and salt together in a large mixing bowl or into the bowl of a food processor. Whisk or pulse to get the dry ingredients combined. Scatter the butter pieces evenly on top of the flour mixture and cut into the dry ingredients with a pastry cutter or by pulsing several times in the food processor until the mixture resembles coarse crumbs. If using the food processor, transfer the mixture to a large mixing bowl.
- Add the buttermilk mixture to the flour mixture and mix until just combined. Turn the dough out to a lightly floured work surface and knead until it just comes together, adding extra flour as needed. Gently mold the dough into a rectangle.
- With a rolling pin, roll out the dough into a square (about 12-inches). Using a bench scraper, fold the right third of the dough over the center, then fold the left third over so you end up with a rectangle (about 12 by 4 inches). Fold the top third down over the center, then fold the bottom third up so the whole thing is reduced to a small square (about 4-inches).
- Press the square down and roll it out into a square (about 12-inches) and repeat the folding process one more time. Roll out the dough to a square (about 12-inches) and using a lightly floured 4-inch round biscuit cutter, cut six rounds. Transfer the rounds to the prepared baking sheet. Re-roll the dough scraps and cut 2 more 4-inch rounds. Place them on the prepared baking sheet. Place the baking sheet in the refrigerator for 20 minutes. This allows the dough to get cold after handling it.
- Remove the biscuits from the fridge, brush the tops with the melted butter and bake for about 15 minutes or until the tops are golden brown. Remove from the oven and cool for a few minutes before serving.
Recipe Notes
- Make sure your butter and buttermilk are very cold.
- Don’t over mix the dough. Over mixed and over worked dough turns out tough. For light and tender biscuits, mix gently and just until the ingredients are combined.
- When cutting your biscuits, don’t twist the biscuit cutter. This seals the edges preventing the layers from raising.
- To get homemade biscuits with many fluffy layers, fold the dough into thirds and then again into thirds (it will end up looking like a chubby square.).
- The recipe includes 20 minutes of “resting time” after cutting the biscuits. This is an optional step. During this inactive time, I chill the already cut biscuits in the refrigerator. Since the dough has been handled, the butter is not as cold as it could be. Cold butter allows the layers to puff up.
I have made this recipe without any resting time (because I can be impatient) and the biscuits rise nicely however, they always seem a bit taller when the dough is chilled.








Leave a Reply