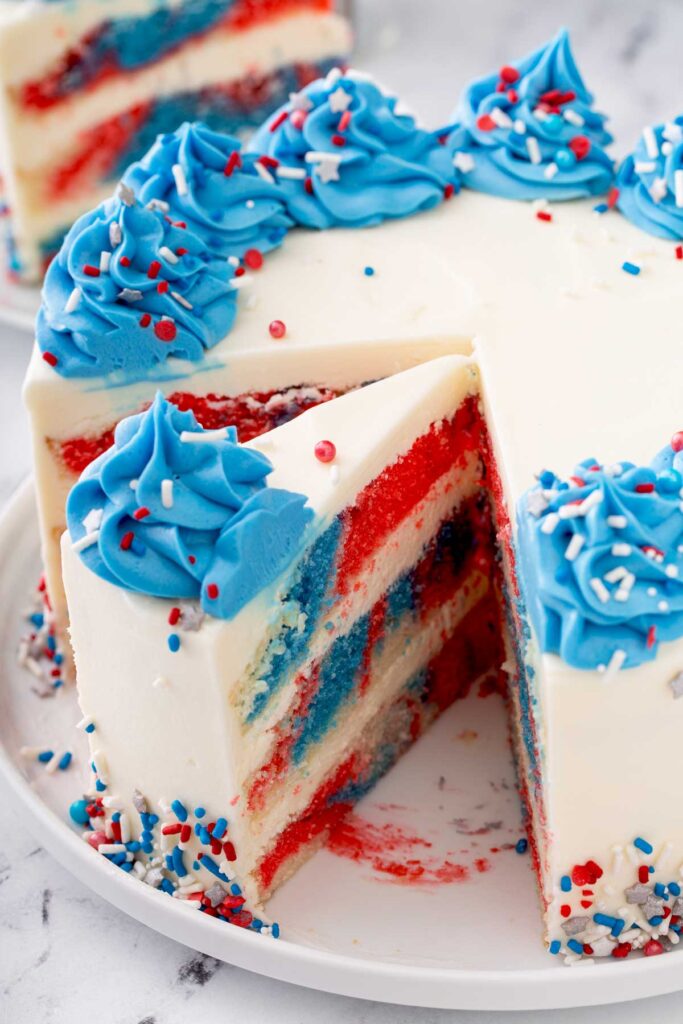
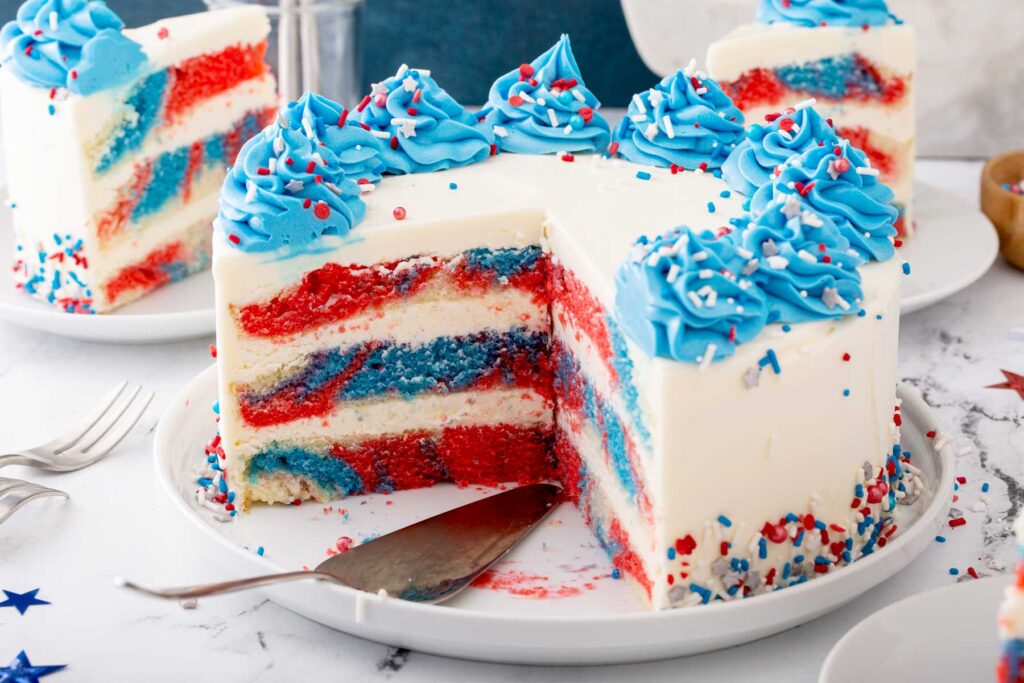
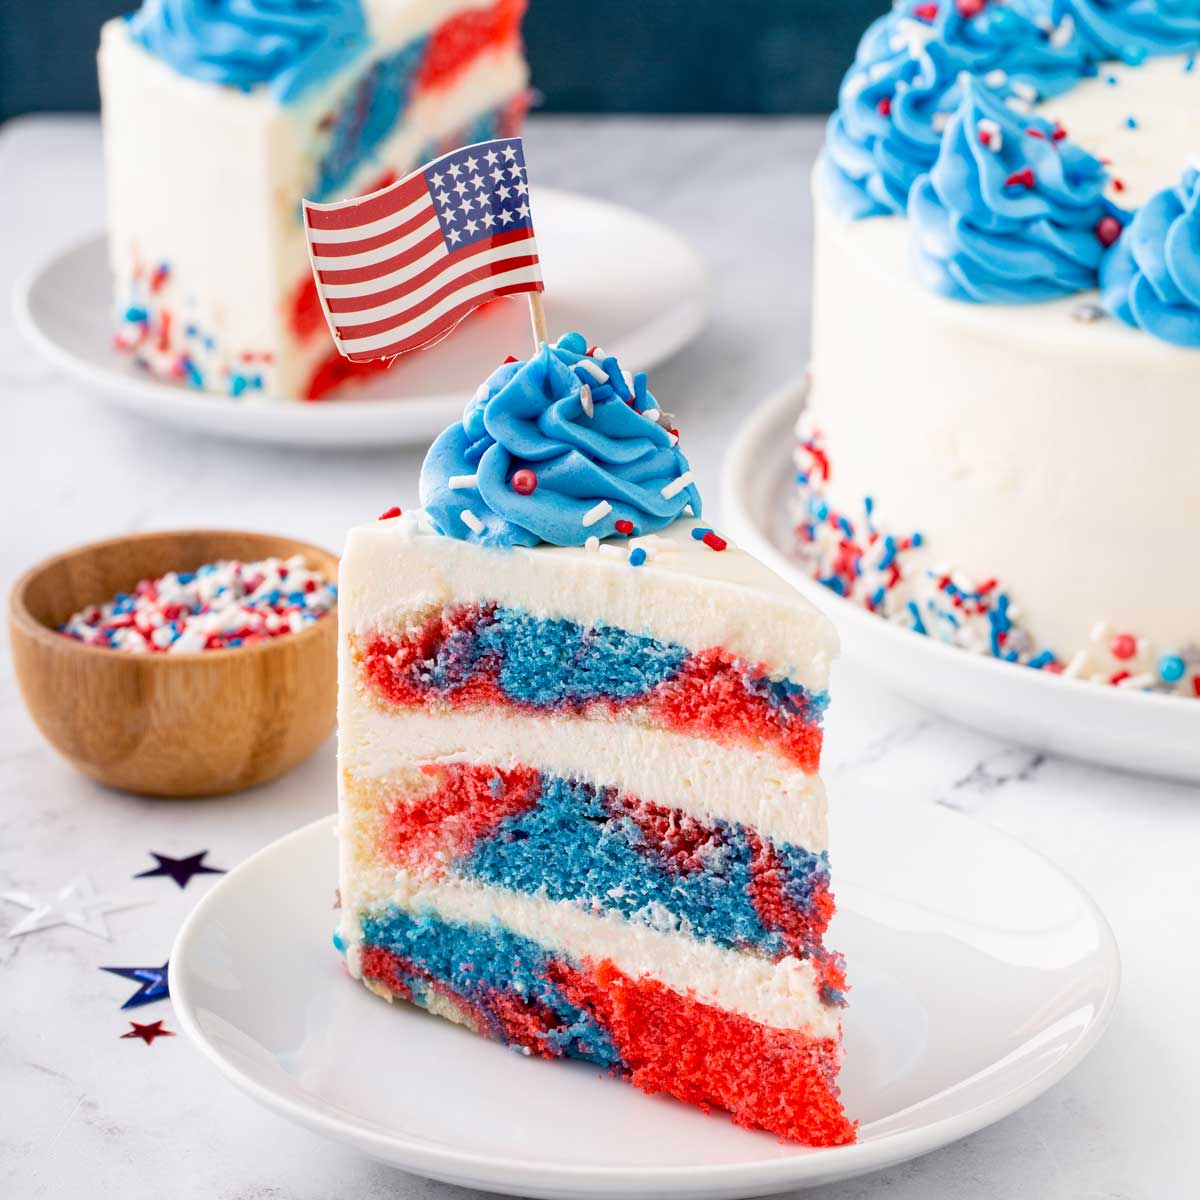
This Red, White and Blue Marble Layered Cake is the perfect dessert to serve for the 4th of July or any other patriotic celebration, family gathering or holiday cookout. This festive layered tie dye cake with vanilla buttercream frosting is tender, moist and incredibly festive!
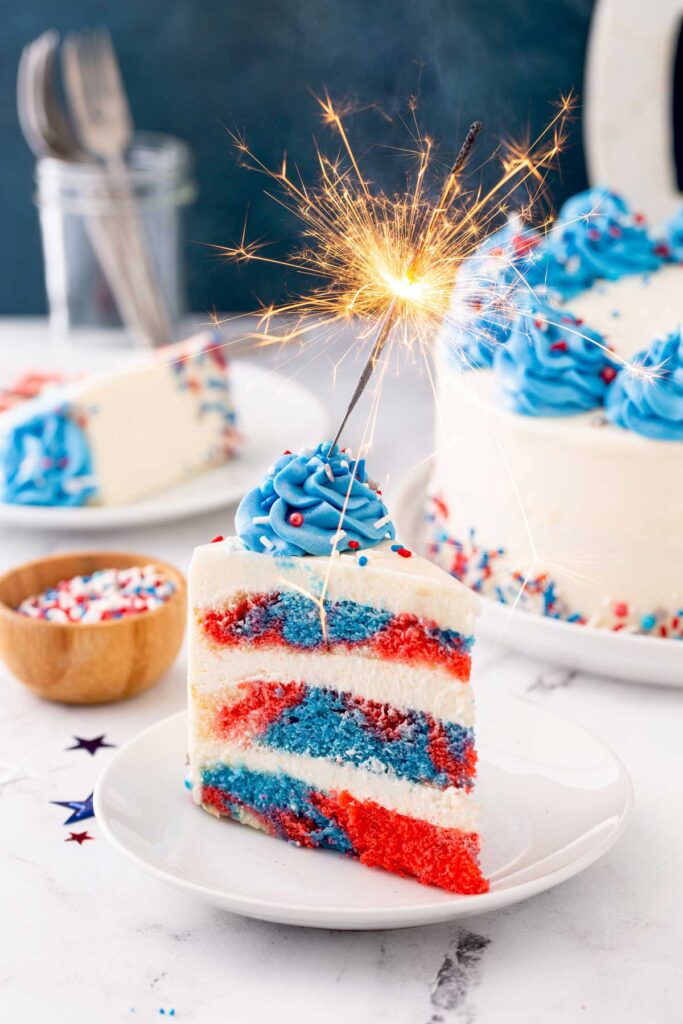
Impress your family and friends with this made from scratch Red, White and Blue Marble Layered Cake made with tender white cake tie dyed in vibrant patriotic colors, covered in creamy and fluffy vanilla buttercream and decorated with fun July Fourth sprinkles.
Whether you are enjoying the weather at an outdoor BBQ or anxiously waiting for the fireworks display at night, this fun and colorful cake will always put a smile on your face
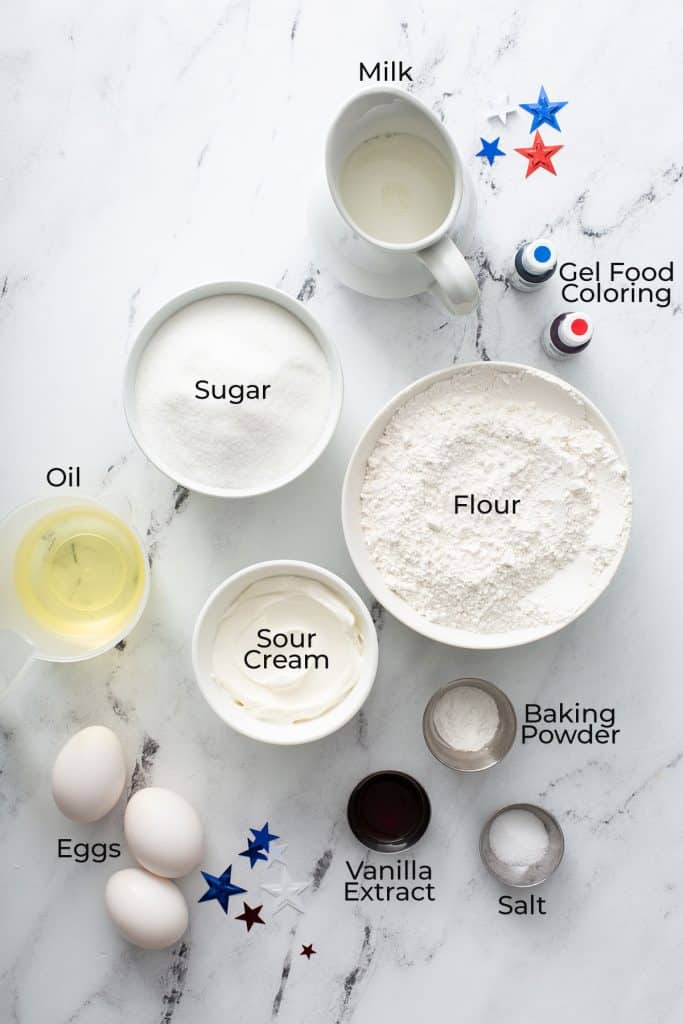
Patriotic Tye Die Cake Ingredients
For the vanilla white cake:
- Granulated sugar
- Oil (I use vegetable oil)
- Eggs (I use large eggs)
- Sour cream (I use light sour cream but regular sour cream works too)
- All-purpose flour
- Salt, baking powder, vanilla extract
- Milk (I use whole milk)
- Food coloring: I use Americolor food gel in super red and royal blue
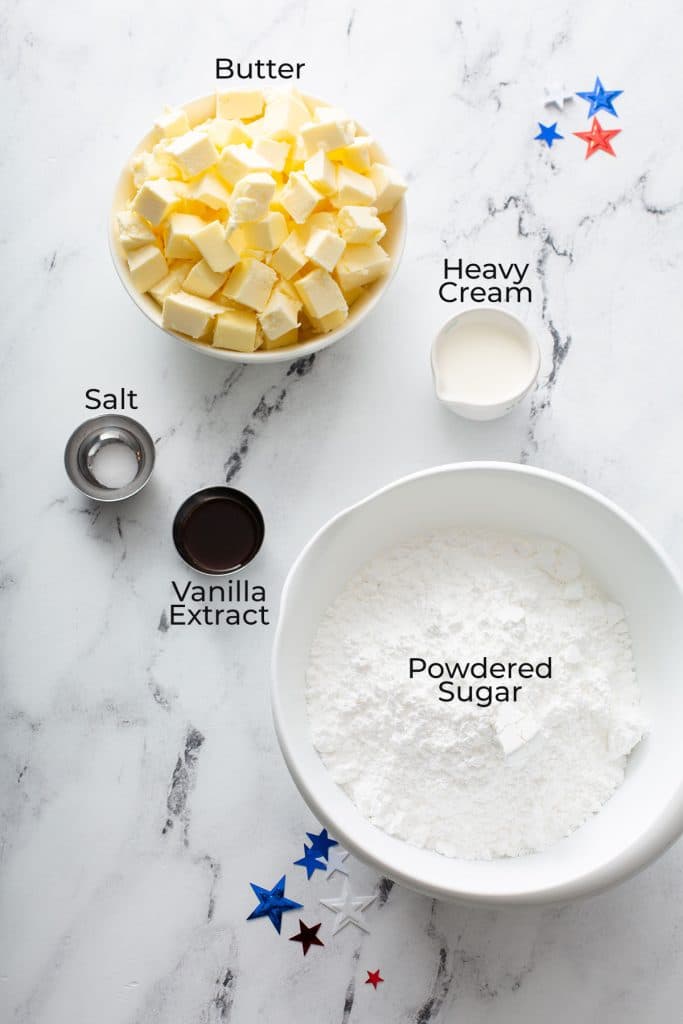
For the Frosting:
- Unsalted butter (cold)
- Powdered sugar
- Pure vanilla extract or clear vanilla
- Heavy whipping cream or whole milk
- Pinch of salt
How to Make This Patriotic Marble Cake
For exact directions, check the printable recipe card at the bottom of the post.
- Preheat the oven and prepare three 8-inch round cake pans (grease and line with parchment paper).
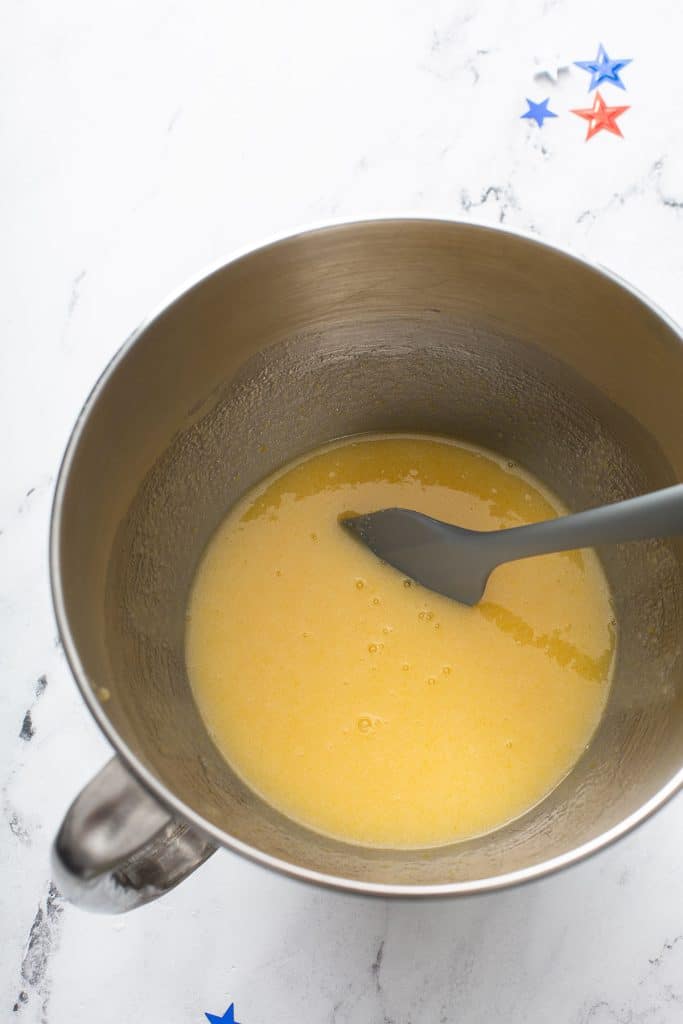
- In the bowl of a stand mixer or with an electric mixer, combine the sugar, vegetable oil, eggs and vanilla extract. Beat until well incorporated. Add the sour cream and beat until well combined. This is the wet mixture.
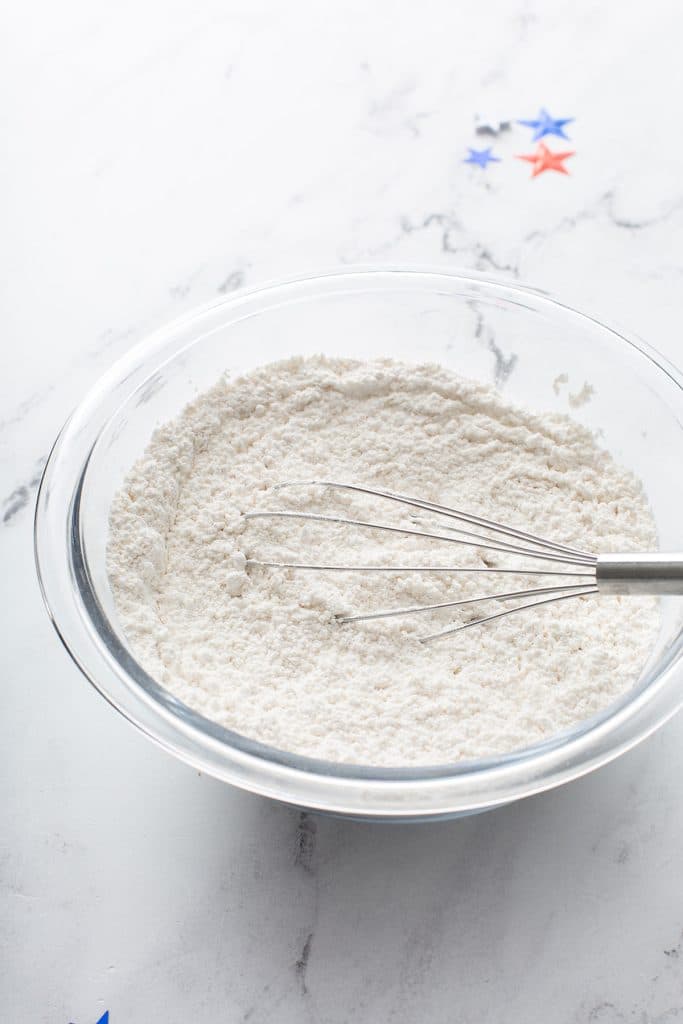
- In a separate bowl, combine the dry ingredients.
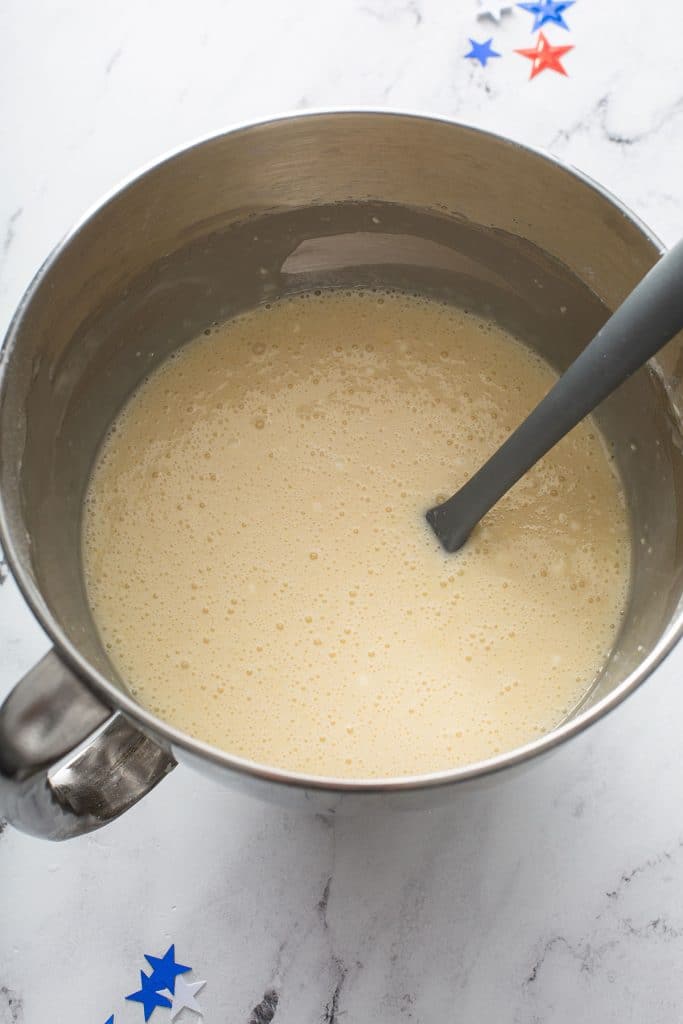
- Stir in half of the dry ingredients and half the milk into the wet mixture. Add the remaining dry ingredients and milk and mix until all of the ingredients are well combined.
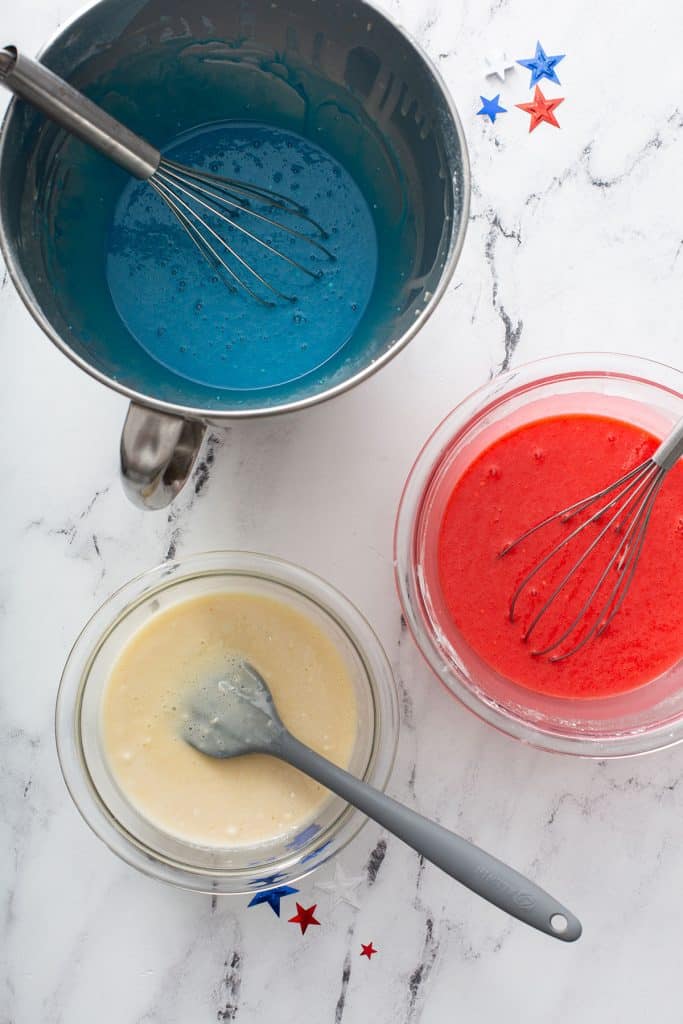
- Divide the cake batter into 3 mixing bowls. Tint one with red food coloring and another one with blue food coloring. The third batter is kept as is.
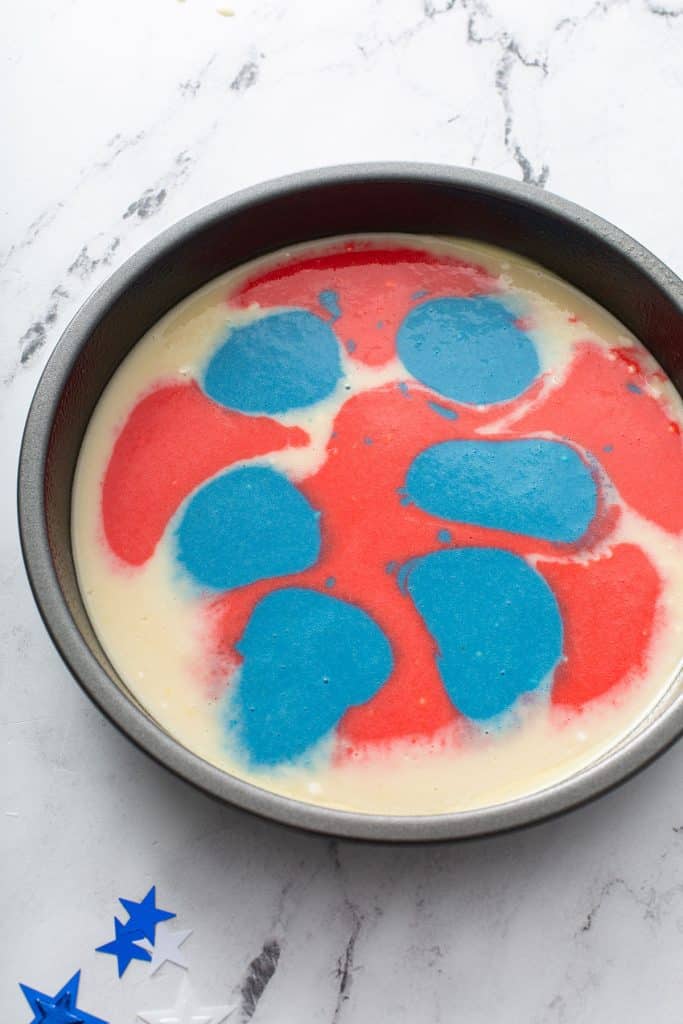
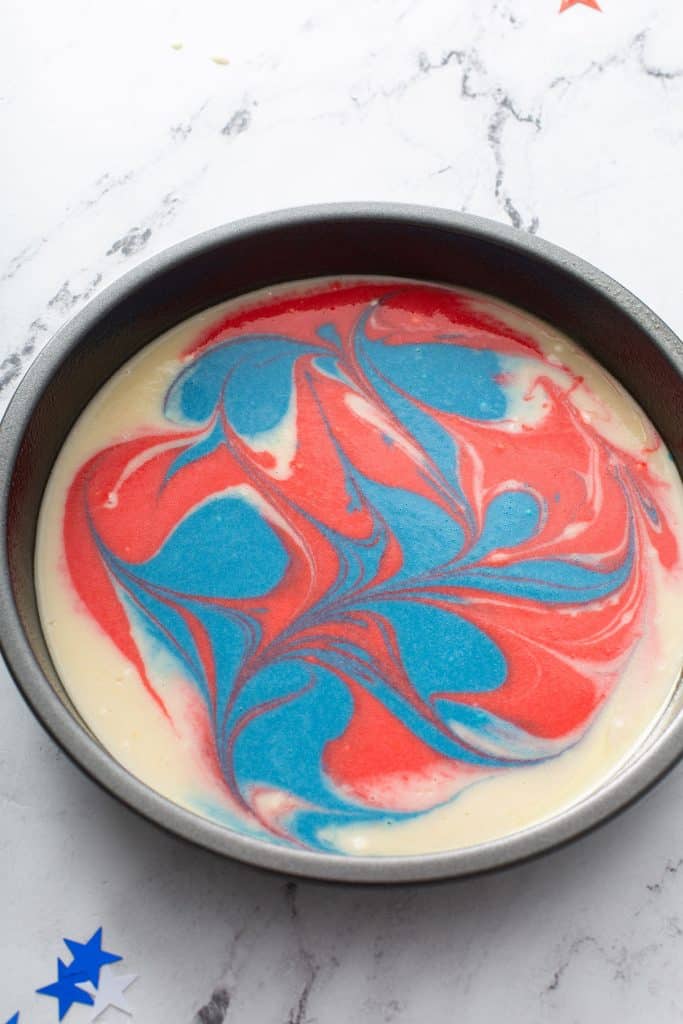
- Add small spoonfuls of each color to each prepared baking pan. Scatter colors around. When all batter has been added to the baking pans, using a knife or a skewer, gently swirl the colors together. Make sure not to over mix them.
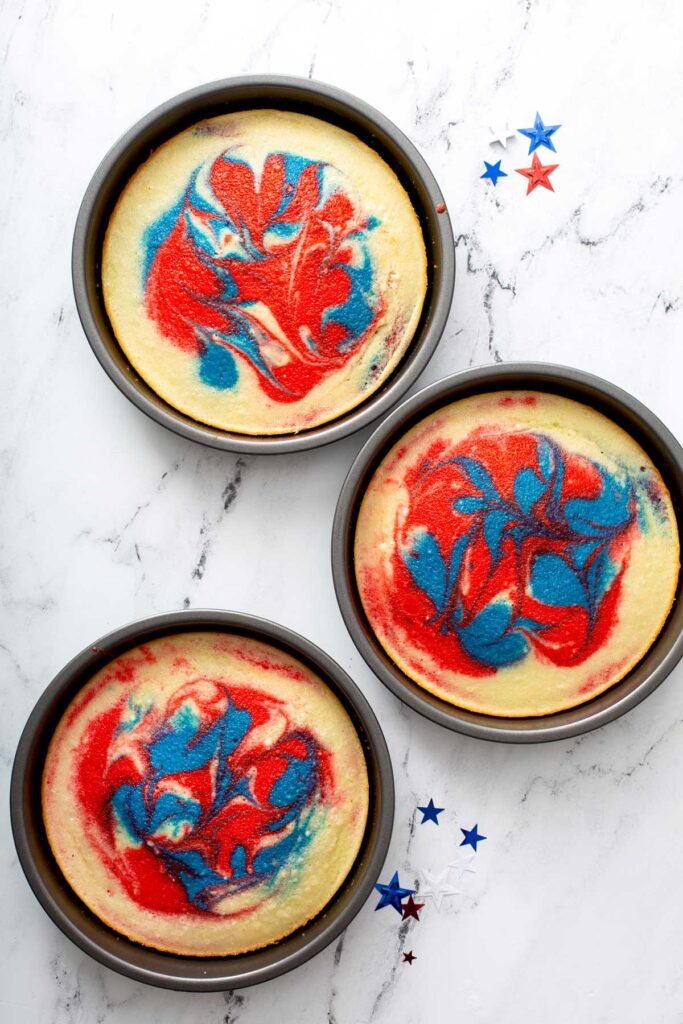
- Bake. When done remove from the oven and cool completely before frosting.
How To Make The Buttercream Frosting
- In the bowl of a stand mixer fitted with the paddle attachment, whip the butter until creamy and light in color. Add about 2 cups of powdered sugar, the heavy cream and vanilla. Gradually add the remaining powdered sugar. Once all the powdered sugar has been added, increase the speed to medium-high and beat until light and smooth.
How To Assemble This Layered Cake
- If needed, make the top of the cake surface flat by using a large serrated knife or cake leveler to remove the domes from the top of the cakes.
- Place the first layer of cake (blue or red) on a serving plate or a cardboard cake round.
- Place some of the frosting in a piping bag fitted with a large open round tip. Pipe a layer of frosting on top of the cake layer and spread evenly.
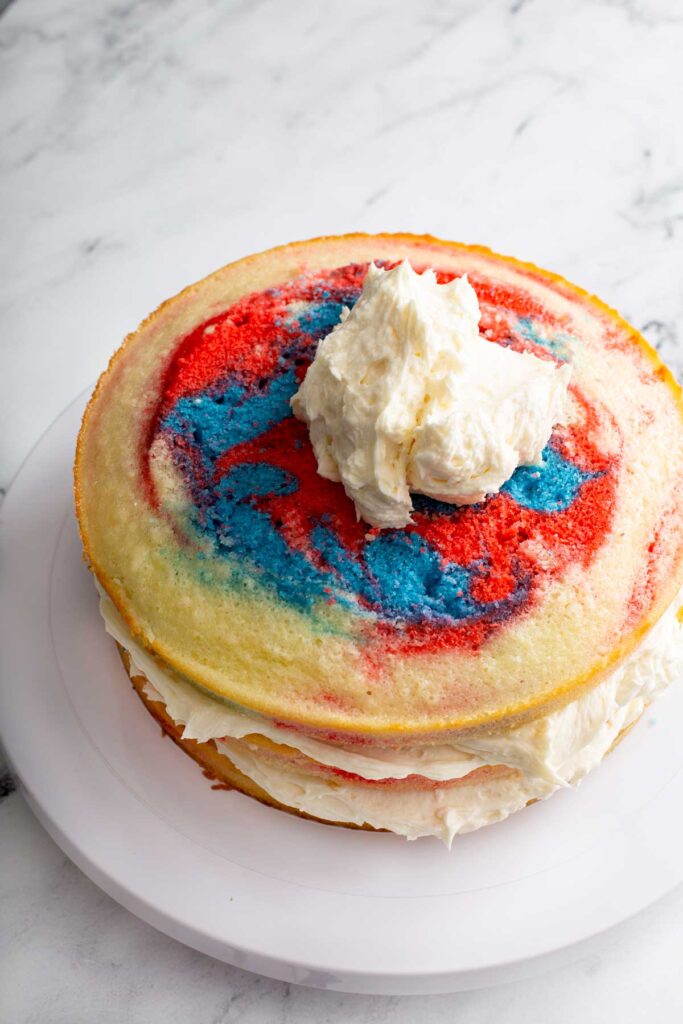
- Add the second layer of cake (the cake without any food color) and pipe a layer of frosting on top of the cake. Spread the frosting evenly.
- Next, add the final layer of cake on top.
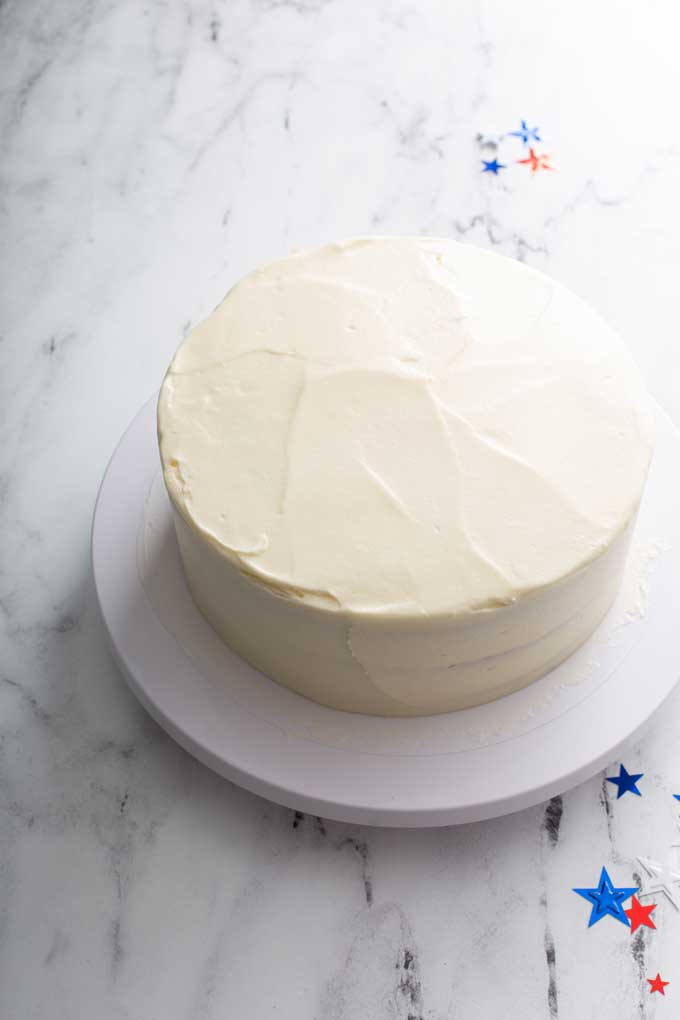
- Use your piping bag to fill in any gaps between the layers, then frost the outside of the cake. Use an offset spatula or icing scraper to wipe away any excess frosting and smooth the surface of the cake. Use the remaining frosting, to decorate the cake by piping swirls or any other shape if you wish Garnish with sprinklesRefrigerate for an hour to allow the cake to set before cutting.
What Makes This Layered Cake Moist?
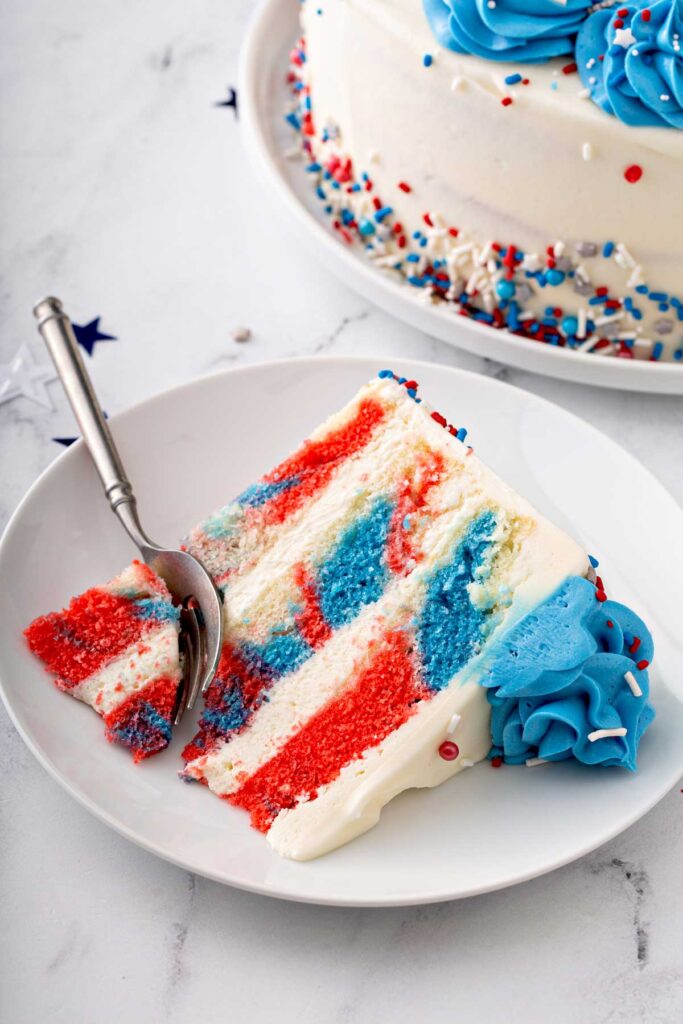
This red, white and blue marble layered cake is incredibly tender, light and moist. The use of oil in this recipe, guarantees a light and moist cake with a nice tender crumb. Aside from that, sour cream adds moisture and richness to cake. You can use regular sour cream or light sour cream although regular sour cream produces the richest cakes.
Storing and Freezing this Red, White and Blue Marble Layered Cake
- You can bake the cake, cool it and wrap it, then leave it at room temperature overnight.
- The buttercream frosting can be made a day ahead. Keep it in the refrigerator covered. After removing the frosting from the refrigerator, allow it to sit at room temperature for about 10 minutes so it soften enough to easily assemble and frost the cake.
- The frosted cake will keep at room temperature for 3 days. Cover it with a cake keeper or an overturned bowl to prevent anything from the environment to stick to it (dust, hair, animal fur, etc).
- You can freeze the buttercream frosting in an airtight container or freezer resealable bag for up to 3 months.
- You can freeze the cake (without frosting it), for up to 3 months.
- Wrap the cake with three layers of protection. First, plastic wrap or press and seal and second, aluminum foil. For the third layer of protection, place the double wrapped cakes in a resealable container. This will keep the cake free from freezer burn preserving the flavor and texture well.
- To freeze, I like to cut the cake in layers first but you can freeze the cake whole also.
- Don’t freeze the cake already decorated. The changes in temperature (freezing and thawing) can ruin your frosting/decorating. Freezing leftover frosted cake is perfectly fine.
- Thaw the cake in the fridge overnight.
Red White and Blue Marble Layered Cake Recipe Tips
- Don’t forget to preheat your oven.
- If you don’t have sour cream, replace it with Greek yogurt.
- Don’t overmix the cake batter to prevent a dense cake.
- Room temperature ingredients make better cakes. It’s a good idea to measure and set out all your ingredients at least an hour prior of mixing them.
- If the powdered sugar you’ll be using to make the frosting is extra lumpy, sift it first to prevent lumps in the frosting.
- Over beating the vanilla buttercream will create air bubbles in the frosting. The taste will be the same but the buttercream won’t be as smooth. To get rid of the bubbles you literally have to pop them by smashing them with a wooden spoon or spatula against the walls of your mixing bowl.
Take a look at these amazing 4th of July Patriotic recipes created by some of my foodie friends:
Email me this recipe for later!

LAYERED RED, WHITE AND BLUE MARBLE CAKE
Ingredients
For the Cake:
- 2 cups granulated sugar
- ½ cup vegetable oil
- 3 large eggs
- 1 tablespoon pure vanilla extract
- ½ cup 118 ml light sour cream
- 2 ½ cups 350 g all-purpose flour
- 3 teaspoons baking powder
- 1 teaspoon salt
- 1 ¼ cups milk
- Red Food coloring I use Americolor food gel in super red
- Blue Food coloring I use Americolor food Gel in Royal Blue
For the Frosting:
- 2 cups unsalted butter cold and cut into large dice
- 7 –8 cups powdered sugar
- 2 teaspoons pure vanilla extract or clear vanilla
- 2 –3 tablespoons heavy whipping cream or whole milk
- Pinch of salt
Decorations: Red White and Blue Sprinkles Red and Blue Berries (optional)
Instructions
For the Cake:
- Preheat the oven to 350 degrees Fahrenheit. Line three 8-inch round baking pans with parchment paper. Grease with cooking spray or brush with oil.
- In the bowl of a stand mixer fitted with the paddle attachment or with an electric mixer, combine the sugar, vegetable oil, eggs and vanilla extract. Beat on medium speed until the ingredients are well incorporated, about 2 minutes, scraping down the bowl as needed. Add the sour cream and beat until well combined.
- In a separate mixing bowl, combine the dry ingredients.
- Stir in half of the dry ingredients and half the milk into the wet mixture. Beat on low speed until just combined. Add the remaining dry ingredients and milk and mix on low speed until all of the ingredients are well combined. Use a spatula to scrape down the sides of the bowl as needed.
- Divide the batter evenly between three bowls. Tint one of the batters with about 8 drops of red food gel. Stir well to combine until the color is fully incorporated.
- Tint another bowl of batter with about 8 drops of royal blue food gel color. Stir well to combine. Keep the third bowl of batter as is.
- Add small spoonfuls of each color to each prepared baking pan. Scatter colors around. When all batter has been added to the baking pans, using a knife, gently swirl the colors together. Make sure not to over mix them.
- Bake for 20 to 23 minutes or until a toothpick inserted in the middle of the cakes comes out clean. When done, remove from the oven and allow to cool completely before frosting.
For the Frosting:
- In the bowl of a stand mixer fitted with the paddle attachment, whip the butter until creamy and light in color, about 5 minutes. Add about 2 cups of powdered sugar, the heavy cream and vanilla. Gradually add the remaining powdered sugar. Once all the powdered sugar has been added, increase the speed to medium-high and beat until light and smooth.
Assemble the Cake:
- To assemble the cake, use a large serrated knife or cake leveler to remove the domes from the top of the cakes, if needed.
- Place the first layer of cake (blue or red) on a serving plate or a cardboard cake round
- Place some of the frosting in a piping bag fitted with a large open round tip. Pipe a layer of frosting on top of the cake layer and spread evenly.
- Add the second layer of cake (the cake without any food color) and pipe a layer of frosting on top of the cake. Spread the frosting evenly. Next, add the final layer of cake on top. Use your piping bag to fill in any gaps between the layers, then frost the outside of the cake. Use an offset spatula or icing scraper to wipe away any excess frosting and smooth the surface of the cake. Use the remaining frosting, to decorate the cake. You can pipe swirls, rosettes or stars if you wish. Garnish with sprinkles – and berries if using. Refrigerate for an hour to allow the cake to set before cutting.
Recipe Notes
- If you don’t have sour cream, replace it with Greek yogurt.
- Don’t overmix the cake batter to prevent a dense cake.
- Room temperature ingredients make better cakes. It’s a good idea to measure and set out all your ingredients at least an hour prior to mixing them.
- You can tint the frosting red and/ or blue if you wish.
- Don’t overbeat the frosting to prevent air bubbles.




Leave a Reply